
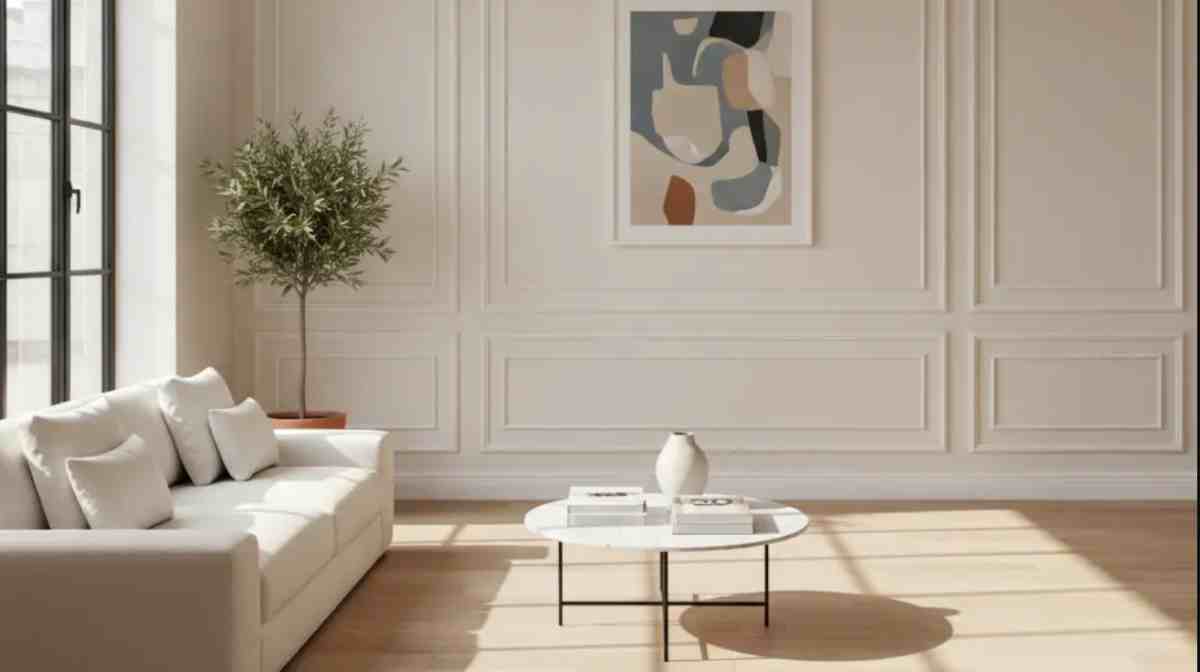
Peel and Stick Wall Molding: Parisian Chic for Rentals
Dreaming of a Parisian apartment but living in a rental? The struggle is real when you crave architectural elegance but are bound by lease agreements. Generic, plain walls can feel stifling, especially when your Pinterest board is overflowing with images of sophisticated interiors.
However, what if we told you there’s a secret weapon to infuse your space with classic charm without risking your security deposit? Enter peel and stick wall molding – a revolutionary DIY solution that transforms bland walls into a canvas of refined beauty, perfectly mimicking the coveted picture frame molding found in chic European homes.
Why Picture Frame Molding Elevates Plain Apartment Walls
Picture frame molding isn’t just a decorative flourish; it’s a timeless design element that adds depth, texture, and a sense of history to any room. In a rental, where permanent changes are often forbidden, this aesthetic upgrade is a game-changer. It instantly elevates a flat surface, creating visual interest and a sophisticated backdrop for your furniture and art.
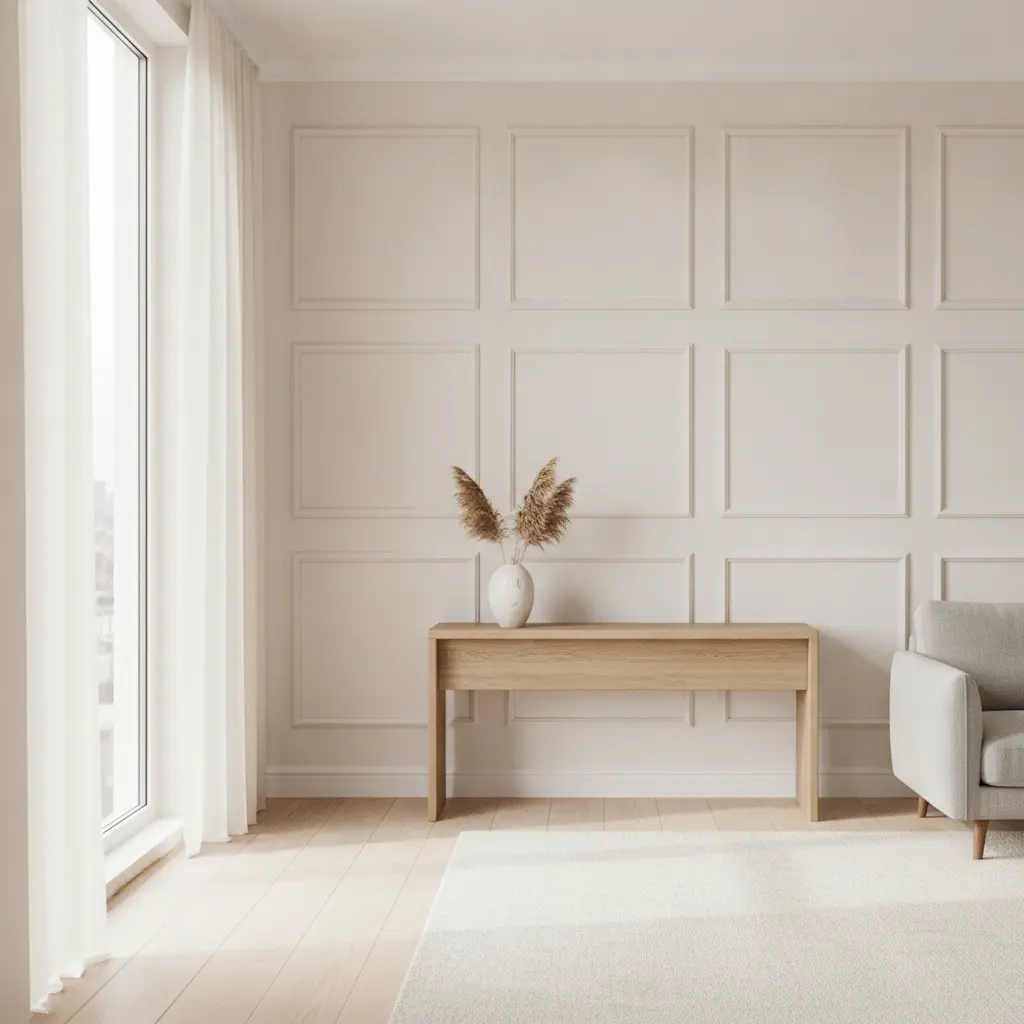
This classic detailing, often seen in grand Parisian apartments, provides an illusion of bespoke craftsmanship. It visually breaks up large wall expanses, making rooms feel more curated and less ‘cookie-cutter.’ Furthermore, it allows you to define zones within an open-plan space or highlight specific areas with elegant framing.
Calculating Proportions: Box Sizing and Spacing Rules
Achieving that perfectly balanced, custom look with peel and stick wall molding requires a keen eye for proportion. Don’t just stick pieces randomly; thoughtful layout is paramount. Here are some general guidelines to ensure your molding looks intentional and harmonious:
- Top & Bottom Spacing: Aim for 6-12 inches from the ceiling and baseboard, depending on your ceiling height. Taller ceilings can handle wider margins.
- Side Spacing: Maintain 4-8 inches from corners and door frames. Consistency across all panels is key.
- Between Boxes: If creating multiple panels, ensure equal spacing (typically 4-8 inches) between them.
- Box Dimensions: For a typical 8-foot wall, a good starting point is a box height of 30-40 inches and a width of 20-30 inches, adjusting to your wall’s specific dimensions. Consider using painter’s tape to map out your design before committing.
Choosing Pre-Mitered Extruded Polystyrene Kits
The magic of modern DIY lies in innovation, and extruded polystyrene molding kits are a prime example. This lightweight, durable material is incredibly easy to work with – a stark contrast to traditional wood or plaster options. It cuts cleanly, accepts paint beautifully, and is surprisingly robust for its weight.
Opting for “pre-mitered” kits simplifies the installation immensely. Instead of wrestling with miter saws and complex angle calculations, these kits come with perfectly cut 45-degree angles, ready for assembly. This dramatically reduces the potential for error and speeds up your project, making elegant wall trim accessible even for novice DIYers.
Damage-Free Mounting Using Removable Acrylic Tape
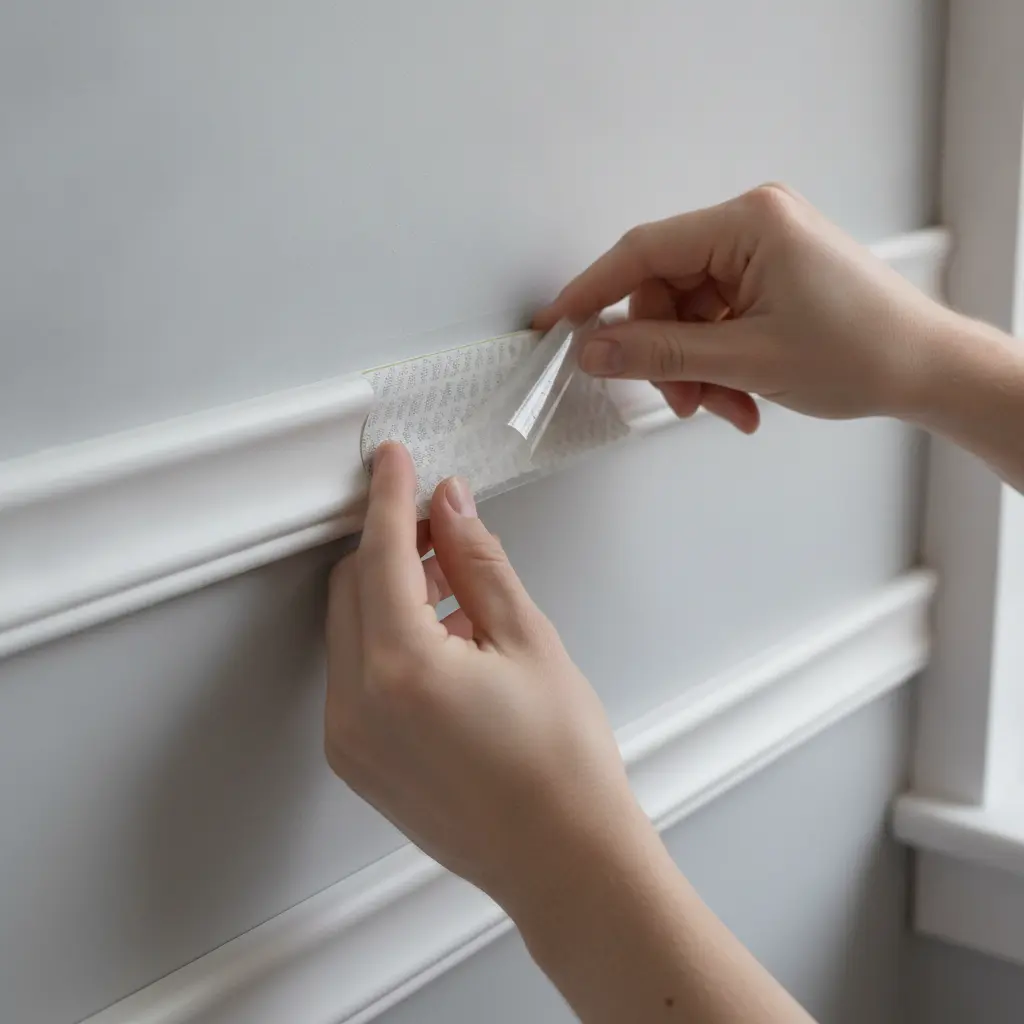
The holy grail for renters is damage-free decor, and this is where removable acrylic mounting tape shines. Unlike permanent adhesives or nails, high-quality acrylic tape provides a strong, secure bond that can be removed without peeling paint or leaving residue. Therefore, it’s the ideal choice for securing your lightweight polystyrene molding.
For more insights on renter-friendly wall upgrades, Apartment Therapy offers excellent tips on various temporary wall trims, reinforcing the viability of this approach for rental properties. When applying the tape, ensure your walls are clean and dry. Apply strips to the back of your molding pieces, pressing firmly for about 30 seconds upon placement. This method ensures your Parisian-inspired walls remain a temporary masterpiece.
Understanding the impact of such architectural details, Architectural Digest highlights how molding can truly transform a room, elevating its perceived value and character. With removable tape, you get all the aesthetic benefits without the long-term commitment.
Painting the Trim to Match Wall Sheen Seamlessly
For a truly integrated, custom look, painting your newly installed peel and stick wall molding to match your existing wall color is crucial. This step blurs the line between a DIY addition and built-in architectural detail. The key is not just matching the color, but also the sheen.
If your walls are matte, use a matte paint on the trim. If they’re eggshell or satin, opt for the same. This consistency prevents the molding from looking like an afterthought. A seamless finish makes the trim appear as if it’s always been a part of your apartment, adding to its sophisticated allure. Remember to use a high-quality primer first for optimal paint adhesion and longevity.
Conclusion
Transforming your rental apartment into a Parisian-inspired haven doesn’t require a renovation budget or landlord approval. With peel and stick wall molding, you can elegantly upgrade your space, adding architectural interest and undeniable charm without permanence.
This simple, renter-friendly DIY project empowers you to express your style and elevate your home’s aesthetic. So, grab your kit, measure with care, and get ready to enjoy walls that whisper tales of chic European living, all while keeping your security deposit safe and sound.
