
Arch Wall Decal DIY: Paint-Free Architectural Headboard
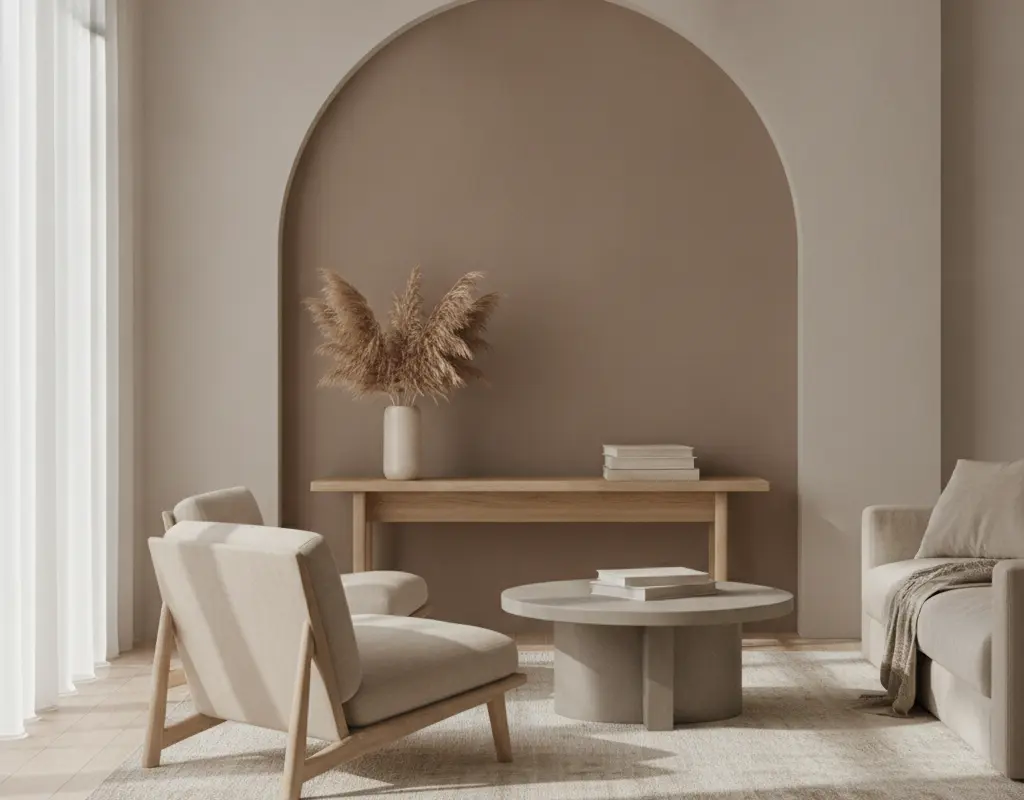
The desire for architectural flair in a rental often clashes with the reality of paint restrictions. Happily, an arch wall decal offers a brilliant, paint-free solution. This clever hack instantly transforms flat walls, providing the illusion of a sophisticated niche or a bespoke headboard without any long-term commitment.
Imagine adding a touch of elegance that anchors your bed or defines a workspace, all without picking up a paintbrush. An arch wall decal is your secret weapon for creating high-impact design that’s completely renter-friendly. It’s a stylish way to infuse personality and structure into any room.
Creating Architectural Interest with Arch Wall Decals
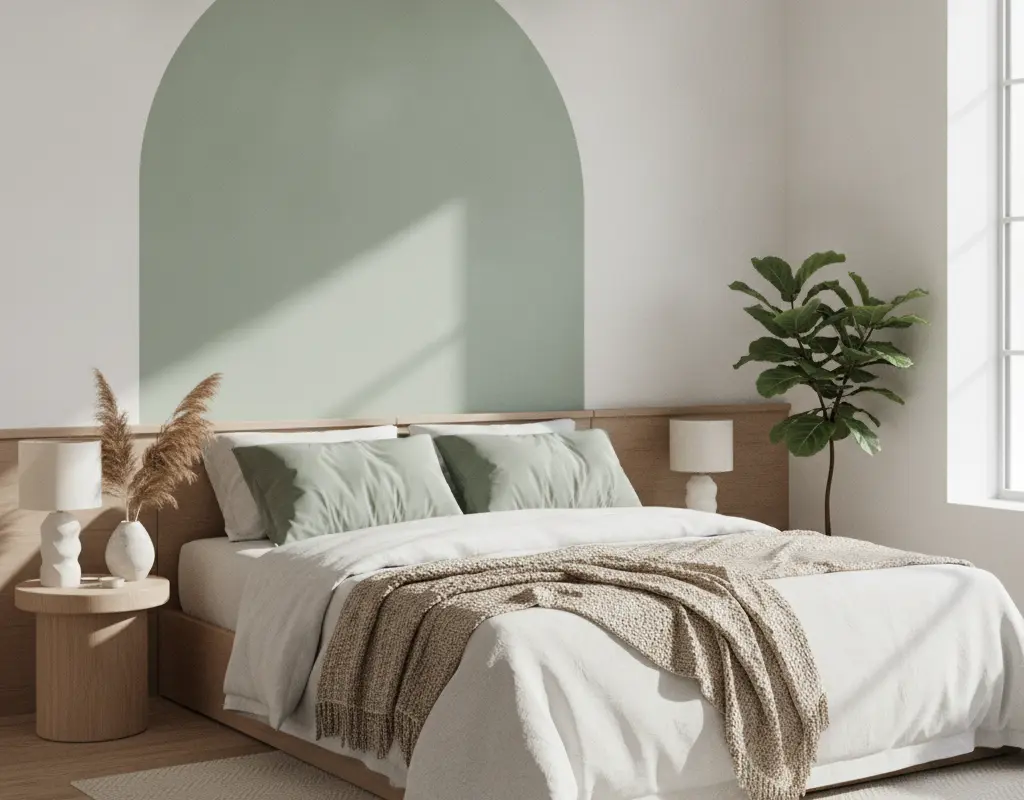
Rental homes often lack distinctive architectural details, leaving walls feeling bland. A large arch wall decal instantly introduces a focal point, mimicking built-in alcoves or painted feature walls. This visual trick adds depth and character, making your space feel more intentional and custom. It’s a game-changer for transforming a plain bedroom into a serene sanctuary or giving a home office a defined backdrop.
Choosing Matte Vinyl Finishes for Your Arch Decal
The right finish elevates your arch decal from a simple sticker to a sophisticated design element. Opt for high-quality matte vinyl in earthy tones like terracotta, sage green, or warm taupe. These colors and textures mimic actual painted surfaces, creating a seamless, high-end look. A matte finish absorbs light, preventing glare and making the decal appear truly integrated into your wall.
Applying Large Arch Decals Flawlessly
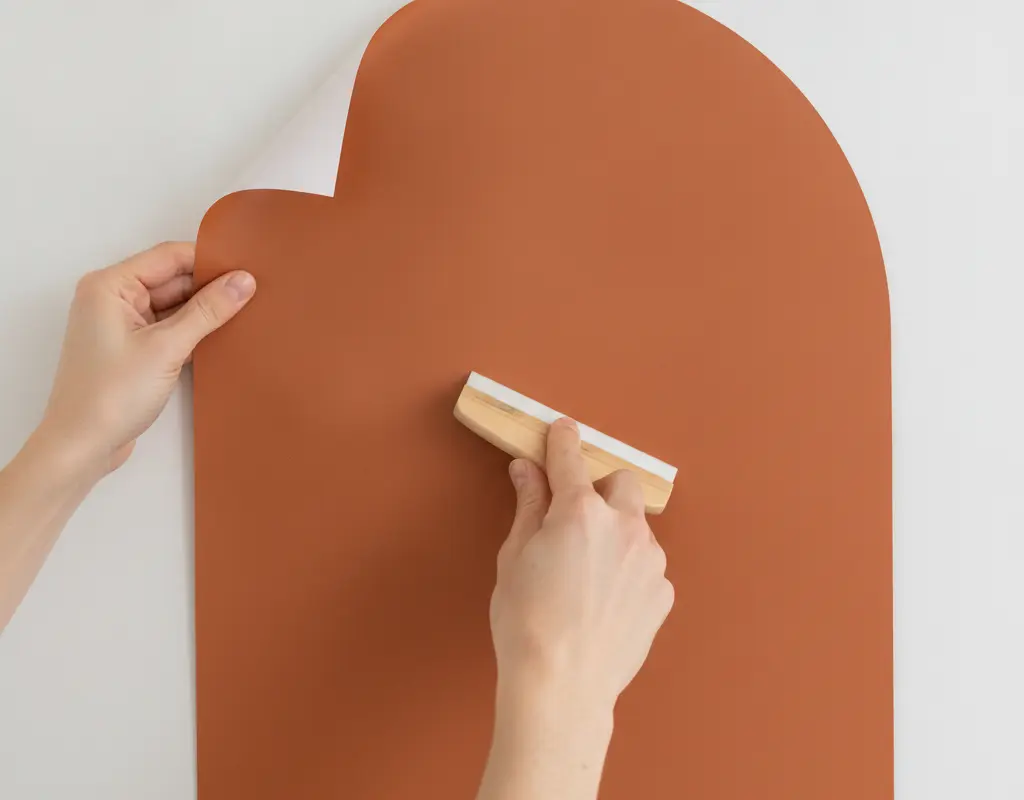
Applying a large arch wall decal might seem daunting, but with the right technique, it’s straightforward. Start by cleaning your wall thoroughly. Use a hinged method: peel back a small section of the backing, align, and then slowly peel the rest while smoothing with a squeegee. Work from the center outwards to push out air bubbles. For more creative wall decor ideas, consider exploring options like peel and stick wall molding or even renter-friendly wallpaper ideas to complement your arch.
Styling Your Space with an Arch Niche
Once your arch decal is in place, the styling possibilities are endless. Use it to frame your bed, creating an instant architectural headboard. Pair it with a floating shelf or a small console table to define a reading nook or a stylish entryway. The arch acts as a natural boundary, making any arrangement within it feel curated and cohesive. This can be especially effective in smaller spaces, helping to create distinct zones, much like how vertical storage ideas maximize functionality. The Spruce offers a fantastic resource for creative wall decal ideas, providing even more inspiration.
Residue-Free Removal of Your Arch Wall Decal
The beauty of an arch wall decal lies in its temporary nature. When it’s time to move or redecorate, removal is typically straightforward and residue-free. Gently peel the decal off the wall, starting from a corner. If you encounter any resistance, a low heat setting from a hairdryer can soften the adhesive, making the process smoother. Always peel slowly and at a shallow angle to prevent paint damage. For those interested in broader design aesthetics, understanding what is Organic Modern style can inspire further décor choices that complement the soft lines of an arch.
Conclusion
Embracing an arch wall decal is a smart, stylish way to inject architectural charm into any rental space. It offers the aesthetic appeal of a custom-painted feature without the commitment or the hassle of repainting. This DIY solution proves that high-end design can be accessible and temporary.
So, go ahead and experiment with different colors and placements. An arch wall decal provides a versatile and impactful way to personalize your home, ensuring your space reflects your unique style while keeping your landlord happy. It’s the ultimate paint-free upgrade for a truly transformative effect.


