
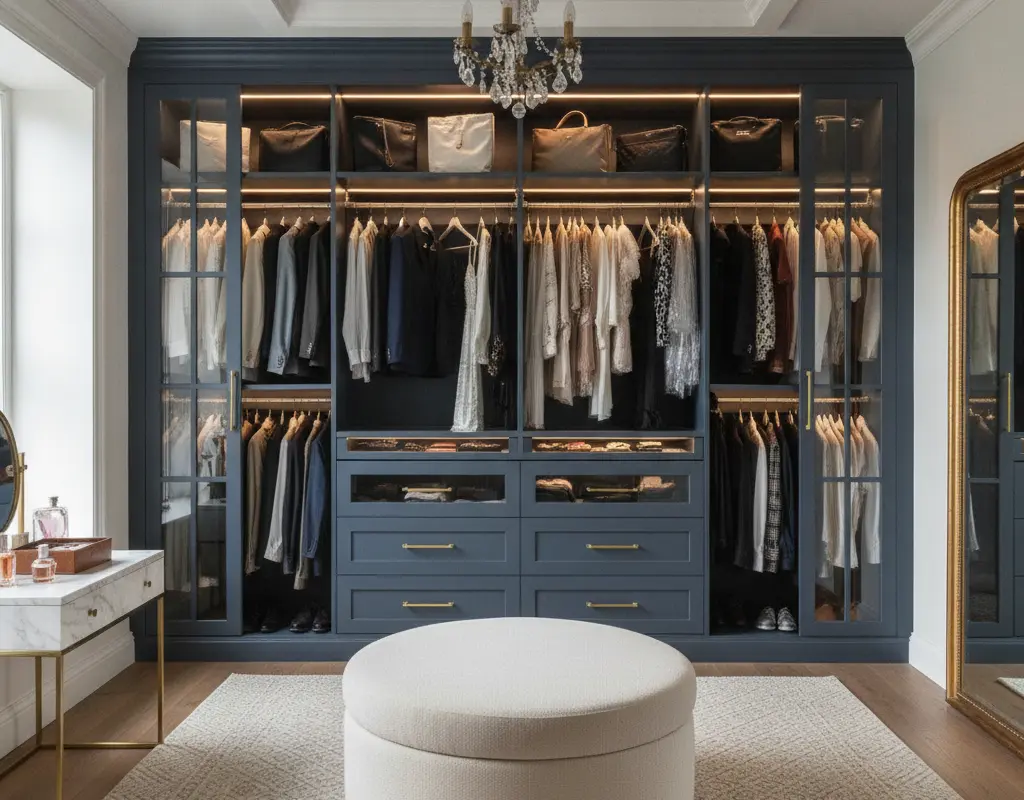
DIY IKEA Pax Wardrobe Hack: Built-In Closet Luxury for Less
Dreaming of a custom closet without the designer price tag? The ultimate DIY IKEA Pax wardrobe hack is your ticket to achieving built-in luxury for less. Transform these versatile modular systems into a bespoke dressing room that looks like it cost a fortune.
This guide dives deep into every step, from meticulous planning and clever framing to exquisite door upgrades and integrated lighting. Get ready to elevate your storage game and create a truly personalized space that reflects high-end style.
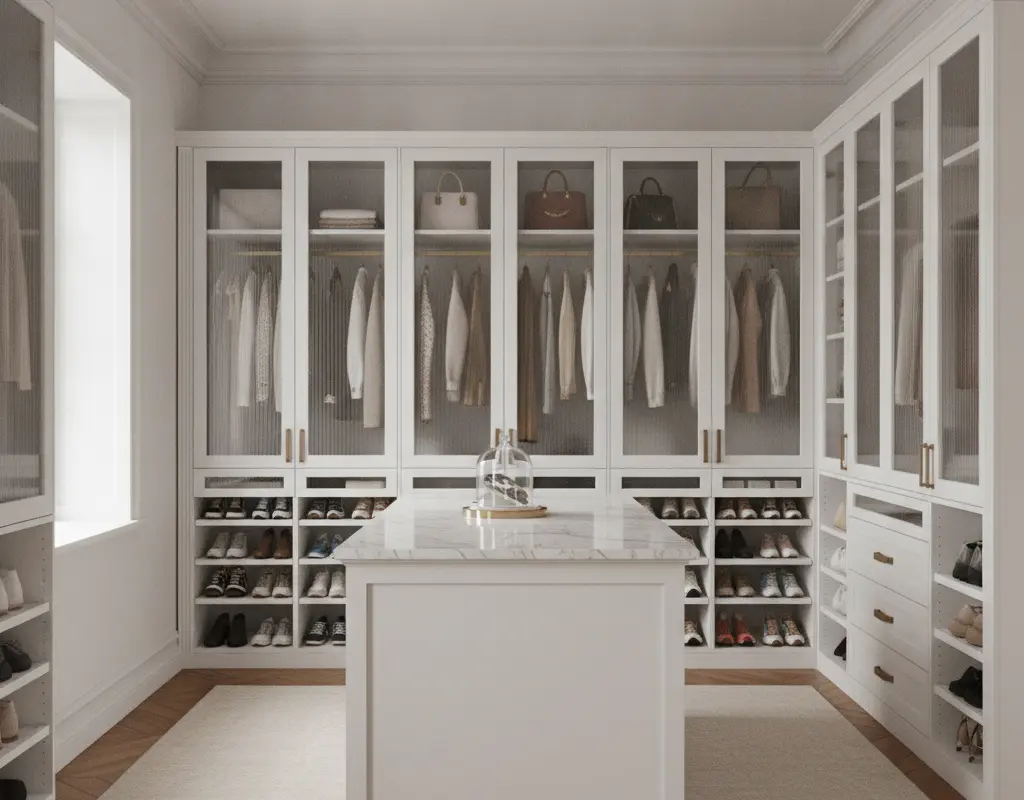
Designing the Layout: Sizing Frames for Tall Ceilings
The first step in any successful DIY IKEA Pax wardrobe hack is meticulous planning. Measure your space precisely, considering both width and ceiling height. Pax frames come in various heights, but for a true built-in look, you’ll often need to combine frames or add custom extensions to reach tall ceilings.
Utilize online planners to visualize your layout and maximize every inch. Remember, a well-designed Pax system provides incredible vertical storage ideas for high-end small apartments, making organization both elegant and efficient. This careful preparation prevents headaches down the line.
Framing the Baseboards and Crown Molding to Flush Out Gaps
To achieve that seamless, built-in aesthetic, you need to frame out the gaps between your Pax units and the walls/ceiling. Start by installing a sturdy baseboard along the bottom, matching your existing trim or introducing a new style. This creates a cohesive foundation.
Next, add crown molding at the top, ensuring it aligns perfectly with your ceiling. Use filler strips and caulk to bridge any remaining gaps, creating a flush, custom appearance. This step truly transforms the modular units into integrated architecture.
Renter-Safe Anchoring That Leaves Minimal Wall Marks
For renters, the idea of anchoring a large wardrobe can be daunting. Thankfully, clever solutions exist to secure your Pax system without permanent damage. Consider using heavy-duty furniture straps anchored into wall studs, or employ tension-based methods that press against the ceiling.
Another option involves creating a sturdy, freestanding structure that the Pax units sit within, minimizing direct wall contact. This approach ensures stability while preserving your rental agreement, much like how one might approach a DIY renter-friendly slat wall with minimal impact.
Upgrading Stock Doors with Cane Inlays and Custom Trim
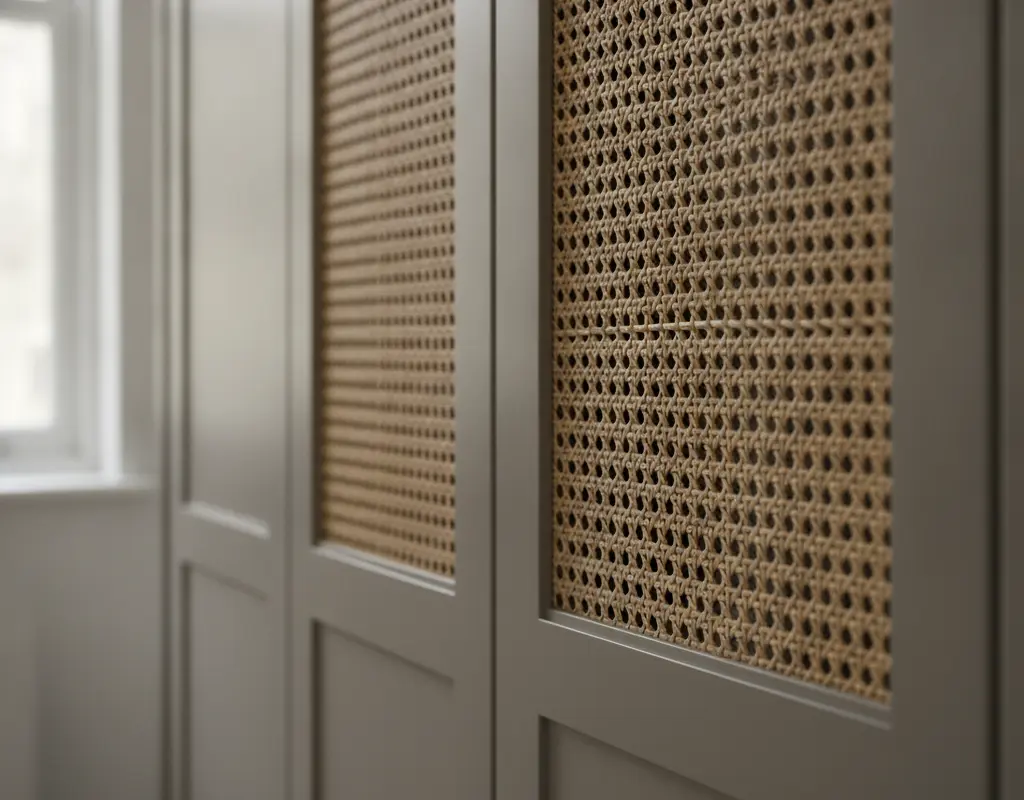
The standard Pax doors are a blank canvas for customization. Elevate their appearance dramatically by adding cane inlays to panels, a popular technique that brings warmth and texture. This process involves cutting out existing door panels and replacing them with woven cane webbing, creating an airy, sophisticated look.
For a more traditional or modern edge, apply custom trim pieces to the door fronts. This can mimic shaker style cabinetry or add intricate detailing, transforming basic doors into bespoke features. You can even adapt techniques from a DIY cane furniture hack to achieve this refined finish.
Integrated Wireless LED Strip Lighting in Hanging Niches
Luxury closets often feature thoughtful lighting, and your Pax hack should be no exception. Integrate wireless LED strip lighting within hanging sections, shelves, and drawers to illuminate your wardrobe contents. These battery-operated lights are easy to install and create a high-end ambiance, making it simple to find what you need.
Many wireless options come with motion sensors or remote controls, offering convenience and energy efficiency. This is a fantastic way to add a custom touch without needing an electrician, similar to installing wireless under cabinet lighting in a kitchen.
Sourcing Designer Unlacquered Brass Pulls and T-Bars
Hardware is the jewelry of your furniture, and selecting the right pulls can profoundly impact the perceived luxury of your IKEA Pax wardrobe makeovers. Opt for unlacquered brass pulls and T-bars for an authentic, high-end feel. Unlacquered brass develops a beautiful patina over time, adding character and sophistication.
These designer-quality details instantly elevate the entire system, moving it far beyond its IKEA origins. Explore independent hardware boutiques or online shops for unique, weighty pieces that make a statement. The investment in quality hardware is always worthwhile for a truly luxurious finish.
Conclusion
Transforming an IKEA Pax wardrobe into a custom built-in closet is a rewarding DIY project that adds immense value and luxury to your home. By thoughtfully designing the layout, meticulously framing out gaps, upgrading doors, and incorporating smart lighting and hardware, you can achieve a truly bespoke look.
This DIY IKEA Pax wardrobe hack proves that high-end style doesn’t have to come with a hefty price tag. Embrace these strategies to create a functional, beautiful, and personalized dressing space that feels custom-made just for you.


