
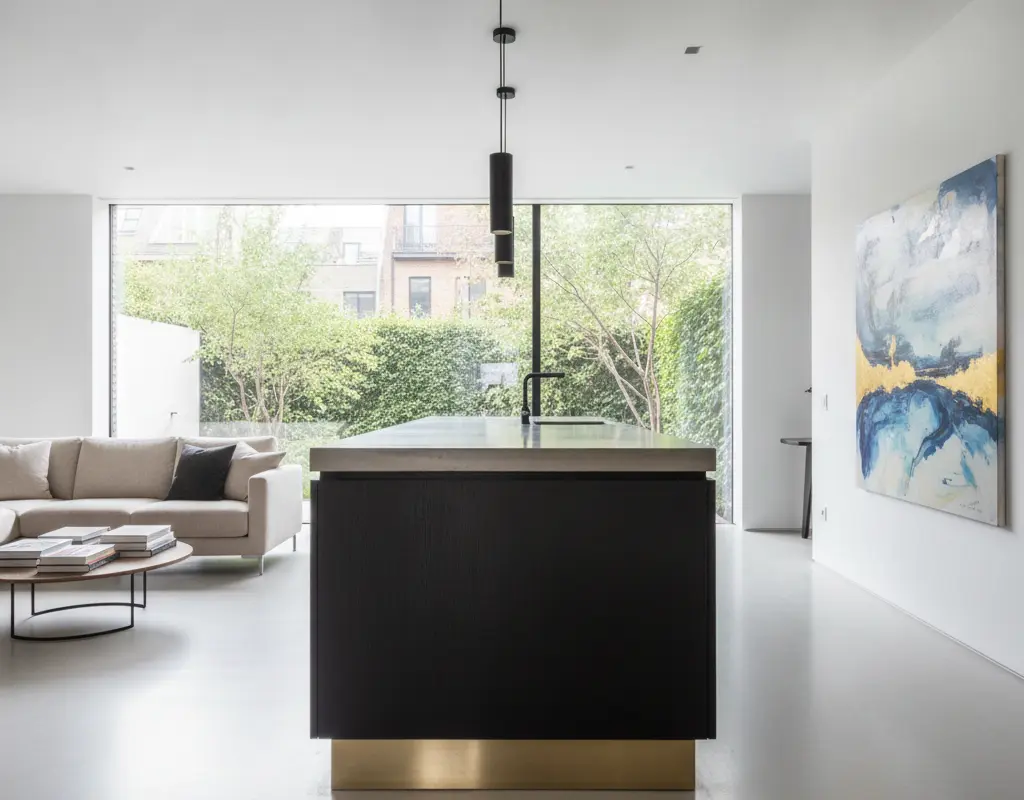
DIY Brass Toe Kick: Custom Floating Cabinet Bases
Transforming standard cabinetry into custom, high-end pieces doesn’t require a full renovation. With a clever DIY brass toe kick, you can give ordinary sideboards, kitchen cabinets, or bathroom vanities that coveted floating appearance. This simple yet impactful upgrade instantly elevates your space, mimicking the sophisticated look often found in bespoke Italian designs.
Creating a DIY brass toe kick provides an architectural detail that makes your furniture seem lighter and more integrated. Imagine a sleek, metallic base that subtly lifts your cabinets, adding a touch of modern luxury without permanent modifications. It’s a renter-friendly solution for achieving a custom aesthetic.
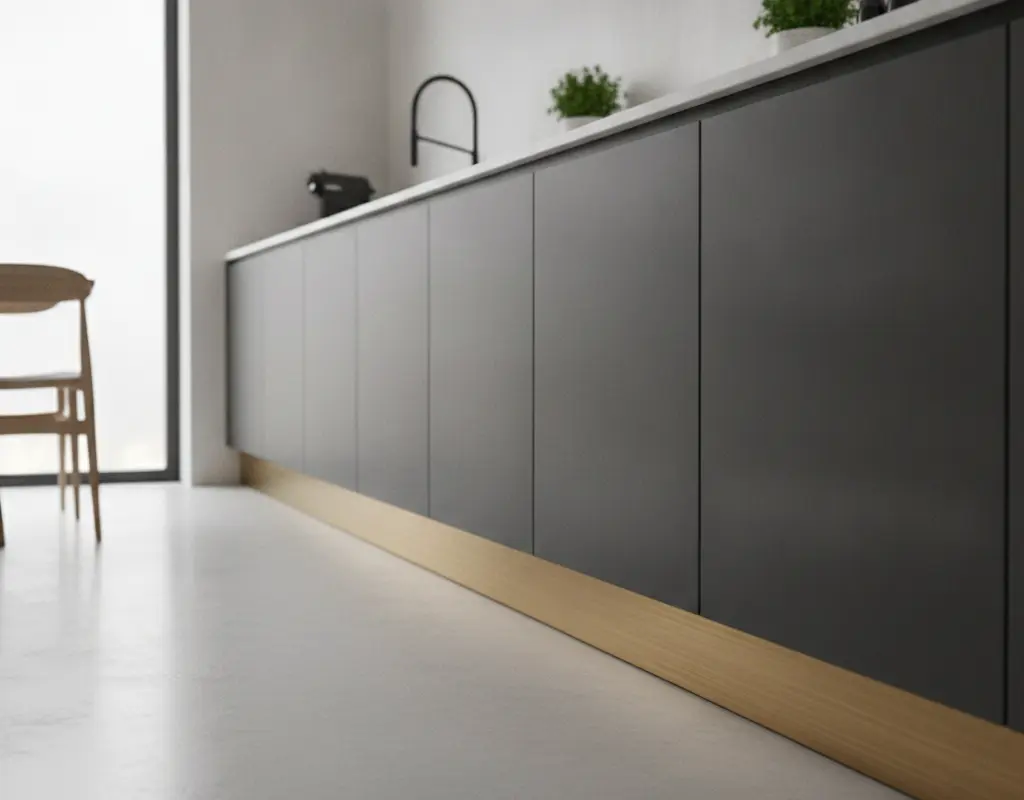
The Architectural Floating Illusion in Custom Italian Cabinetry
The secret behind that luxurious floating look in high-end Italian cabinetry often lies in a cleverly designed recessed toe kick. By adding a metallic finish, like brass, to this hidden base, the cabinet appears to levitate above the floor. This design trick adds visual lightness and a sophisticated edge to any room, making the furniture feel less bulky and more integrated into the architecture.
Materials: Solid Brass Trim Sheets vs. Heavy Brushed Metallic Tape
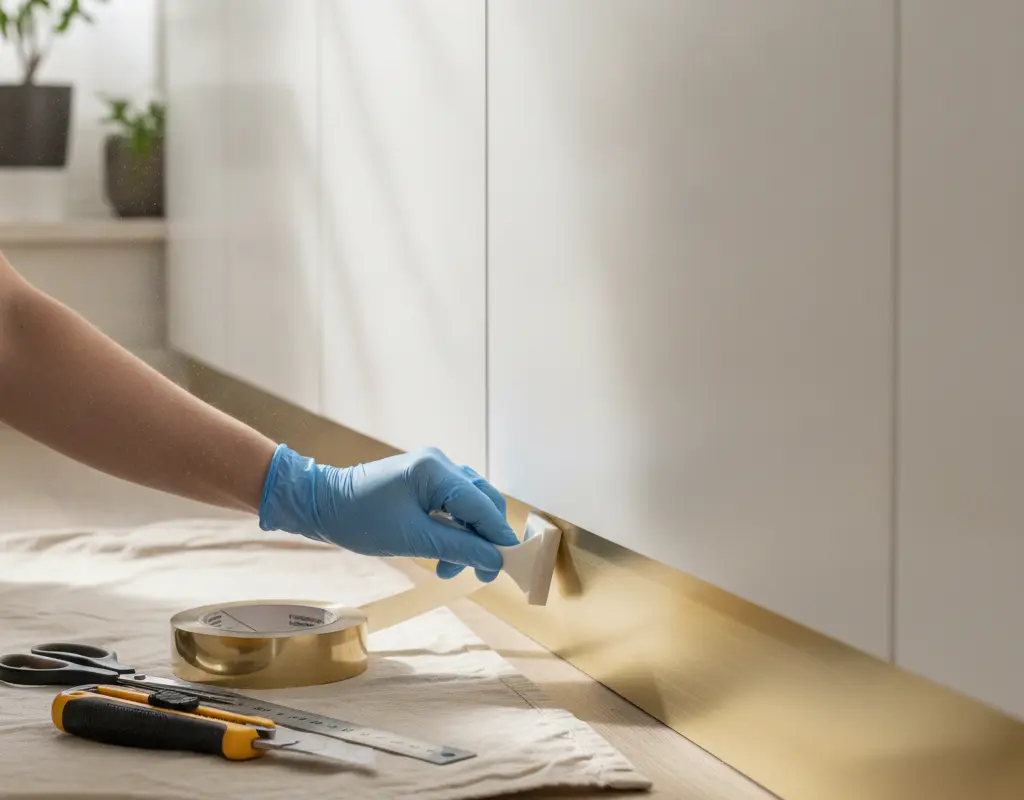
When embarking on your DIY brass toe kick project, selecting the right material is crucial. Solid brass trim sheets offer a truly premium, durable finish but can be more challenging to cut and install. For a more budget-friendly and renter-friendly option, heavy-duty brushed metallic tape or vinyl wraps designed for metal finishes provide a stunning visual effect with easier application. These wraps are often self-adhesive and can be trimmed with precision, making them ideal for a DIY approach. For more tips on enhancing your existing fixtures, consider upgrading cabinet hardware for rentals.
Measuring Recessed Toe-Kick Cavities for Exact Flush Mounts
Precision is key for a seamless floating look. Carefully measure the height and depth of your cabinet’s recessed toe-kick cavity. The goal is to create a flush mount that perfectly aligns with the cabinet’s face, making the brass element appear as a continuous part of the base. Ensure your measurements account for any slight variations along the length of the cabinet. Accurate measuring ensures a professional finish, preventing gaps or uneven edges.
Installing Integrated Under-Cabinet Warm LED Glow Channels
To amplify the floating illusion and add ambient lighting, consider integrating warm LED glow channels within the toe kick. These discreet light strips can be installed behind the brass, casting a soft, inviting glow that further enhances the sense of elevation. This subtle illumination not only highlights the brass finish but also provides practical low-level lighting for pathways at night. For other clever lighting solutions, explore under cabinet lighting wireless options.
- Choose warm white LEDs for a cozy, sophisticated ambiance.
- Ensure LED strips are low-profile and easily concealed.
- Opt for battery-operated or plug-in options for renter-friendly installation.
Protecting Brass Finishes from Vacuum and Foot Scuffs
Once your elegant brass toe kick is installed, protecting its pristine finish is paramount. The toe kick area is highly susceptible to scuffs from vacuums, mops, and everyday foot traffic. Applying a clear protective sealant or a durable topcoat specifically designed for metals can significantly extend the life and luster of your brass. Regular gentle cleaning with a soft cloth will also help maintain its shine. According to cabinet hardware and base trim insights from Bob Vila, proper material selection and protection are vital for longevity in high-traffic areas. Many DIY enthusiasts also use hacks like those for luxury built-ins with IKEA Billy Bookcase hacks to create custom looks, often integrating similar protective measures.
Conclusion
A DIY brass toe kick is more than just a decorative element; it’s a strategic design choice that dramatically enhances the perceived value and style of your cabinetry. This relatively simple project delivers a high-impact aesthetic upgrade, transforming ordinary pieces into custom-looking, floating marvels. By carefully selecting materials, precise measuring, and thoughtful protection, you can achieve a luxurious, architectural detail that will impress.
Embrace the elegance of a metallic base and enjoy the sophisticated illusion it creates in your home. This DIY project proves that high-end design is accessible and achievable, even on a budget or in a rental. Elevate your space with this chic, modern touch.


