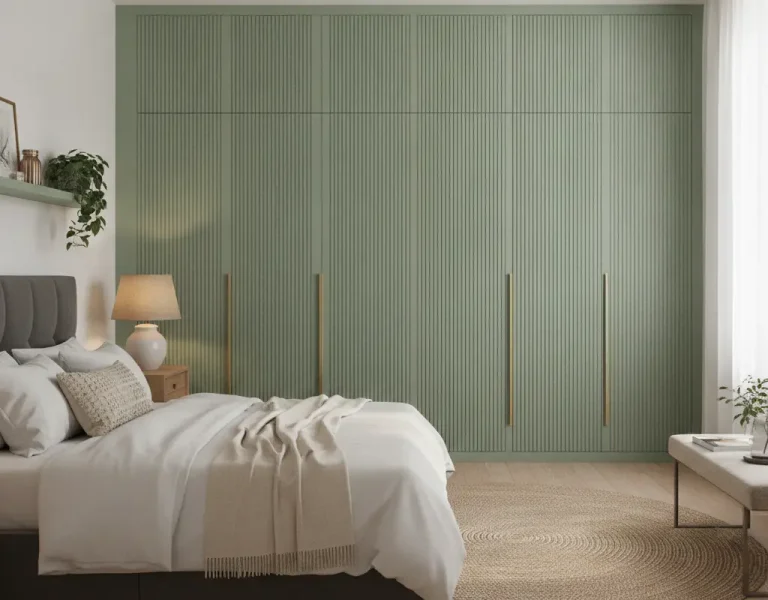
DIY Upholstered Headboard Hack: Luxury Hotel Wingback Look
Transform your bedroom into a five-star retreat with this ingenious **DIY upholstered headboard hack**. Achieving that coveted luxury hotel wingback look is simpler than you think, even without extensive carpentry skills. This guide will show you how to craft a custom linen channel headboard using readily available materials like foam insulation panels, offering a high-end aesthetic without the hefty price tag.
Forget complicated framing and expensive upholstery services. Our **DIY upholstered headboard hack** prioritizes ease and elegance, ensuring a stunning result that elevates your space. You’ll be amazed at how quickly you can create a plush, sophisticated focal point that anchors your entire bedroom design.
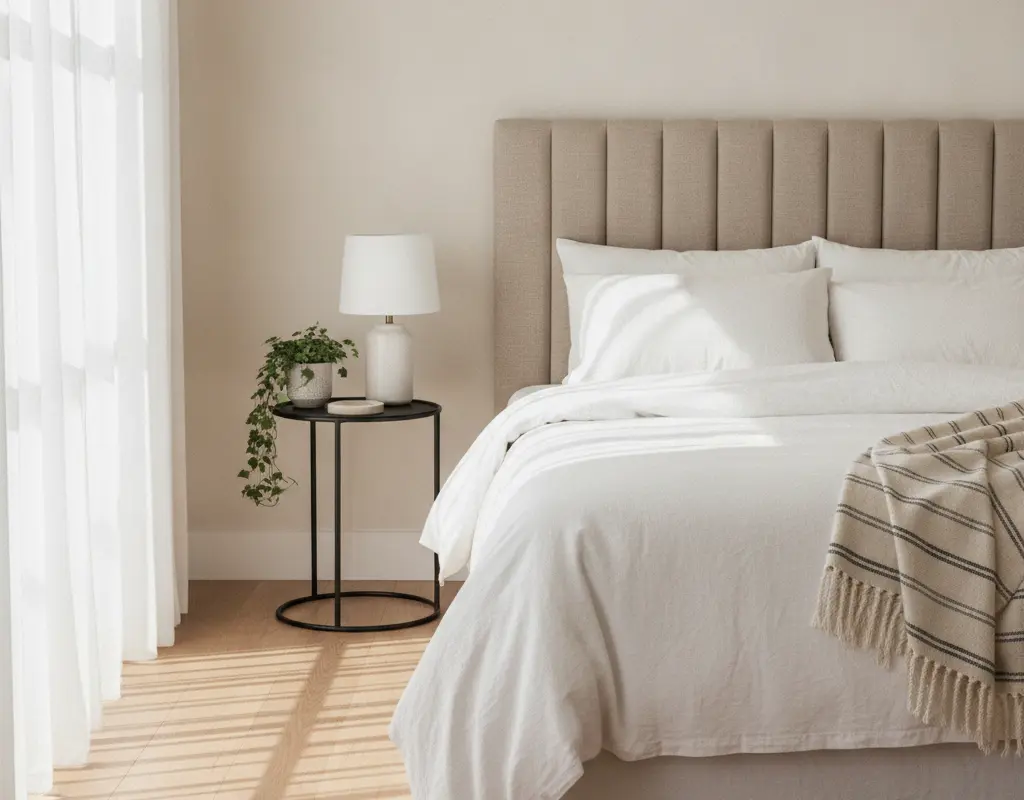
Anchoring the Bedroom: Why the Headboard Sets the Luxury Tone
A well-designed headboard is more than just a decorative element; it’s the undisputed centerpiece of your bedroom. It provides a visual anchor, drawing the eye and establishing the room’s overall style and mood. Investing in a beautiful headboard instantly upgrades your sleeping space from ordinary to extraordinary, much like a statement piece in a living room.
The right headboard can make a small room feel grander, or a large room feel more intimate. Our approach to this DIY project ensures you get that bespoke, designer look without breaking the bank. It’s a fantastic way to infuse personality and luxury into your home decor, similar to how a Luxe IKEA Besta hack can transform a console.
Using Rigid Foam Insulation Boards for Lightweight Base Channels
The secret to our lightweight, damage-free headboard lies in rigid foam insulation boards. These panels are incredibly easy to cut, handle, and provide a stable yet feather-light base for your upholstered channels. They eliminate the need for heavy wood frames, making this project perfect for renters or anyone seeking a simpler DIY.
Simply measure and cut your foam boards to your desired headboard dimensions and channel widths. You can create a stunning vertical channel design by cutting uniform strips. This method also makes hanging incredibly straightforward, reducing wall damage concerns, much like learning how to hang heavy mirrors securely without wall damage.
Wrapping 2-Inch High-Density Foam and Dacron Batting
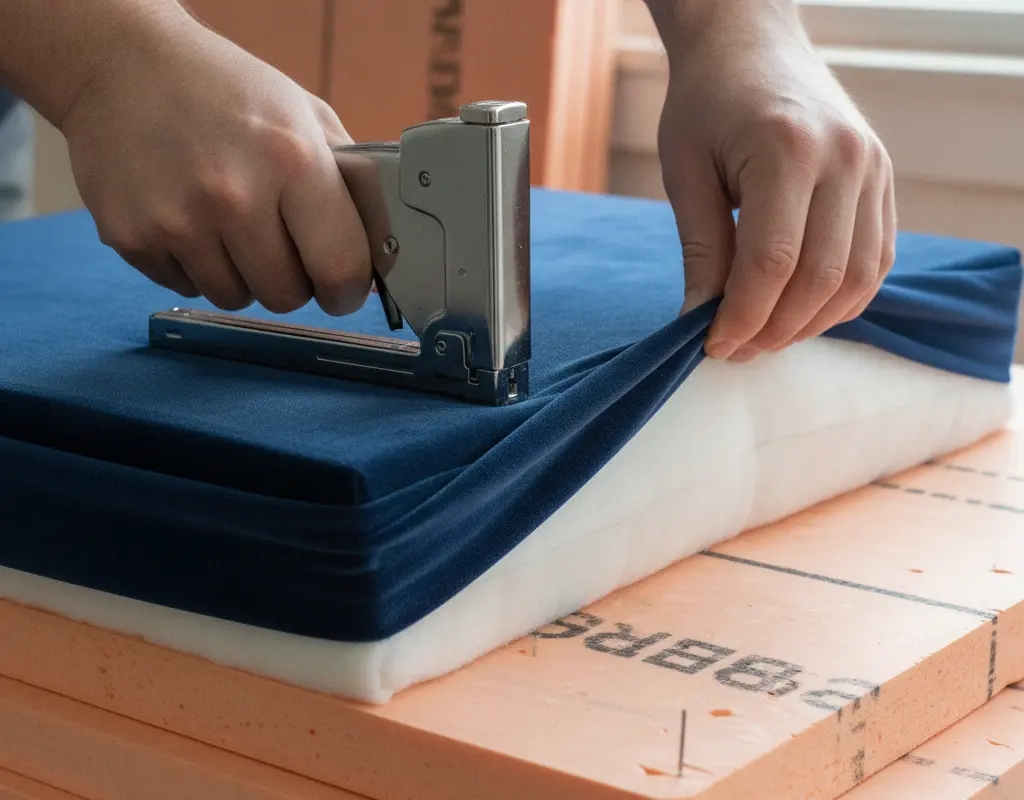
Once your foam insulation bases are ready, it’s time for the plush factor. Cut 2-inch high-density foam to match your channel strips. This provides the soft, supportive core of your headboard. Wrap each foam piece with Dacron batting, securing it with spray adhesive or a few staples. The batting smooths out any imperfections and adds an extra layer of pillowy softness, giving your channels that irresistible plumpness.
This layering technique is crucial for achieving the luxurious depth and comfort that mimics high-end hotel furnishings. It’s a detail that truly elevates the finish, just like the attention to detail in a DIY cane furniture hack.
Pulling and Stapling Slubby Linen or Heavy Velvet Fabrics
Now for the fabric – the star of the show! Whether you choose a sophisticated slubby linen for a natural, organic modern feel or a rich, heavy velvet for opulent glam, the technique remains the same. Lay your fabric flat, place your wrapped foam channels on top, and meticulously pull the fabric taut around each channel. Staple it securely to the back of the insulation board, ensuring consistent tension to avoid wrinkles and achieve crisp edges.
- **Fabric Choice:** Consider durability and aesthetic. Velvet adds drama, linen offers texture.
- **Tension is Key:** Pull firmly but evenly to prevent ripples.
- **Corners & Edges:** Take extra care to create clean, sharp corners for a professional look.
For more inspiration on elevating your decor with DIY projects, consider exploring options like DIY textured canvas art for a cohesive, handcrafted aesthetic.
Hanging Headboard Panels Damage-Free with Interlocking Cleats
The final step is to hang your beautifully upholstered channels. Interlocking picture hanging cleats or French cleat systems are ideal for this **DIY upholstered headboard hack**. These systems allow you to securely mount each panel to the wall without causing significant damage, making them perfect for rental apartments or those who prefer flexible decor.
Attach one part of the cleat to the back of each headboard channel and the other to the wall. Ensure they are level and spaced correctly to create a seamless, cohesive look. This method distributes weight evenly and allows for easy removal if you ever decide to redecorate, as highlighted by Better Homes & Gardens in their extensive collection of DIY headboard projects.
Conclusion
With this **DIY upholstered headboard hack**, you’ve mastered the art of creating a custom, luxury hotel-inspired piece without the need for complex tools or a professional budget. From the lightweight foam base to the carefully chosen fabric, every step contributes to a high-end aesthetic that will transform your bedroom into a sanctuary of style and comfort.
Embrace the satisfaction of crafting a beautiful, functional focal point that truly reflects your personal taste. This project proves that sophisticated design is within reach for any DIY enthusiast, proving that a little creativity and effort can yield truly stunning, personalized results for your home.