

Waterproof Shower Wall Panels: Renter-Safe Tile Glow-Ups
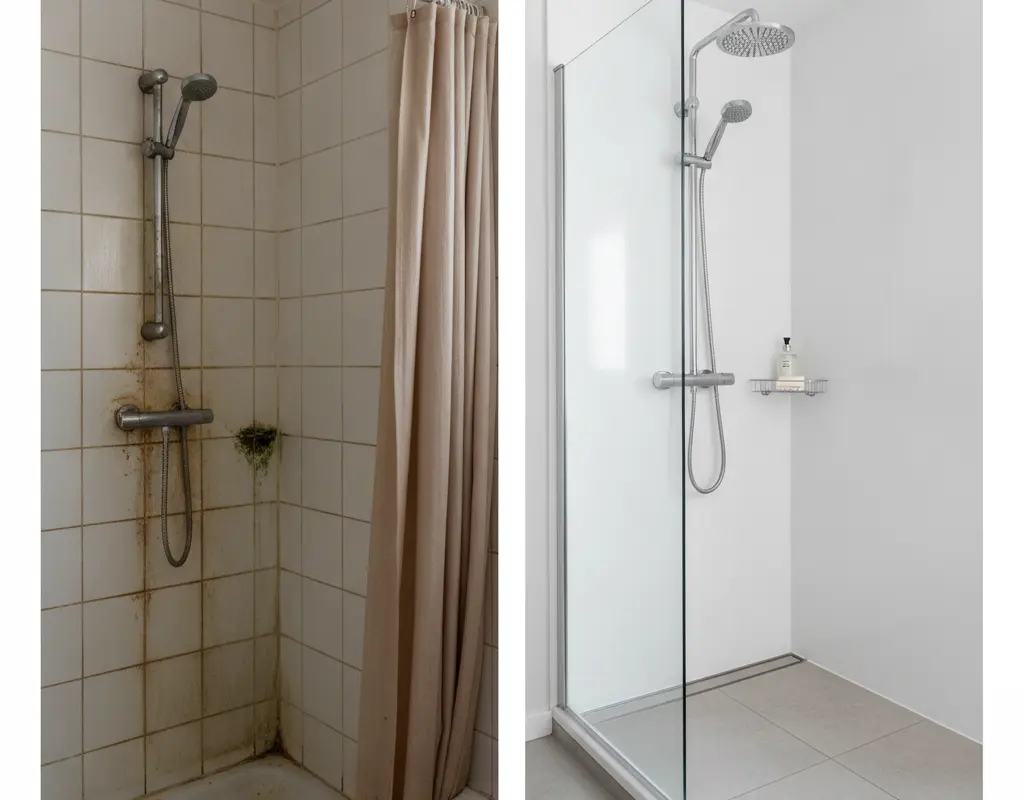
Tired of staring at that stained, outdated shower surround in your rental? It’s a common dilemma. Traditional tile renovations are out of the question for renters, but that doesn’t mean you’re stuck with lackluster aesthetics. Enter waterproof shower wall panels – the ultimate renter-friendly solution for a stunning bathroom glow-up.
These innovative panels offer a high-bond, 100% moisture-resistant upgrade, perfect for hiding unsightly grout or damaged tiles. They’re designed for easy installation and, crucially, safe removal, ensuring you get your deposit back. Let’s dive into how to choose and install the best waterproof shower wall panels for your space.
Assessing Water Exposure: Shower Stalls vs. Dry Accent Zones
Before you commit to a style, consider where your waterproof shower wall panels will live. A full shower stall demands robust, fully waterproof materials and meticulous installation. For areas like accent walls or behind a freestanding tub, where direct water exposure is less intense, you might have more flexibility with material choices, though moisture resistance is still key.
Always prioritize panels explicitly designed for wet environments to prevent mold and water damage. This ensures your renovation lasts and remains renter-safe.
Selecting Commercial-Grade Vinyl Panels with Overlapping Joints
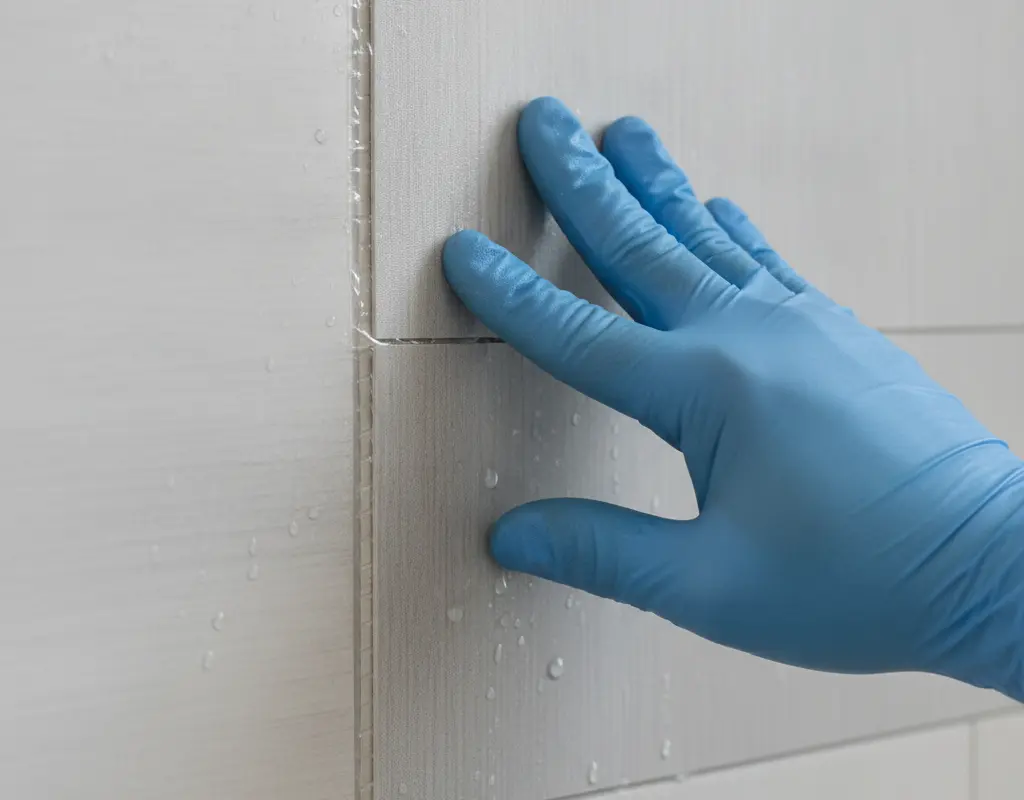
When it comes to durability and ease of installation, commercial-grade vinyl is your best friend. These waterproof shower wall panels are incredibly resilient, simple to clean, and often come with overlapping joint systems that create a seamless, watertight barrier. This design is crucial for preventing water from seeping behind the panels, which can lead to costly damage and unhappy landlords.
Look for panels with strong adhesive backing, specifically formulated for high-humidity environments. For more diverse shower wall options, it’s worth exploring resources like The Spruce’s guide on shower wall materials to understand the full spectrum of choices available.
Deep Degreasing and Mold Prevention Prior to Sticking
Preparation is paramount for a successful installation. Before applying any peel and stick solution, your existing shower walls must be impeccably clean, dry, and free of any soap scum, grease, or mold. Use a heavy-duty degreaser and a mold-killing cleaner, scrubbing thoroughly.
- Clean: Remove all soap scum and residue.
- Dry: Ensure the surface is completely dry before application.
- Treat: Use a mold inhibitor, especially in problem areas.
- Smooth: Repair any major imperfections on the existing wall.
This critical step ensures optimal adhesion and prevents mold from growing beneath your new panels, a common issue in humid bathroom environments.
Trimming Cleanly Around Mixing Valves and Shower Arms
Achieving a professional finish requires precise cuts, especially around fixtures. You’ll need a utility knife or a jigsaw with a fine-tooth blade for the cleanest edges. Measure twice, cut once! Create templates out of cardboard for irregular shapes around your shower mixing valve and shower arm. This method minimizes errors and ensures a snug, water-tight fit.
Seal any exposed edges around fixtures with a high-quality, mold-resistant silicone caulk. This provides an extra layer of protection against moisture infiltration.
Safe Removal and Landlord Grout Restoration
The beauty of renter-friendly bathroom upgrades lies in their reversibility. When it’s time to move out, these waterproof shower wall panels are designed for safe removal. Carefully peel them away, using a heat gun on a low setting if the adhesive is particularly strong. This helps soften the glue without damaging the underlying surface.
Any remaining adhesive residue can typically be removed with an adhesive remover designed for vinyl. Finally, a thorough cleaning and, if necessary, a quick grout touch-up will restore your shower to its original condition, ensuring you leave your rental looking pristine.
Conclusion
Transforming your rental shower doesn’t have to be a dream. With waterproof shower wall panels, you can achieve a sophisticated, clean look without the hassle or permanence of traditional tiling. These renter-safe solutions offer a durable, moisture-resistant upgrade that elevates your bathroom’s aesthetic.
By following these steps, from careful selection and meticulous preparation to precise installation and responsible removal, you can confidently create a high-end shower experience. Say goodbye to dingy grout and hello to a fresh, revitalized bathroom that truly feels like home, even if it’s just for a while.


