Peel and Stick Floor Tile: Luxury Rental Bathroom DIY
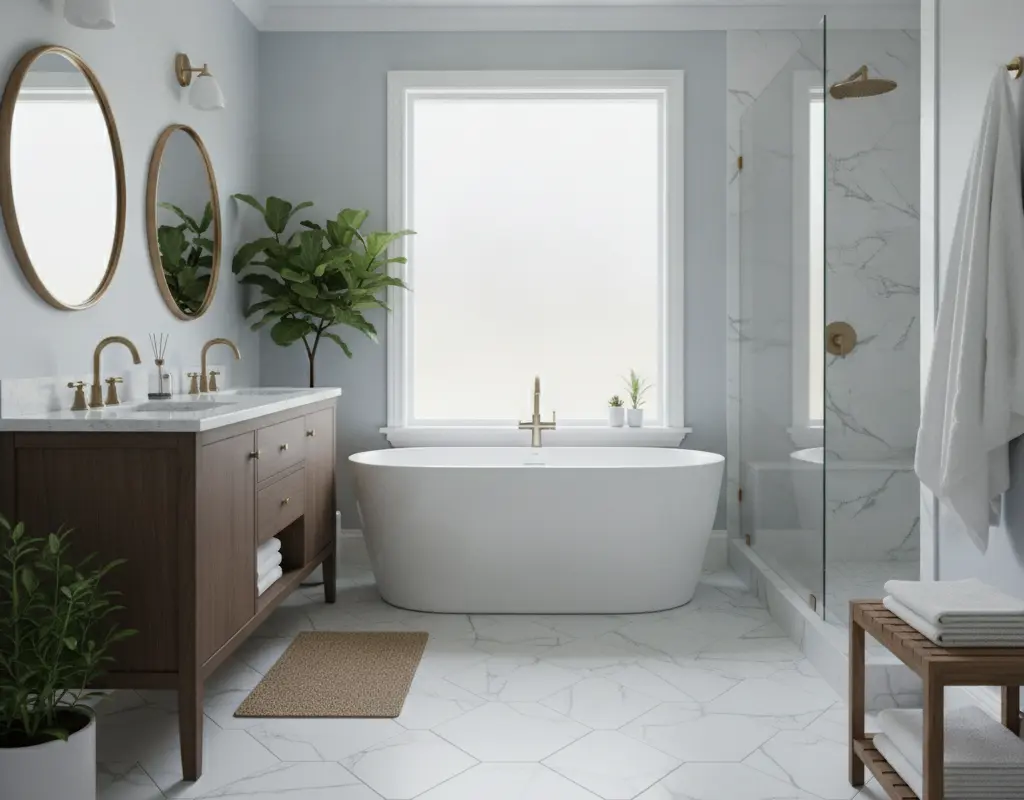
Transforming a rental bathroom without breaking the bank or violating your lease is entirely possible with peel and stick floor tile. This innovative solution offers a luxurious upgrade, providing both style and practicality for outdated spaces.
Modern peel and stick floor tile designs deliver stunning aesthetics, mimicking high-end materials like marble or wood. They are specifically engineered for easy installation and, crucially, hassle-free removal. This guide will walk you through everything from preparation to a seamless move-out day.
Are Temporary Vinyl Tiles Truly Waterproof?
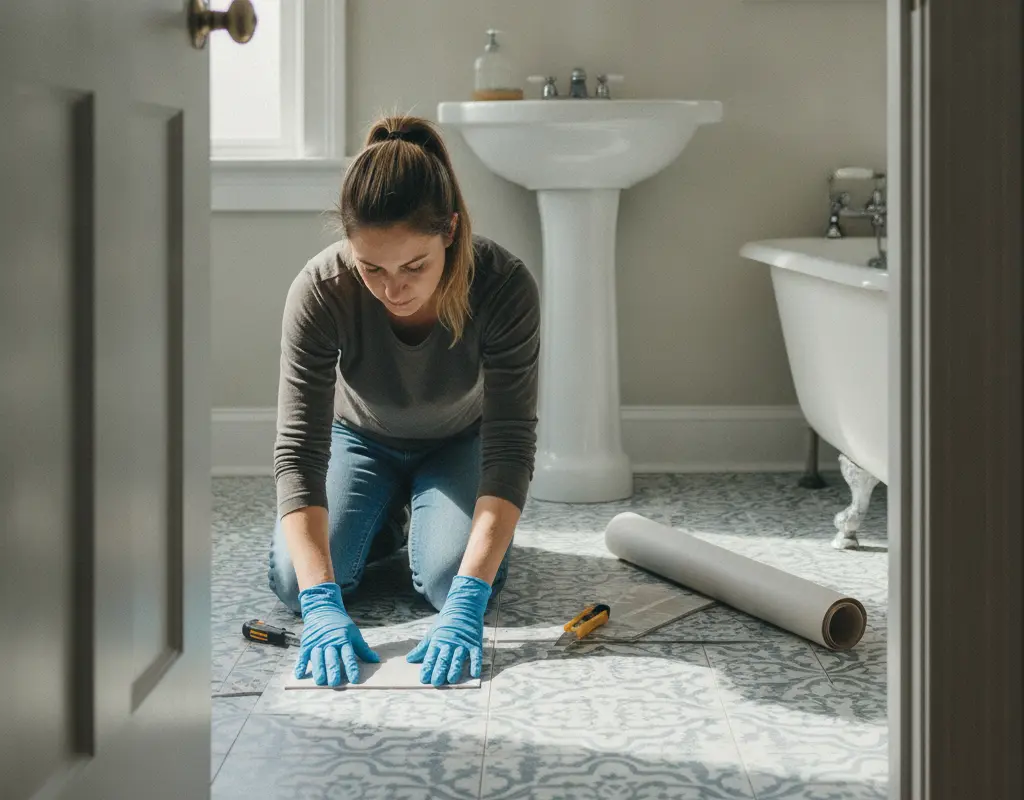
When considering peel and stick floor tile for a bathroom, a primary concern is undoubtedly water resistance. Modern luxury vinyl tiles (LVT) are highly engineered to be waterproof or, at the very least, highly water-resistant, making them an excellent choice for moisture-prone areas like bathrooms. These tiles feature robust top layers that repel water, preventing it from seeping into the subfloor and causing damage or mildew growth.
However, it is crucial to select products specifically labeled as waterproof or suitable for bathroom environments. While the tile surface itself is resistant, proper installation, including sealing edges, is vital to ensure no water penetrates underneath. Always check product specifications to confirm its suitability for high-moisture applications.
Cleaning, Degreasing, and Grout Prep for Uneven Floors
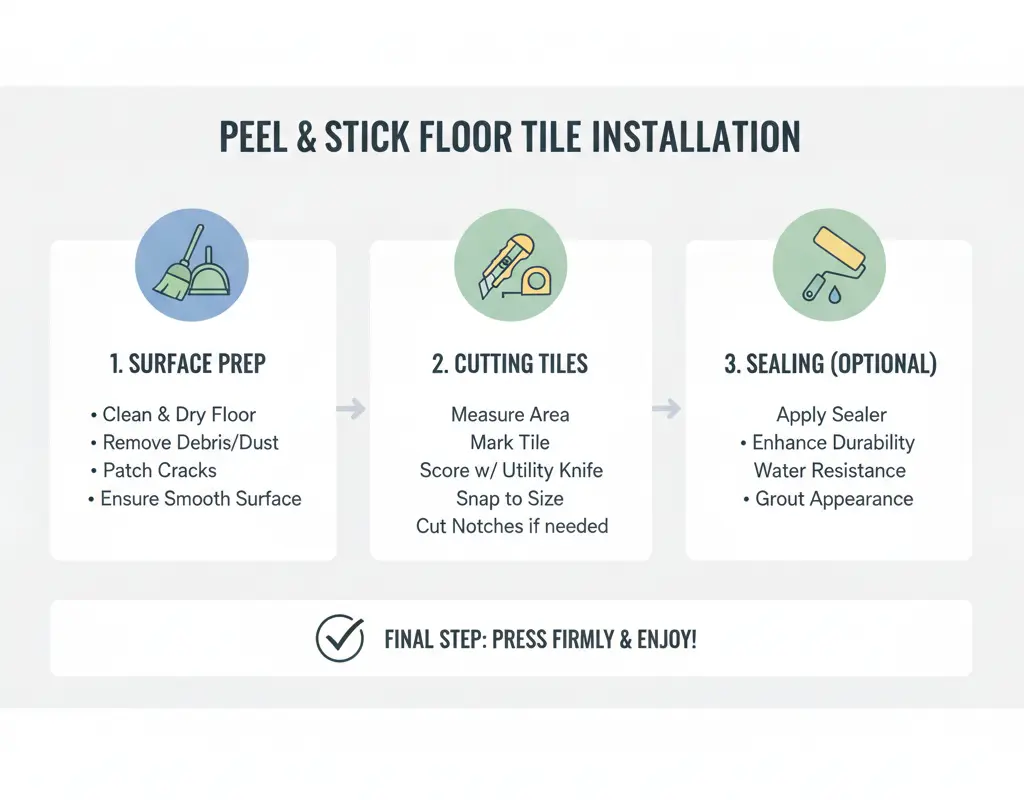
Effective surface preparation is the cornerstone of a successful peel and stick floor tile installation. Firstly, thoroughly clean the existing floor to remove all dirt, dust, and debris. A degreasing cleaner is essential to eliminate any greasy residues that could compromise adhesion.
Secondly, address any unevenness in the subfloor. Minor imperfections can be leveled using a self-leveling compound or patched with a suitable floor filler. A smooth, clean, and dry surface ensures optimal tile adhesion and a professional finish. Therefore, invest adequate time in this preparatory phase to guarantee longevity and a flawless appearance for your new peel and stick floor tile.
Trimming Around Toilets, Curves, and Vanity Bases
Cutting peel and stick floor tile to fit complex shapes like toilet bases, curves, and vanity edges might seem daunting, but it’s entirely manageable with the right technique. Utilize a paper or cardboard template to trace the exact shape needed. Carefully transfer this outline onto the back of your tile.
For straight cuts, a utility knife and a straightedge are sufficient. For intricate curves, several shallow cuts with a utility knife, or even tin snips, can help you achieve a precise fit. Always cut slightly oversized and trim down for a perfect, snug finish, ensuring your peel and stick floor tile looks custom-installed.
Sealing Edges with Removable Silicone Caulk
To enhance the waterproof capabilities and give your peel and stick floor tile a professional, finished look, sealing the edges is highly recommended. Apply a thin bead of removable silicone caulk along the perimeter where the tiles meet the walls, toilet, and vanity.
This creates a barrier against moisture and prevents dirt from accumulating in the seams. Crucially, opt for a removable silicone caulk, which can be easily peeled away later without damaging the underlying surfaces. This step is a small effort for a significant gain in both aesthetics and functionality .
Residue-Free Removal Guide on Move-Out Day
When move-out day arrives, removing your peel and stick floor tile without leaving a trace is straightforward. Begin by gently prying up a corner of a tile using a putty knife. For stubborn tiles, a hairdryer or heat gun (on a low setting) can warm the adhesive, making it more pliable and easier to lift.
Work slowly and steadily, peeling the tiles back at a shallow angle to minimize residue. Any minor adhesive residue left behind can typically be removed with a citrus-based adhesive remover or mineral spirits, applied sparingly to avoid damaging the subfloor. This method ensures your rental deposit remains secure.
Conclusion
Ultimately, upgrading your rental bathroom with peel and stick floor tile is a smart, stylish, and highly practical DIY project. It offers the aesthetic appeal of traditional tiling without the permanence or complexity, perfectly suiting the needs of renters. From selecting waterproof options to mastering precise cuts and ensuring a clean removal, every step is designed for accessibility and success.
Embrace the potential for transformation that peel and stick floor tile provides. With careful preparation and execution, you can create a luxurious, personalized bathroom space that you’ll love, knowing it can be reverted effortlessly when it’s time to move on. This modern solution empowers you to enhance your living environment responsibly and beautifully.