
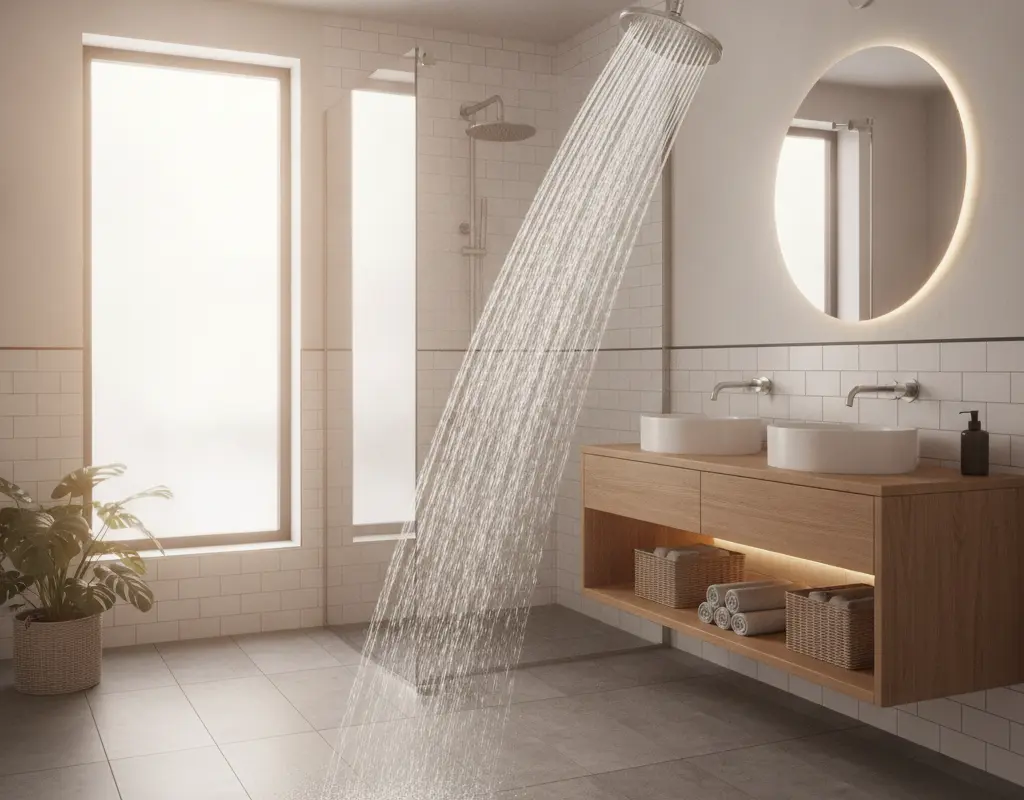
Best Renter Friendly Shower Head Upgrades for Luxury Pressure
Tired of weak water pressure and lackluster showers in your rental? You’re not alone. Many tenants dream of a spa-like experience but fear damaging their landlord’s property. Fortunately, you can achieve luxurious water flow without risking your security deposit.
This guide will show you how to choose and install the best renter friendly shower head upgrades, ensuring a revitalized daily routine. Discover how simple it is to swap out your standard fixture for a high-pressure, filtered, or rainfall model, all while keeping your rental agreement intact.
Why Upgrading Rental Plumbing Fixtures is 100% Reversible
Many renters shy away from personalizing their space, especially when it comes to plumbing. However, minor fixture changes like a shower head are typically considered reversible modifications. This means you can temporarily replace the existing shower head with a new one, then reinstall the original when you move out.
Always check your lease agreement for specific clauses regarding modifications. However, most standard leases permit minor, non-permanent changes. Understanding your tenant rights can empower you to make these small but impactful upgrades.
Top Rated Rainfall & High-Pressure Filtered Showerheads
When selecting a new shower head, consider both aesthetics and functionality. Do you crave a wide, drenching rainfall experience, or a focused, invigorating high-pressure spray? Many modern options also include filtration systems to improve water quality.
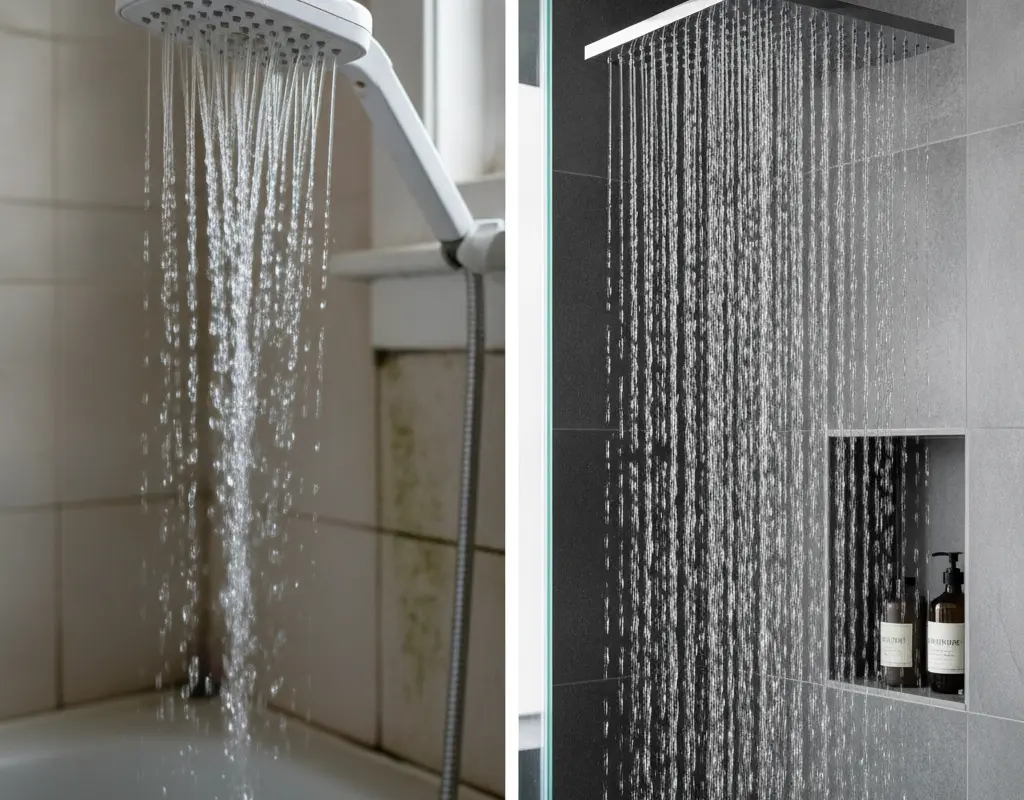
- Rainfall Showerheads: These mimic the feeling of standing in a gentle rain, offering a broad coverage area and soothing experience.
- High-Pressure Showerheads: Ideal for boosting weak water flow, these often feature advanced nozzle technology to intensify the spray.
- Filtered Showerheads: Perfect for areas with hard water or chlorine, these units can improve skin and hair health by removing impurities.
- Handheld Showerheads: Offer flexibility for rinsing, cleaning, and bathing pets, often with multiple spray settings.
Look for models specifically marketed as ‘easy install’ or ‘tool-free’ for the simplest swap. This ensures minimal fuss and maximum satisfaction.
Tools: Plumber’s Tape, Wrench & Towel (Preventing Scratches)
You don’t need a professional plumber for this upgrade. The process is straightforward and requires only a few basic items. These tools are readily available at any hardware store.
- Plumber’s Tape (PTFE tape): Essential for creating a watertight seal and preventing leaks.
- Adjustable Wrench: For loosening and tightening the shower head connection.
- Clean Towel or Cloth: Use this to protect the existing fixture and the new one from scratches when using the wrench.
- Bucket (Optional): Handy for catching any residual water when removing the old head.
Having these items ready will make the installation process smooth and efficient. You’ll be enjoying your new shower in no time.
Step-by-Step Replacement: Removing Old Fixture & Sealing Threads
Replacing your shower head is a quick DIY project. Follow these simple steps for a perfect installation:
- Prepare the Area: Place a towel in the bottom of your shower to catch any dropped parts or tools.
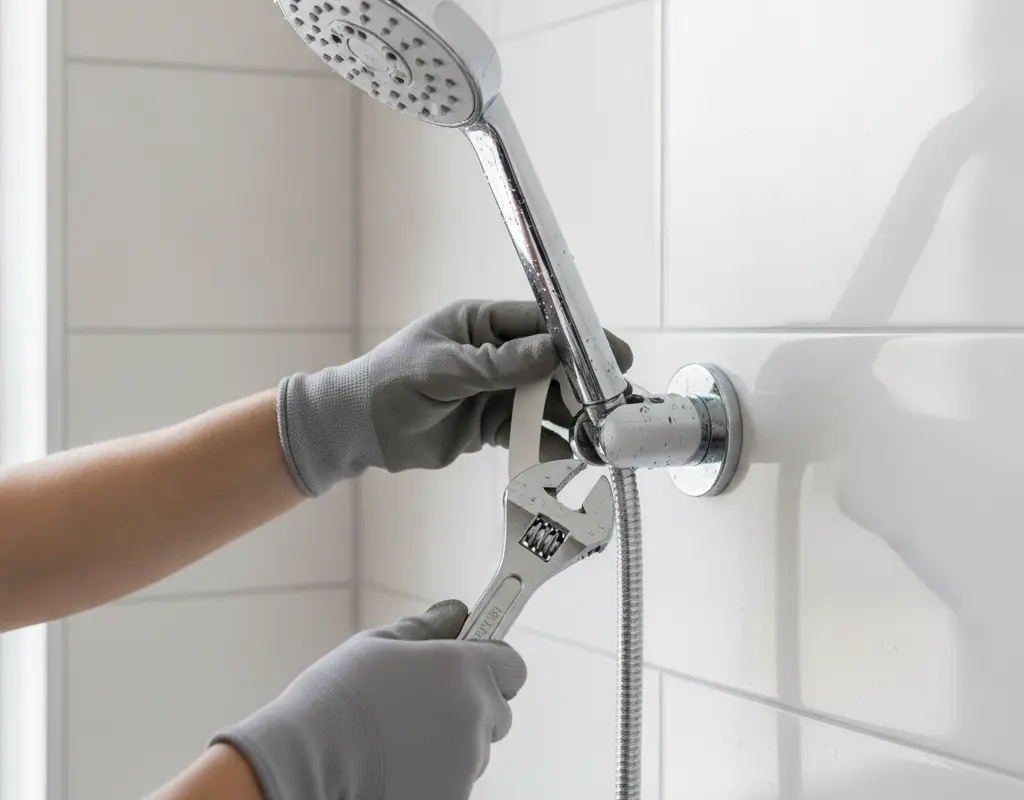
- Remove the Old Head: Using your adjustable wrench (with a cloth protecting the fixture), turn the old shower head counter-clockwise until it loosens and can be unscrewed by hand.
- Clean the Shower Arm Threads: Wipe away any old plumber’s tape or mineral buildup from the shower arm.
- Apply New Plumber’s Tape: Wrap plumber’s tape clockwise around the threads of the shower arm 3-5 times. This creates a tight, leak-proof seal.
- Install the New Head: Hand-tighten your new renter friendly shower head onto the shower arm. Once hand-tight, use the wrench (again, with a protective cloth) to give it a final quarter-turn, ensuring it’s snug but not overtightened.
- Test for Leaks: Turn on the water and check for any drips around the connection. Tighten slightly if necessary.
Safe Storage of Original Showerhead for Move-Out Reinstallation
Remember, the key to a truly renter-friendly upgrade is reversibility. Once you’ve installed your new, luxurious shower head, don’t discard the old one. Proper storage is crucial for a smooth move-out.
Clean the original shower head thoroughly, dry it completely, and then wrap it in a towel or bubble wrap. Store it in a labeled box in a safe place, like the back of a closet or a storage unit. This ensures you can easily reinstall it when your lease ends, leaving the property exactly as you found it and securing your full security deposit.
Conclusion
Upgrading to a high-pressure or rainfall renter friendly shower head is one of the easiest and most impactful ways to improve your rental living experience. It’s a quick, affordable, and completely reversible DIY project that can transform your daily routine from mundane to magnificent.
By following these simple steps and keeping your original fixture safe, you can enjoy the luxury you deserve without any landlord worries. So go ahead, treat yourself to that dream shower – your morning routine will thank you!


