

How to Install Wireless Wall Sconces: The Puck Light DIY
Ever dreamt of transforming your living space with elegant wall sconces, only to be deterred by the thought of messy wiring, expensive electricians, or landlord restrictions? You’re not alone! Many design enthusiasts face this dilemma, longing for that sophisticated touch without the permanent commitment. Fortunately, the secret to achieving high-end lighting without a single wire is simpler than you think.
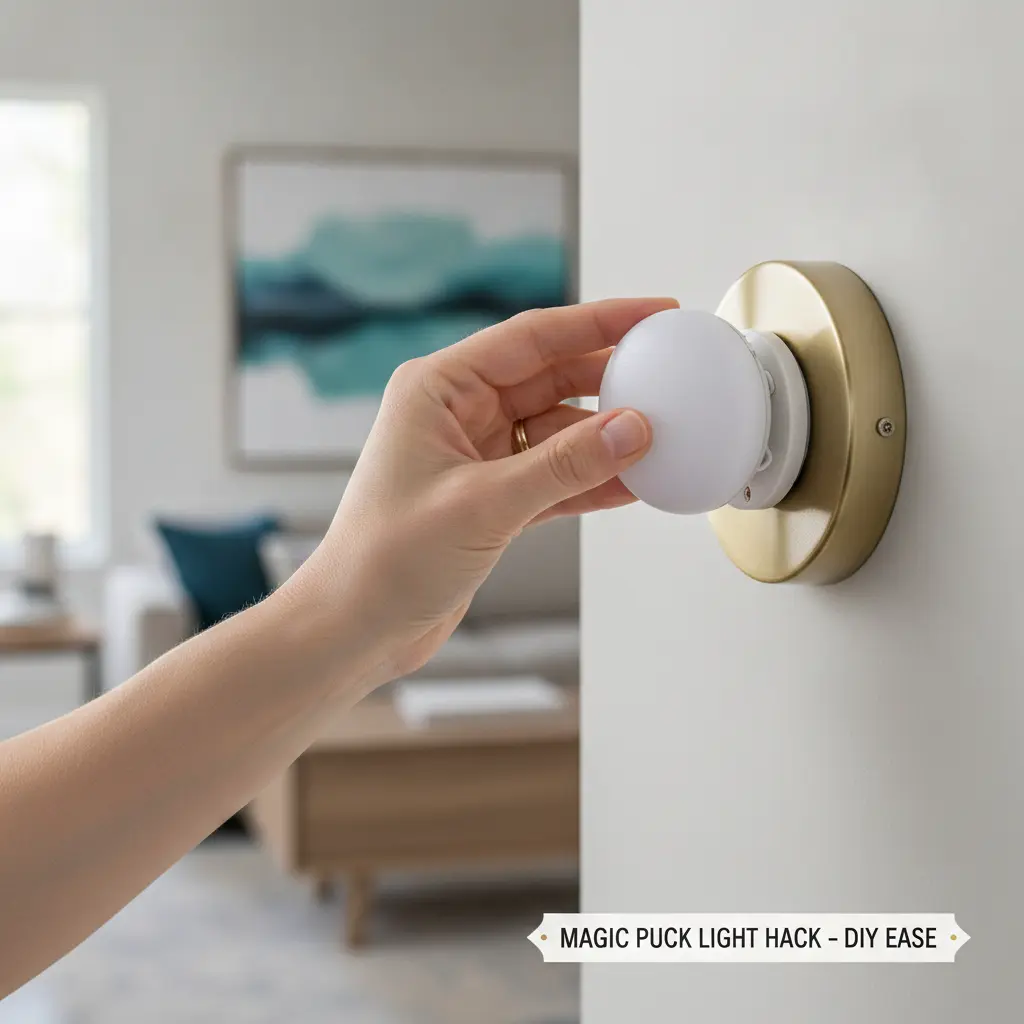
This guide unveils the ingenious ‘Magic Puck Light Hack,’ a revolutionary DIY method for installing beautiful wireless wall sconces that look professionally wired. Say goodbye to electrical headaches and hello to instant ambiance. Whether you’re a renter, a homeowner seeking flexibility, or simply someone who loves a clever workaround, prepare to illuminate your world with style and ease.
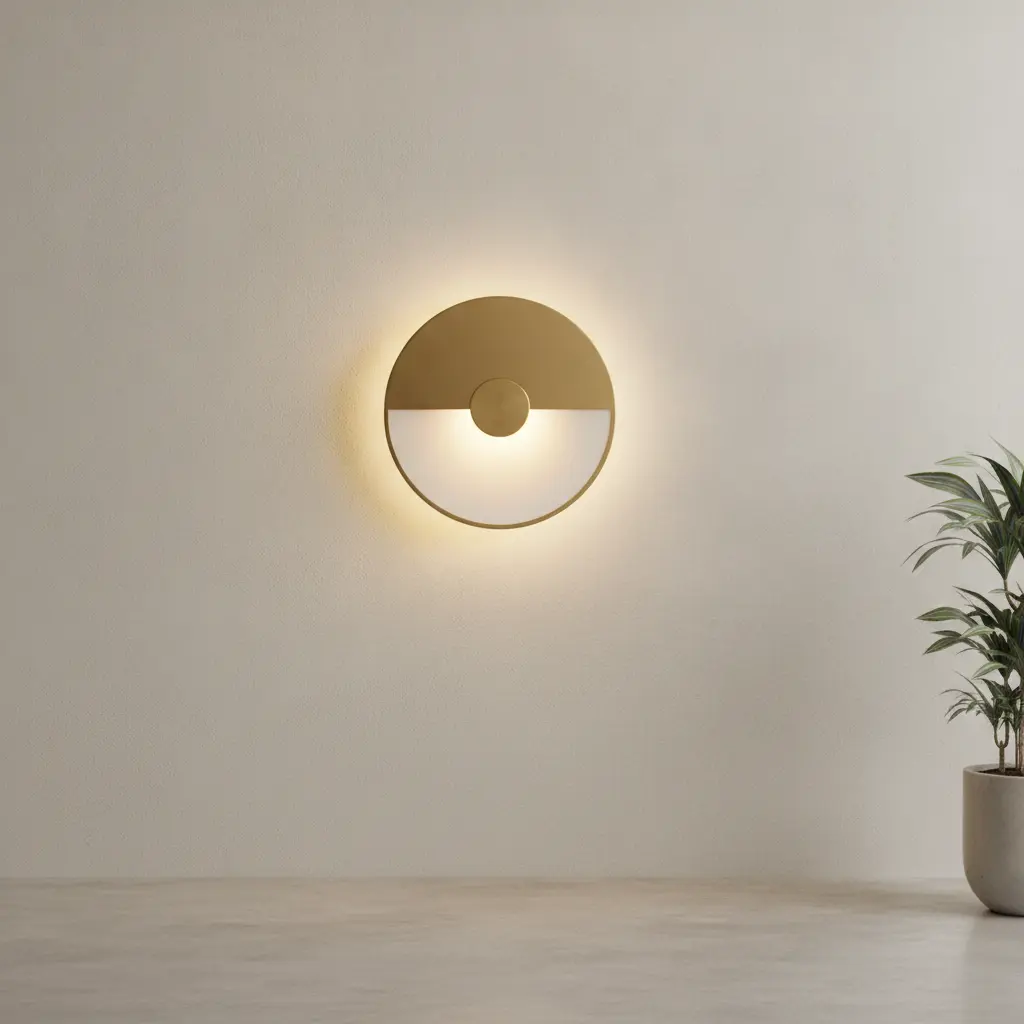
The Anatomy of a No-Wire Sconce Setup
At its heart, a no-wire sconce setup is a clever illusion. We’re essentially taking a traditional hardwired light fixture and converting it to run on battery-powered puck lights. This ingenious method bypasses the need for any electrical work, making it perfect for temporary installations or areas without existing wiring. The key is selecting the right components that seamlessly blend together.
Think of it as giving your favorite sconce a secret, battery-operated soul. This approach opens up a world of design possibilities, allowing you to place accent lighting exactly where you envision it, rather than where the wires dictate.
Materials Needed for Your Wireless Wall Sconces Project
Embarking on this DIY adventure requires a few key items. Gathering these upfront will ensure a smooth and efficient installation. Here’s your essential shopping list:
- Decorative Wall Sconce Fixture: Choose any sconce designed for hardwiring that has enough internal space to house a puck light and adapter. Aesthetics are paramount here!
- LED Puck Lights: Opt for remote-controlled, rechargeable models for ultimate convenience. These are the stars of our show, providing the illumination.
- Puck Light Mounting Adapters/Brackets: Many puck lights come with adhesive mounts, but specialized adapters can help secure them more robustly inside a sconce.
- Strong Adhesive Strips: Command Strips or heavy-duty mounting tape are ideal for attaching the sconce to the wall without damage, especially for renters.
- Measuring Tape & Level: Precision is key for perfectly aligned sconces.
- Screwdriver & Pliers: For disassembling and reassembling the sconce fixture if needed.
For inspiration on renter-friendly lighting solutions, including clever ways to use adhesive, you might find valuable insights from resources like Apartment Therapy’s guide on renter-friendly lighting hacks.
Step-by-Step Assembly: Converting Hardwired Fixtures
Ready to bring your vision to life? Follow these straightforward steps to transform a standard sconce into a brilliant wireless wall sconce.
- Prepare Your Sconce: Carefully remove any existing wiring or electrical components from the sconce fixture. You only need the housing and decorative elements. Ensure there’s enough space inside for your puck light.
- Mount the Puck Light: Attach your puck light (or its mounting bracket) securely inside the sconce. Use strong adhesive or small screws if the sconce design allows. Position it so the light shines effectively through the fixture’s shade.
- Test the Setup: Before mounting to the wall, insert batteries into your puck light and test its functionality with the remote control. This ensures everything is working correctly.
- Mark Your Wall: Determine the ideal placement for your sconce. Use a measuring tape and level to mark the precise spot where the sconce will hang.
- Attach to Wall: Apply Command Strips or your chosen adhesive to the back of the sconce’s mounting plate. Press firmly against the marked spot on the wall for the recommended duration.
- Final Touches: Step back and admire your handiwork! Adjust the light settings with your remote, and enjoy the instant upgrade.
This method is incredibly versatile, allowing you to experiment with placement without permanent alterations. For more details on safe and effective adhesive usage for home decor, consult reliable DIY resources or product instructions.
Best Remote-Controlled & Rechargeable Puck Lights
Not all puck lights are created equal, especially when it comes to powering your elegant wireless wall sconces. For the best experience, prioritize features like remote control functionality, dimmability, and rechargeable batteries.
- Remote Control: Essential for convenience, allowing you to turn lights on/off and adjust brightness without touching the sconce. Look for remotes with multiple light settings or timers.
- Rechargeable Batteries: A game-changer! USB-rechargeable puck lights eliminate the constant need for disposable batteries, saving you money and reducing waste. Many offer long battery life per charge.
- Brightness & Color Temperature: Consider the lumen output and color temperature (warm white, cool white) to match the desired ambiance of your space. Some advanced puck lights even offer RGB color options.
- Mounting Options: While we’re using adapters, having a puck light with a strong magnetic back or adhesive options can add an extra layer of security within your sconce.
When choosing, look for reputable brands known for their LED lighting quality and battery longevity. Consumer reviews are often a great indicator of real-world performance.
Ideal Sconce Height Rules for Living Rooms & Bedsides
Placement is everything when it comes to lighting design. Getting the height right for your wireless wall sconces can dramatically impact the functionality and aesthetic appeal of your room.
“Lighting is not just about illumination; it’s about creating mood and atmosphere.” – Unknown
- Living Room Sconces: Generally, sconces in a living room should be mounted at eye level when standing, typically around 60-65 inches (152-165 cm) from the floor. If placed beside a sofa, ensure they are high enough to avoid head bumps but low enough to cast ambient light effectively.
- Bedside Sconces: For bedside lighting, the ideal height is usually 30-36 inches (76-91 cm) from the top of the mattress. This places the light source at a comfortable reading level and prevents harsh glare. Always consider the height of your headboard and nightstand when planning.
- Hallway Sconces: In hallways, sconces often serve a decorative purpose while providing subtle path lighting. Mount them consistently, usually around 66 inches (167 cm) from the floor, spaced evenly along the wall.
Remember, these are guidelines. Always consider the scale of your room, the height of your furniture, and your personal preferences. For a comprehensive visual guide, you can consult resources like Lightology’s Sconce Placement Guide. A good rule of thumb is to mock up the placement with painter’s tape before committing.
Conclusion / Final Thoughts
Transforming your home with elegant wall sconces no longer requires a major renovation or an electrician’s hefty bill. With the magic puck light hack, you can effortlessly introduce sophisticated lighting into any space, adapting to your style and needs. This renter-friendly, DIY approach empowers you to experiment with design, creating the perfect ambiance without commitment.
So, go ahead and unleash your inner interior designer! Embrace the freedom of wireless lighting and watch as your rooms come alive with a warm, inviting glow. Your perfect wireless wall sconces are just a few simple steps away.


