DIY Plaster Pedestal Table: Monolithic Dining
Are you ready to transform your dining space with a statement piece that exudes sculptural elegance? A DIY plaster pedestal table offers a unique blend of artistry and functionality. This guide empowers you to construct a monolithic round dining table with sweeping curves, bringing high-end design into your home without the designer price tag.
Embrace the satisfaction of crafting a custom furniture piece. This project uses heavy cardboard concrete forms to achieve that coveted sculptural look. You’ll create a conversation starter that perfectly anchors any dining room, large or small.
The Dramatic Sculptural Presence of Round Monolith Tables
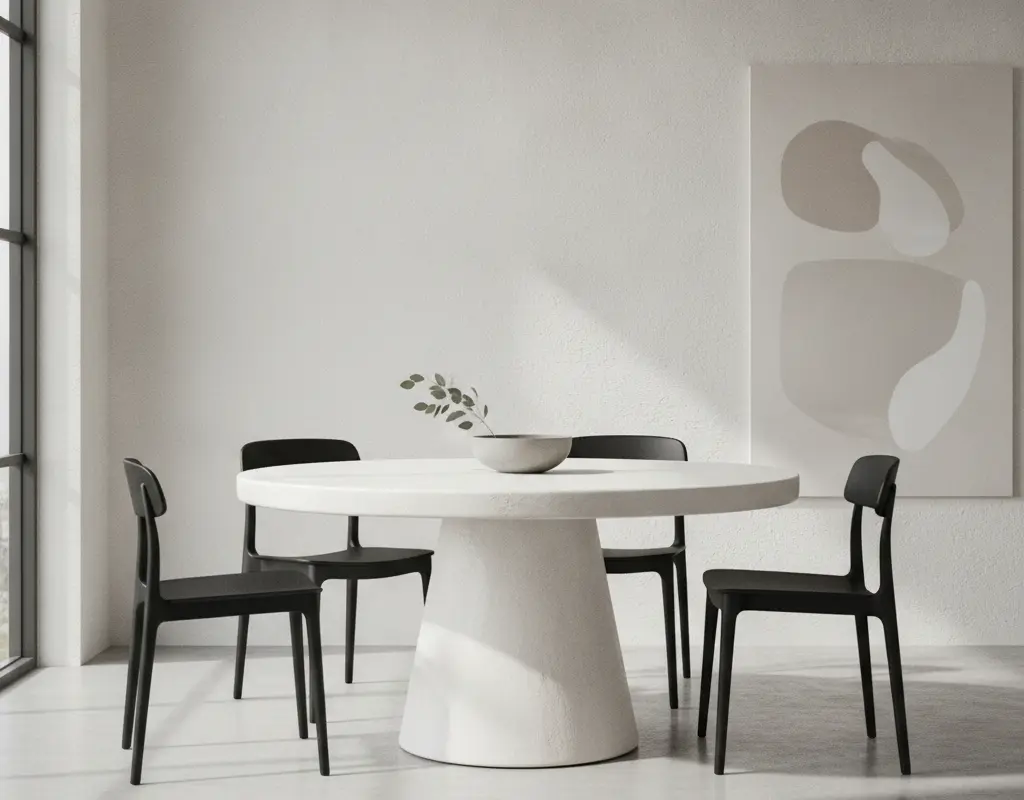
Monolithic tables, characterized by their substantial, single-form bases, create an immediate focal point in any room. Their sculptural presence adds a sense of permanence and artistry, often aligning with the organic modern style that prioritizes natural materials and fluid shapes. A round dining table further enhances this, promoting inclusive conversations and a softer aesthetic.
Building your own allows for complete customization in size and finish. Imagine a table perfectly proportioned for your space, reflecting your personal style. It’s an ambitious yet rewarding undertaking.
Building the Base: Heavy-Duty Sonotube Concrete Forms
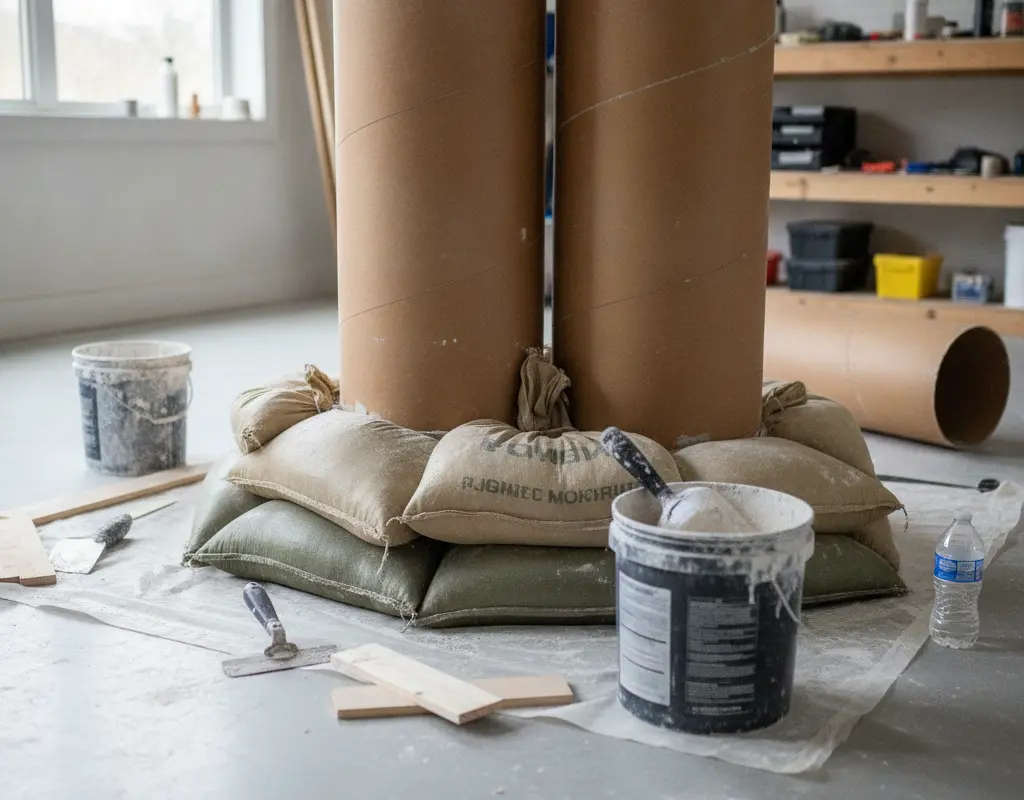
The foundation of your DIY plaster pedestal table lies in its sturdy base. We recommend using heavy-duty Sonotube concrete forms, readily available at most hardware stores. These robust cardboard tubes come in various diameters, making it easy to choose the perfect size for your pedestal.
Cut your Sonotube to the desired height for your table base. You might use one large tube or stack several smaller ones for a more complex shape. Ensure all cuts are clean and level for a professional finish.
Weighting the Pedestal Base with Sandbags to Prevent Tipping
Stability is paramount for any dining table, especially a pedestal design. Once your Sonotube base is assembled, it’s crucial to weight it adequately to prevent any risk of tipping. This step ensures safety and longevity for your handmade piece.
Fill the interior of your Sonotube base with sandbags or concrete mix for substantial ballast. This adds significant weight, anchoring the table firmly to the ground. Seal the base securely to contain the filler material.
Attaching Round Timber Table Tops with Heavy-Duty Brackets
For the tabletop, a round timber piece offers durability and a beautiful natural contrast to the plaster base. You can use a thick plywood circle or a solid wood slab, depending on your preference and budget. Ensure the top is smooth and prepped for finishing.
Attach the timber top to your weighted pedestal base using heavy-duty L-brackets or a custom-built wooden flange. Securely screw these into both the top and the base, ensuring a rock-solid connection. This meticulous attachment guarantees stability for years of use.
Layering Joint Compound and Venetian Plaster for a Velvety Top
Now comes the artistic part: achieving that luxurious, velvety plaster finish. Start by applying several thin coats of joint compound to the entire pedestal base, sanding lightly between coats for a smooth foundation. This prepares the surface for the final plaster application.
Next, apply Venetian plaster or a similar decorative plaster. Use a trowel to create subtle variations and a rich, textured depth. For more inspiration on crafting your own dining solutions, Apartment Therapy offers a fantastic compilation of DIY dining tables that can spark further creativity. If you’ve enjoyed other texturing projects like our DIY Roman Clay Table, you’ll love this process. Seal the finished plaster with a matte or satin sealer to protect it and enhance its durability.
- Materials Checklist:
- Heavy-duty Sonotube concrete forms
- Sandbags or concrete mix for weighting
- Round timber tabletop (plywood or solid wood)
- Heavy-duty L-brackets or wooden flange
- Joint compound
- Venetian plaster or decorative plaster
- Sanding paper
- Protective sealer
Conclusion
Crafting a DIY plaster pedestal table is a rewarding project that yields a stunning, high-impact piece of furniture. You’ve transformed simple materials into a monolithic, sculptural dining table that rivals designer pieces. This guide has walked you through each critical step, from building the robust base to achieving that coveted velvety plaster finish.
Enjoy your new, custom-made dining table—a true testament to your creativity and skill. It’s more than just a table; it’s a centerpiece that tells a story, perfectly suited for memorable meals and gatherings.