
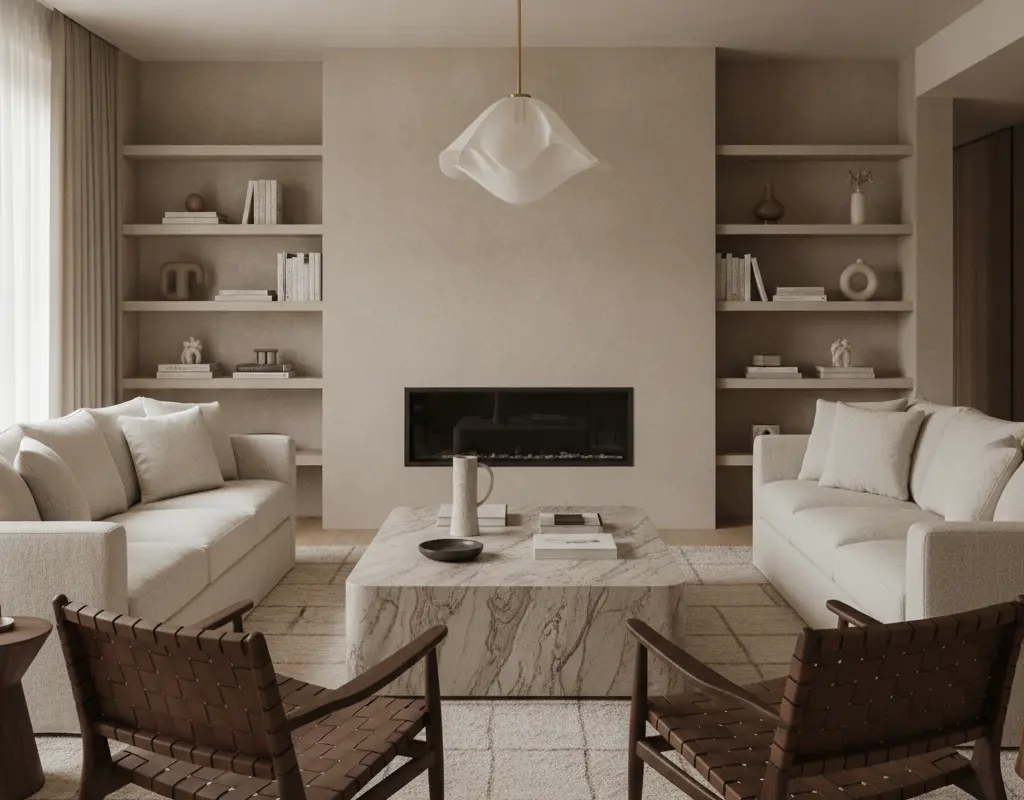
DIY Roman Clay Table: High-End Travertine Stone Finish
Tired of expensive furniture but crave that high-end, European stone aesthetic? Imagine transforming a budget-friendly thrift store find into a luxurious centerpiece. This guide shows you exactly how to achieve a sophisticated travertine stone finish on any table using Roman clay.
With our step-by-step DIY Roman clay table hack, you can easily elevate your home decor. Get ready to create a bespoke piece that looks like it cost a fortune, all while embracing the satisfaction of a do-it-yourself project. It’s time to unlock incredible texture and timeless elegance.
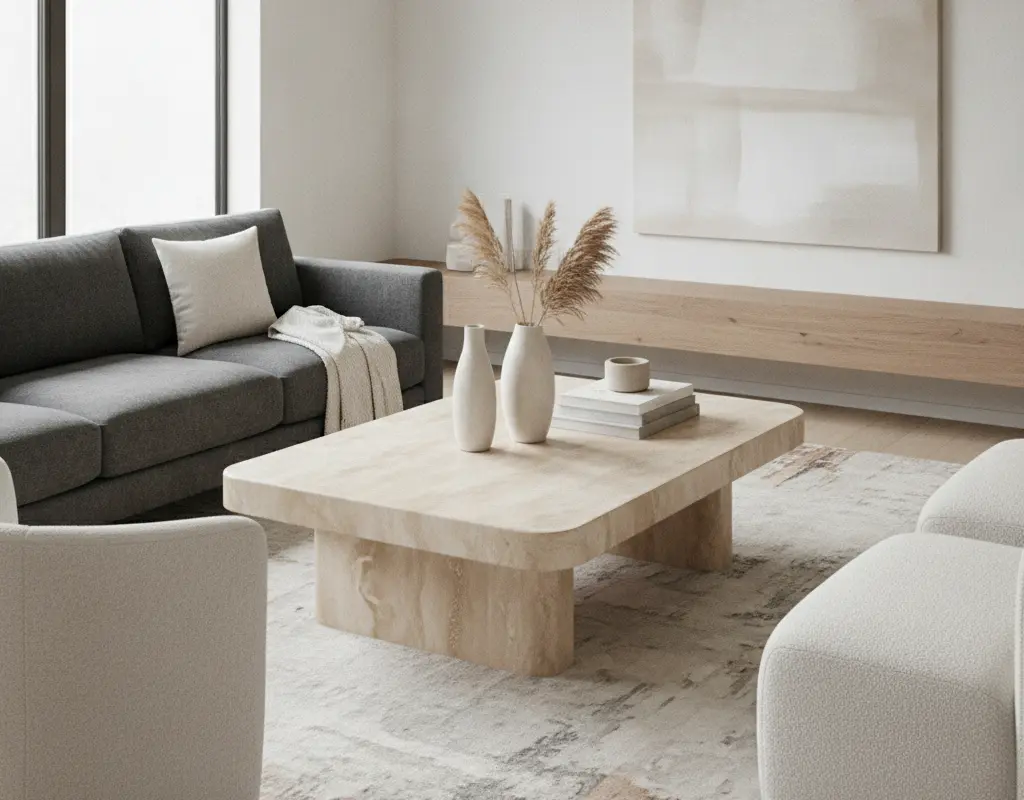
Roman Clay vs. Microcement vs. Limewash Comparison
Before diving into your project, it’s helpful to understand why Roman clay is the perfect choice for this particular finish. While microcement and limewash also offer beautiful textural effects, Roman clay provides a unique blend of ease of application and a soft, matte, almost powdery finish that perfectly mimics natural stone like travertine.
- Roman Clay: Known for its smooth, velvety texture and subtle, varied tones. It’s relatively easy to apply for DIYers, offering a forgiving workability that allows for organic movement. Perfect for achieving a soft, aged stone look.
- Microcement: A robust, durable finish often used for floors, countertops, and wet areas. It creates a very hard, seamless surface. While versatile, its application can be more complex for beginners.
- Limewash: Produces a chalky, mottled finish with deep, translucent color variations. It’s excellent for walls but can be more challenging to get a uniform, stone-like texture on furniture without specialized techniques.
For our DIY Roman clay table project, the distinctive qualities of Roman clay will help us achieve that coveted high-end travertine look with minimal fuss.
Prepping Laminate and Wood Surfaces with Bonding Primer
Proper preparation is the foundation of any successful DIY project. For your future Roman clay masterpiece, adequately priming the surface ensures superior adhesion and a long-lasting finish. This step is crucial, whether you’re working with laminate, MDF, or solid wood.
First, clean your table thoroughly, removing any dust, grime, or loose particles. Lightly sand glossy surfaces with 220-grit sandpaper to create a ‘tooth’ for the primer to grip. Next, apply a high-quality bonding primer designed for difficult surfaces. This creates an ideal, uniform base for the Roman clay, preventing absorption issues and ensuring your finish adheres beautifully. Allow it to dry completely according to manufacturer instructions.
Trowel Techniques for Organic Movement and Depth
This is where the magic happens! The application of Roman clay is more art than science, allowing for beautiful, organic movement. For your DIY Roman clay table, you’ll want to mimic the subtle variations found in natural stone.
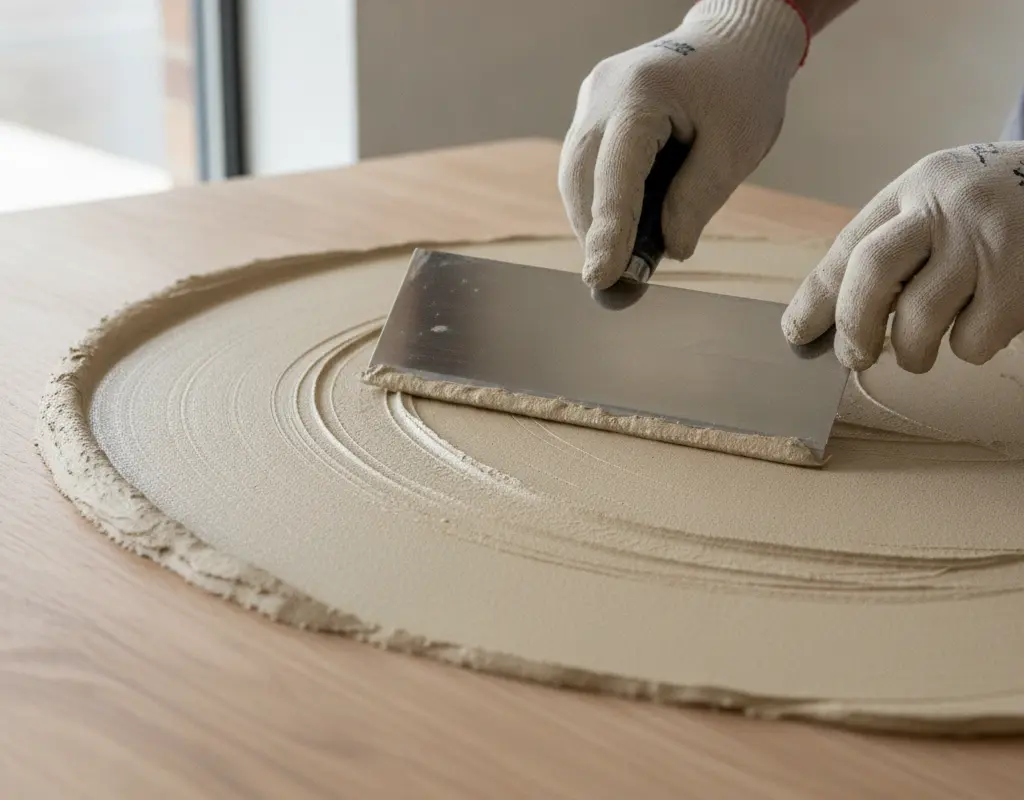
Using a flexible stainless steel trowel, apply the first thin coat of Roman clay. Use sweeping, overlapping motions, varying the pressure and direction slightly. Don’t aim for perfection; instead, embrace the imperfections that will contribute to the natural stone aesthetic. Allow this coat to dry completely, typically 2-4 hours.
For the second coat, apply another thin layer using similar techniques. This time, focus on building up subtle texture and depth. Experiment with feathering the edges and creating subtle peaks and valleys. This layering technique is essential for achieving the rich, nuanced appearance of authentic travertine. Many designers are currently embracing these textural finishes, as highlighted by trends in publications like Architectural Digest’s insights into plaster and stone decor.
Sanding to a Velvety Smooth Tactile Finish
Once your Roman clay has fully dried (at least 24 hours), it’s time to reveal its inherent beauty. This sanding phase is vital for achieving that luxurious, velvety smooth tactile finish that truly elevates your DIY Roman clay table.
Using a fine-grit sandpaper (around 320-400 grit), gently sand the entire surface. Work in small, circular motions, applying light and even pressure. The goal is to knock down any high spots and smooth out the texture, creating a soft, almost powdery feel. Be careful not to sand through to the primer. Wipe away dust with a clean, damp cloth. The transformation at this stage is truly satisfying, as the surface begins to feel incredibly refined.
Waterproof Sealing to Prevent Coffee and Water Staining
To protect your beautiful new DIY Roman clay table from everyday spills and ensure its longevity, sealing is an absolute must. Roman clay, while durable, is porous and susceptible to staining without proper protection.
Choose a high-quality, water-based matte or satin sealer that is compatible with Roman clay. Apply 2-3 thin coats, allowing each coat to dry completely before applying the next. Follow the manufacturer’s instructions for curing times. This protective barrier will make your table resistant to water rings, coffee stains, and general wear and tear, ensuring your stunning travertine-look piece remains pristine for years to come.
Conclusion
Transforming a simple, inexpensive table into a high-end, travertine-inspired showpiece with Roman clay is an incredibly rewarding DIY project. By following these steps, you’ve not only created a stunning piece of furniture but also added significant value and style to your home.
Embrace the unique texture and sophisticated aesthetic of your new DIY Roman clay table. This hack proves that luxury doesn’t have to come with a hefty price tag. Enjoy your beautiful, bespoke creation!


