DIY Reeded Glass Cabinet Doors: High-End Vitrine Hack
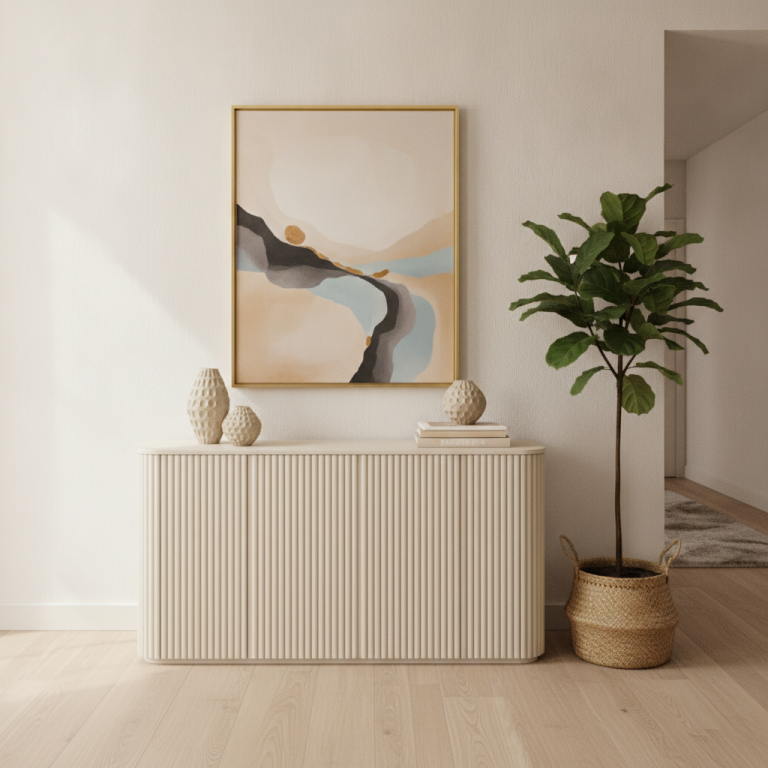
Are you dreaming of elegant, high-end display cabinets but balking at the price tag? You’re in luck! Transforming ordinary IKEA vitrines into custom-looking pieces is surprisingly simple with this DIY reeded glass cabinet doors hack. Achieve that sophisticated ribbed glass aesthetic and instantly elevate your home decor without breaking the bank.
This project uses static cling fluted film to create stunning DIY reeded glass cabinet doors, perfect for concealing clutter while adding a touch of modern luxury. Get ready to give your kitchen or living space a serious upgrade!
Why Reeded Glass Vitrines Are the Pinnacle of Modern Kitchens
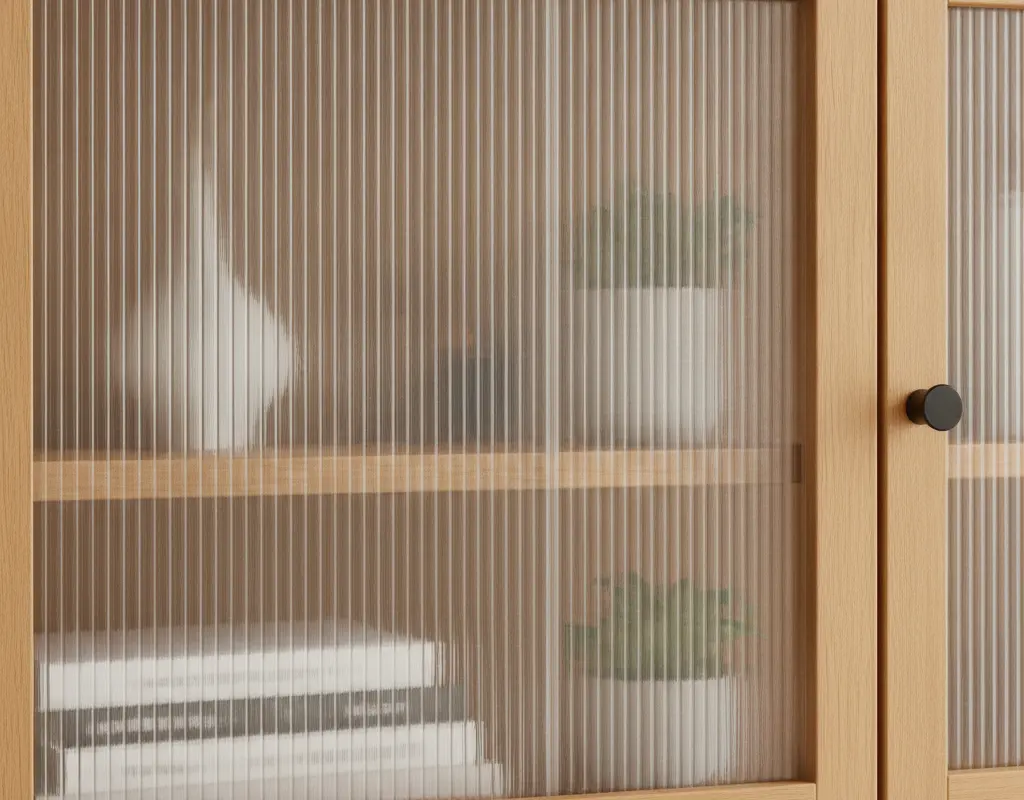
Reeded glass, also known as fluted or ribbed glass, offers a unique blend of privacy and style. It obscures the contents of your cabinets just enough to hide everyday clutter, yet still allows light to filter through beautifully. This effect adds an architectural detail that makes any piece feel bespoke and high-end.
Modern kitchens and living spaces often feature reeded glass for its clean lines and textural interest. It’s a versatile design element that complements various aesthetics, from minimalist to organic modern. For more ideas on styling glass-front cabinets, consider insights from design experts on how to beautifully arrange items behind glass doors.
Applying Static Cling Fluted Film to IKEA Oxberg Glass Panels
The secret to achieving this luxurious look is static cling fluted film. It’s incredibly forgiving and renter-friendly, meaning no sticky residue or permanent changes. For IKEA users, the Oxberg glass cabinet doors are perfect candidates for this transformation.
- Clean the glass thoroughly. Use a glass cleaner and a lint-free cloth to ensure a spotless surface.
- Measure your glass panels precisely. Cut the fluted film to size, leaving a small overlap (about 1/2 inch) on all sides.
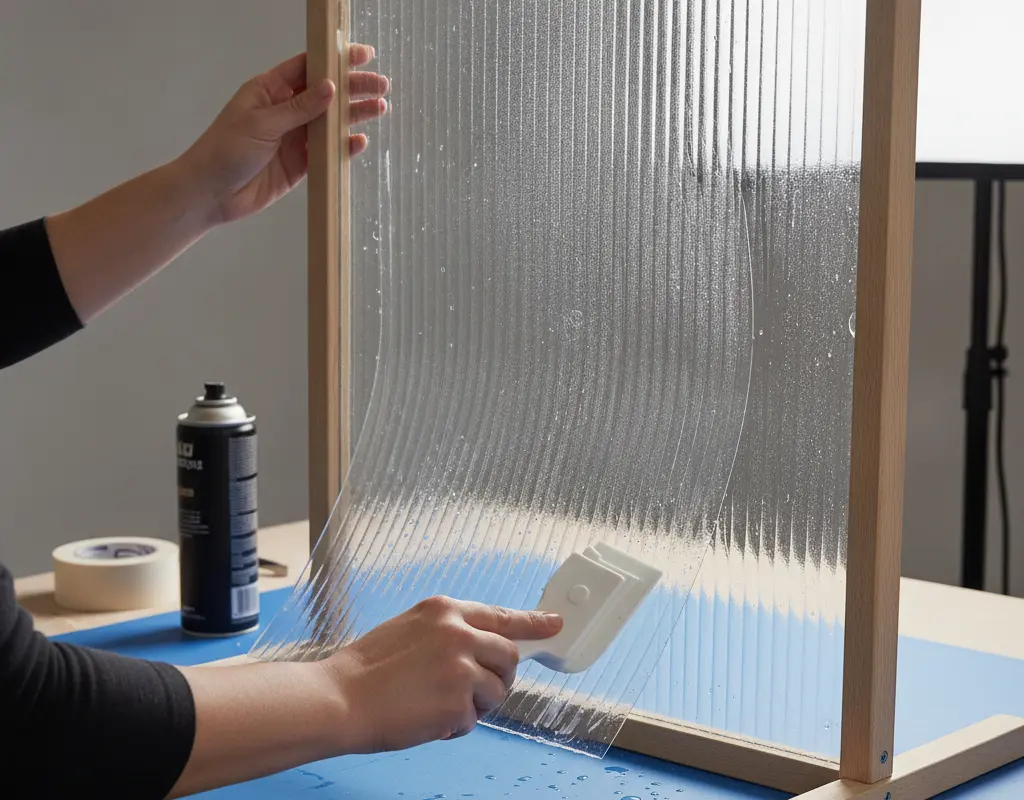
- Lightly spray the glass with a mixture of water and a tiny drop of dish soap. This allows you to slide and reposition the film easily.
- Carefully peel off the backing of the film and apply it to the wet glass.
Eliminating Air Pockets and Aligning Vertical Ridges with Squeegees
Once the film is on the glass, the real magic happens with your squeegee. Start from the center and work your way outwards, pushing out all water and air bubbles. This step is crucial for a flawless finish.
Pay close attention to aligning the vertical ridges of the fluted film. Slight adjustments are possible while the glass is still wet. Trim any excess film with a sharp utility knife along the edges of the glass for a perfectly flush fit.
Spray Painting Door Frames in Matte Iron Black or Antique Gold
To truly elevate your DIY reeded glass cabinet doors, consider painting the cabinet frames. A matte iron black provides a sleek, modern contrast to the delicate fluted glass. Alternatively, antique gold can introduce a touch of vintage glamour.
Always prep your surfaces properly by cleaning and lightly sanding. Use a high-quality spray primer, followed by several thin coats of your chosen paint. This step significantly enhances the custom feel, much like how upgrading cabinet hardware can instantly transform a kitchen.
Adding Internal Warm 2700K Puck Lights for Soft Night Illumination
No high-end vitrine is complete without sophisticated lighting. Wireless, battery-operated LED puck lights with a warm 2700K temperature are ideal for this project. They provide a soft, inviting glow that highlights your displayed items without the need for complex wiring.
Attach them to the inside top of your cabinet using their adhesive backing. These lights create a beautiful ambiance, especially at night. For more inspiration on effortless lighting solutions, explore options like wireless under cabinet lighting or even DIY wireless wall sconces for other areas of your home.
Conclusion
Transforming your basic IKEA vitrines into luxurious display pieces with DIY reeded glass cabinet doors is a project that delivers immense satisfaction and a high-end look on a budget. By combining static cling fluted film, a fresh coat of paint, and warm internal lighting, you create a custom furniture piece that truly stands out.
Embrace the elegance of ribbed glass and give your home the sophisticated touch it deserves. This hack is a testament to how simple, renter-friendly modifications can yield truly stunning results, adding both style and functionality to your space, much like other IKEA hacks for custom furniture.