Pole Wrap Furniture Hack: Fluted Console DIY
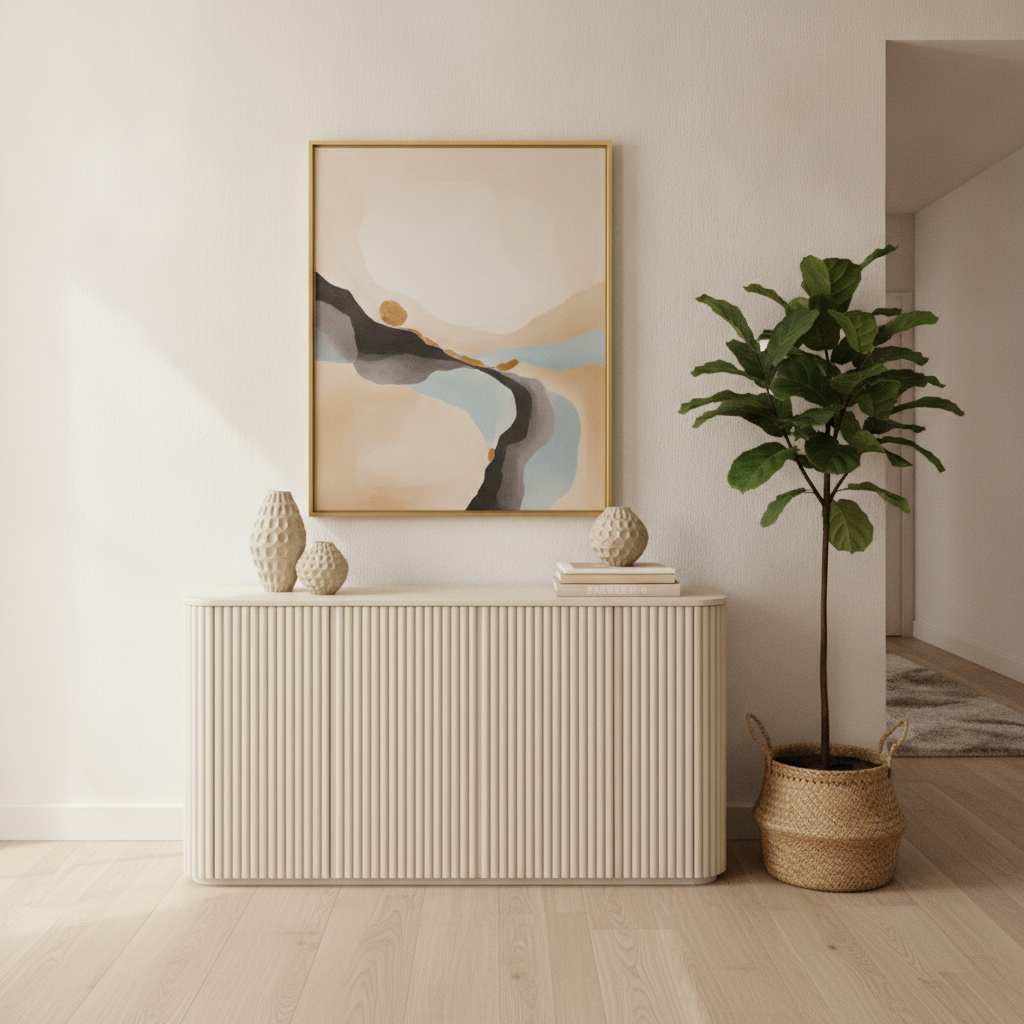
Ready to elevate your home decor with a high-end, custom look without breaking the bank? The innovative pole wrap furniture hack is your secret weapon. This ingenious DIY method transforms ordinary, flat surfaces into architectural statements with stunning fluted textures. It’s an accessible way to infuse modern elegance into any piece, making your furniture look significantly more expensive and thoughtfully designed.
This guide will walk you through every step of mastering the pole wrap furniture hack, from precise cutting to flawless application and beautiful staining. Get ready to create a bespoke fluted slat wood console that will impress everyone.
What is Pole Wrap and Why Has It Revolutionized DIY Decor?
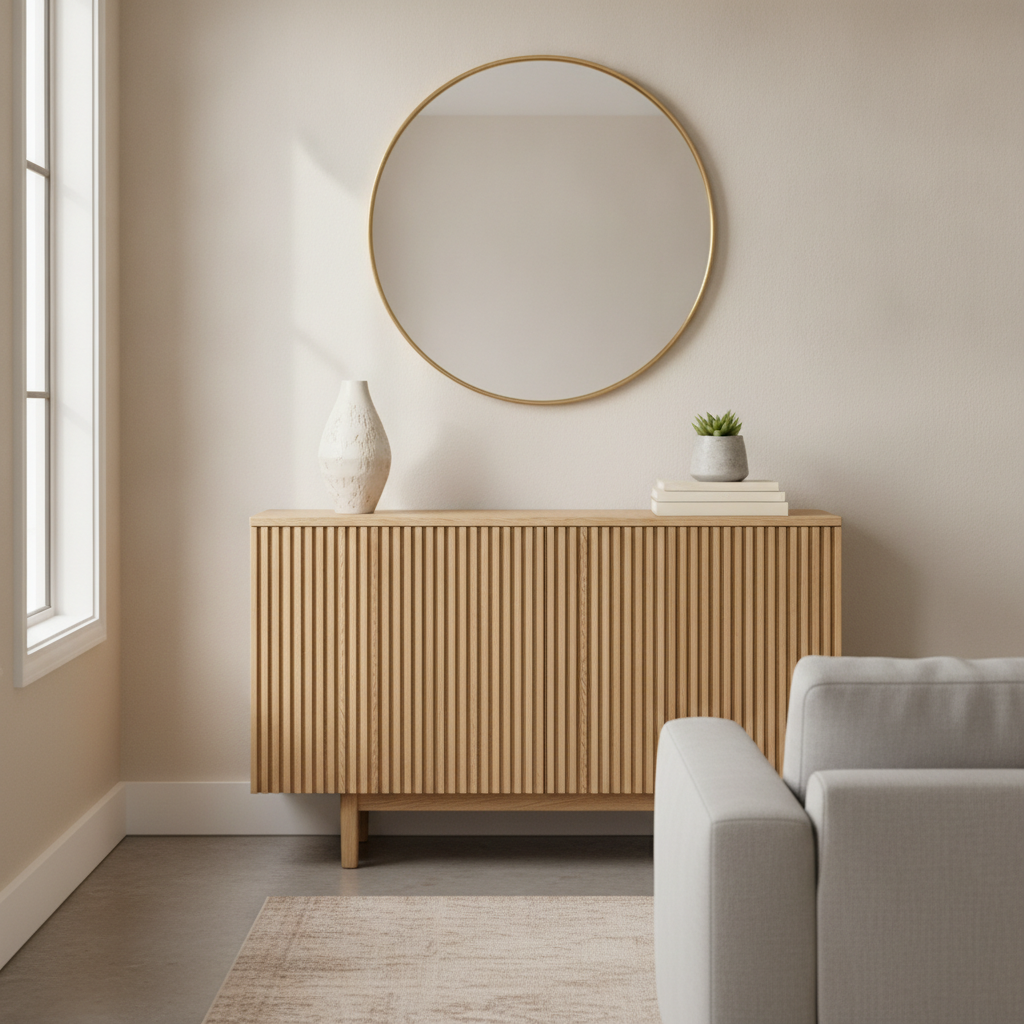
Pole wrap, essentially flexible wood veneer sheets with a beautiful fluted or slatted design, has become a game-changer in the DIY world. Originally designed for wrapping support columns, its versatility quickly expanded. Now, crafters use it to add instant texture and a high-end feel to everything from basic IKEA furniture to plain walls.
This material, often referred to as tambour, offers a sophisticated architectural detail that mimics custom millwork at a fraction of the cost. It’s an ideal solution for anyone looking to achieve a modern, organic aesthetic. For more inspiration on how this material is transforming homes, check out these Apartment Therapy pole wrap projects.
Precision Cutting Slat Sheets with a Utility Knife and Straight Edge
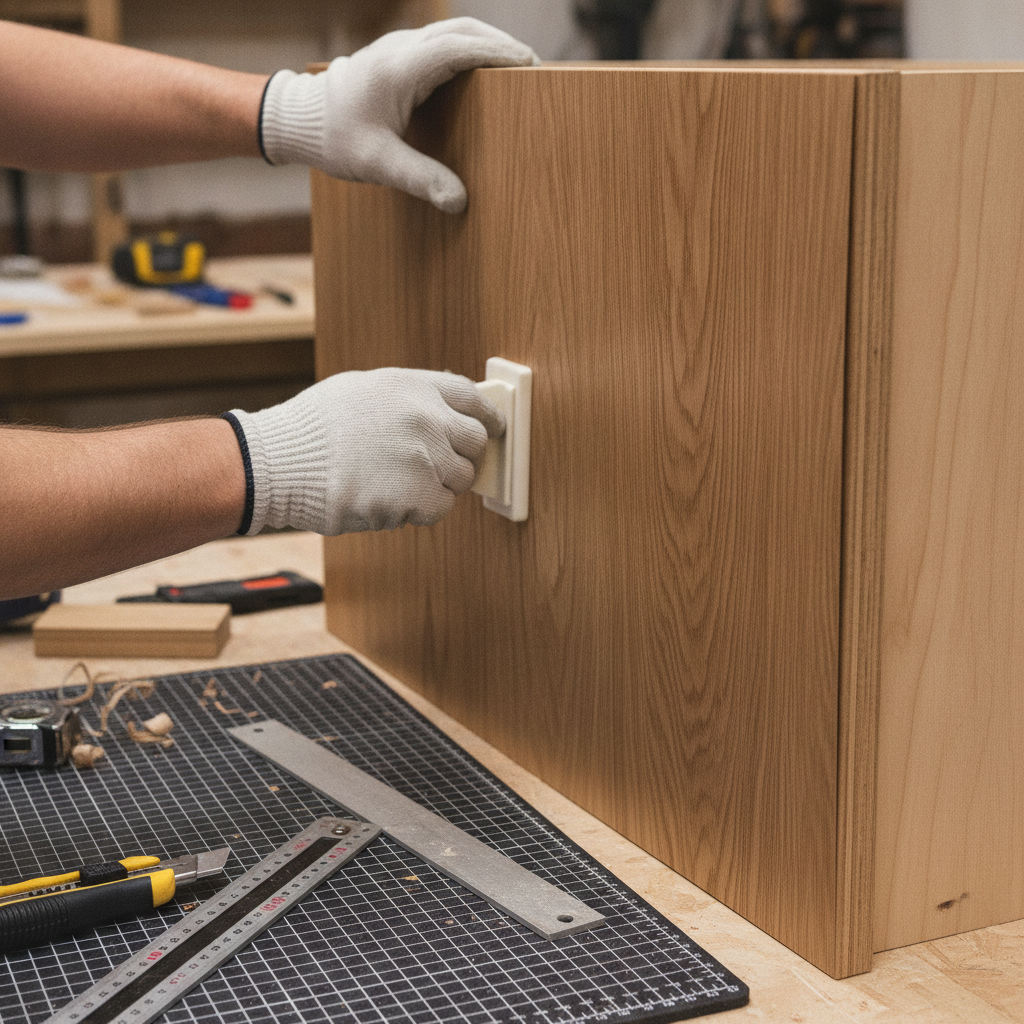
Achieving a professional finish with your pole wrap furniture hack hinges on precise cuts. You’ll need a sharp utility knife, a sturdy metal straight edge, and a self-healing cutting mat. Carefully measure the dimensions of the surface you plan to cover, ensuring you account for any overhangs or edges.
Place the pole wrap face-down and use your straight edge as a guide. Score deeply along your cut line multiple times until the slats cleanly separate. Remember, taking your time here prevents jagged edges and ensures a seamless application.
Wrapping Curved Cylinder Pedestals vs. Flat Cabinet Faces
While pole wrap is fantastic for wrapping curved surfaces like pedestals, our focus today is transforming flat cabinet faces into a chic fluted console. The process for flat surfaces is generally more straightforward, requiring less manipulation of the material. This makes it perfect for upgrading existing pieces like dressers, sideboards, or even an IKEA Besta hack into a custom-looking console.
When working on flat panels, ensure the surface is clean, dry, and free of any debris. This preparation is crucial for optimal adhesion and a smooth finish. Think about how a DIY renter friendly slat wall achieves its clean lines; the same principles apply here.
Using Contact Cement for Permanent, Bubble-Free Adhesion
For a durable, long-lasting bond, contact cement is your best friend. Apply a thin, even layer to both the back of the pole wrap and the surface of your furniture piece. Allow the adhesive to become tacky, typically for 10-15 minutes, before carefully aligning and pressing the pole wrap into place.
Once the two tacky surfaces touch, they bond instantly and permanently, so accuracy is key. Use a J-roller or a clean, dry cloth to firmly press along the entire surface, ensuring no air bubbles are trapped underneath. This creates a secure, bubble-free adhesion that will stand the test of time.
Staining Open-Grain Oak Slats in Warm Caramel and Ebony Tones
The beauty of unfinished oak pole wrap lies in its ability to be customized with stain. Before staining, lightly sand the surface with fine-grit sandpaper (220-grit) to ensure even absorption. Wipe away any dust with a tack cloth.
Experiment with different stains on a scrap piece to find your perfect shade. Warm caramel tones can create a inviting, natural look, while ebony provides a sophisticated, dramatic contrast. Apply the stain evenly with a brush or cloth, wiping off excess as per product instructions. Once dry, seal your beautiful new fluted console with a clear topcoat for protection and enhanced durability. This transformed piece will fit beautifully among multi functional furniture pieces for small spaces or serve as a stunning focal point in your small entryway ideas for apartments.
Conclusion
Mastering the pole wrap furniture hack is an incredibly rewarding DIY project that yields stunning, custom results. From selecting your pole wrap to precise cutting, secure adhesion, and beautiful staining, each step brings you closer to a unique piece of furniture.
Embrace the power of textured design and transform your flat surfaces into works of art. Your new fluted slat wood console will not only be a testament to your creativity but also a stylish, high-end addition to your home decor. Happy crafting!