
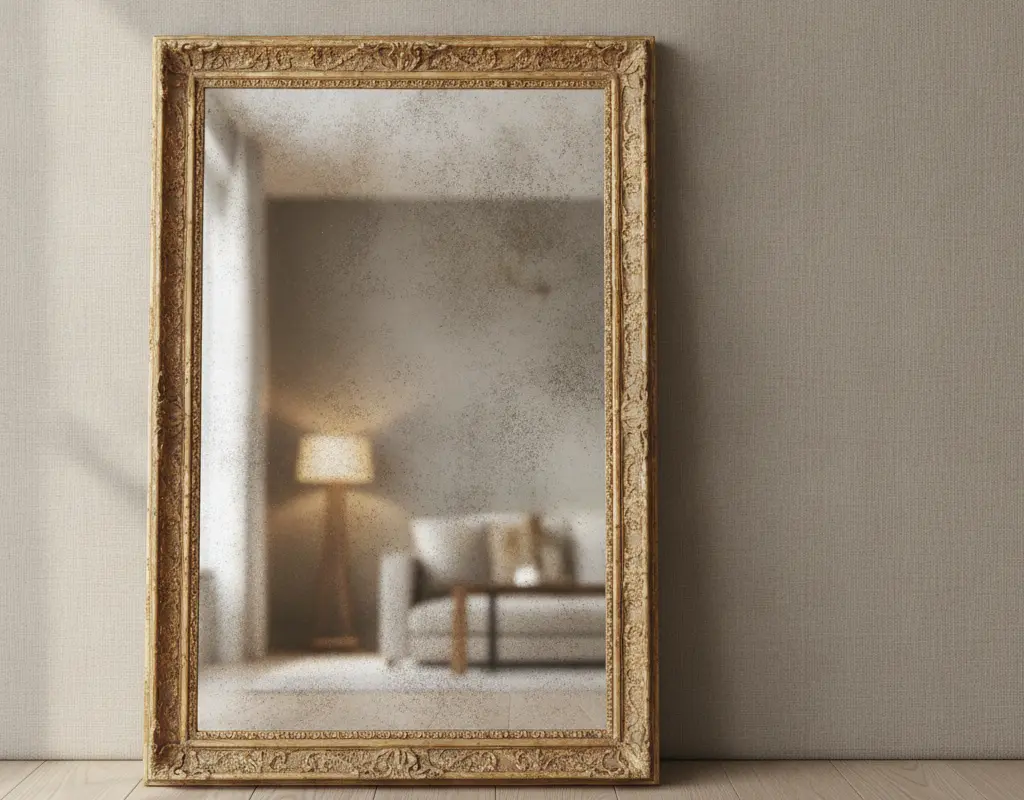
How to Antique a Mirror: Mercury Glass Finish Tutorial
Ever wondered how to antique a mirror to achieve that coveted, time-worn mercury glass finish? Modern mirrors, while functional, often lack the soul and depth of their antique counterparts. This tutorial guides you through transforming a plain mirror into a statement piece, giving it centuries of character with a sophisticated, distressed look.
Creating an antique mirror effect isn’t just about aging; it’s about crafting a narrative. We’ll show you exactly how to antique a mirror using accessible tools and materials, ensuring your DIY project yields a high-end result that elevates any space.

The High-End Fascination with Distressed French Mercury Mirrors
Distressed French mercury mirrors exude an unparalleled elegance that effortlessly elevates any interior. Their cloudy, speckled surfaces tell stories of bygone eras, adding a layer of sophisticated charm that mass-produced items simply can’t replicate. This unique aesthetic is highly sought after by interior designers for its ability to add depth, texture, and a touch of antique luxury to contemporary or traditional spaces.
The allure lies in the imperfect beauty of the mercury glass, which reflects light softly and creates a dreamy, ethereal glow. This makes them perfect for creating luxe drop zones in small entryways or enhancing the ambiance of a living area. Achieving this look at home is surprisingly straightforward, allowing you to infuse your decor with a touch of old-world glamour.
Stripping the Protective Paint Backer with Paint Remover
The first crucial step in learning how to antique a mirror involves carefully removing the existing protective paint layer from the mirror’s back. This backing typically protects the silvering, but we need to expose it for the antiquing process. Begin by placing your mirror face down on a protected, well-ventilated surface.
Apply a generous, even layer of paint stripper, specifically designed for paint and varnish removal, to the entire back surface. Allow it to sit for the time recommended by the product manufacturer, usually 15-30 minutes. You’ll notice the paint bubbling and lifting, indicating it’s ready to be gently scraped away with a plastic scraper or putty knife. Work slowly to avoid scratching the glass underneath.
Applying Muriatic Acid or Bleach Sprays to Dissolve Silvering
With the protective paint removed, you’re now ready to tackle the silvering itself. This is where the magic of creating an antique mirror truly happens. For a controlled, subtle effect, a diluted bleach solution works wonderfully. Mix equal parts household bleach and water in a spray bottle.
Lightly mist the exposed silver backing, watching as the bleach begins to react with the silver, creating charming dark spots and a distressed patina. For a more aggressive, faster effect, some DIYers use muriatic acid, but this requires extreme caution and proper safety gear due to its corrosive nature. Always ensure adequate ventilation and personal protection when handling these chemicals. For more detailed insights into DIY antique mirror techniques, consider resources like Apartment Therapy’s guide to creating an antique mirror.
Backing the Glass with Matte Black & Dark Gold Spray Paint
Once you’ve achieved your desired level of distressing, it’s time to seal and enhance the antique effect. Thoroughly rinse the mirror’s back with water to neutralize any remaining chemicals, then let it dry completely. Next, apply a light, even coat of matte black spray paint to the entire back surface. This provides a dark, aged backdrop that makes the distressed silvering pop.
While the black paint is still slightly tacky, lightly mist with a dark gold or bronze metallic spray paint. This creates a subtle, reflective shimmer that mimics the true depth of authentic mercury glass. The combination of matte black and dark gold adds a rich, luxurious finish, crucial for achieving that high-end look. Remember to ensure proper ventilation during this step.
Re-Framing in Gilded Antique Wood Frames
The final touch to perfect your newly antiqued mirror is to re-frame it in a complementary, high-quality frame. A gilded antique wood frame is often the ideal choice, as its intricate details and aged finish perfectly echo the mirror’s character. Look for frames with ornate carvings or a distressed gold finish to enhance the old-world charm.
Alternatively, a simpler, dark wood frame can provide a sophisticated contrast, allowing the mirror’s unique finish to be the star. When dealing with larger or heavier antique mirrors, it’s vital to know how to hang heavy mirrors securely without wall damage. This ensures your beautiful creation is safely displayed, ready to become a focal point in any room. Consider how floor length mirror styling can dramatically impact light and space in your home.

Conclusion
Learning how to antique a mirror is a rewarding DIY project that injects timeless elegance into modern spaces. By carefully stripping the backing, distressing the silvering, and applying new paint layers, you can transform an ordinary mirror into a unique piece of art with a rich history.
This mercury glass finish tutorial empowers you to create custom decor that reflects your personal style and adds a touch of high-end sophistication to your home. Enjoy the process of crafting a truly distinctive antique mirror!


