

How to Caulk Rental Bathroom Gaps: Clean Spa Waterproofing
Is your rental bathroom looking less than luxurious due to unsightly, yellowed caulk? It’s a common issue, but one that can be easily remedied. Learning how to caulk rental bathroom gaps is a game-changer for transforming your space into a pristine, spa-like sanctuary without risking your security deposit.
This simple DIY project not only boosts aesthetics but also provides essential waterproofing, protecting your bathroom from mold and mildew. Get ready to banish those grubby seams and enjoy a truly fresh, clean environment.
Why Knowing How to Caulk Rental Bathroom Gaps Matters
Old, discolored caulk around your bathtub or shower can instantly make your entire bathroom feel dirty, no matter how much you scrub. Beyond the visual blight, failing caulk creates an open invitation for moisture to seep into walls and floors. This can lead to costly damage and unhealthy mold growth, something every renter wants to avoid. For comprehensive protection, consider exploring renter-safe tile glow-ups with waterproof shower wall panels.
Addressing these gaps is crucial for maintaining both the beauty and integrity of your space. A fresh caulk line instantly brightens the area, making your bathroom feel cleaner and more inviting, much like a high-end spa. Pair this with no-drill bathroom shelves for a complete spa-like transformation.
Peelable Removable Silicone vs. Standard Permanent Caulk
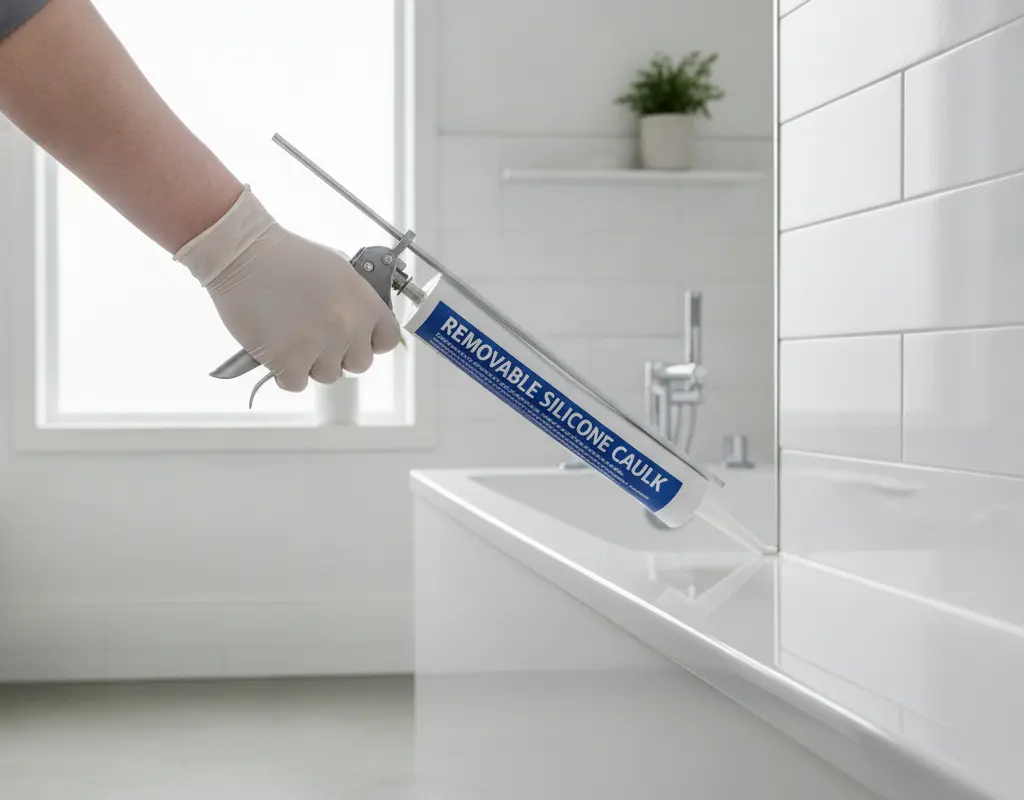
When tackling a rental, the key is choosing the right materials. Traditional silicone caulk offers a long-lasting, permanent seal, but it’s incredibly difficult to remove without damaging surfaces – a definite no-go for renters. The smart choice for your rental bathroom is a peelable, removable silicone caulk.
This innovative product provides the same excellent waterproofing and mold resistance as standard caulk but can be easily peeled away when it’s time to move out. It’s the perfect solution for updating your space without leaving a trace, much like how peel and stick floor tile can transform your rental bathroom. Always check the product label for ‘removable’ or ‘peelable’ features before purchasing.
Removing Old Peeling Caulk Without Scratching Tub Enamel
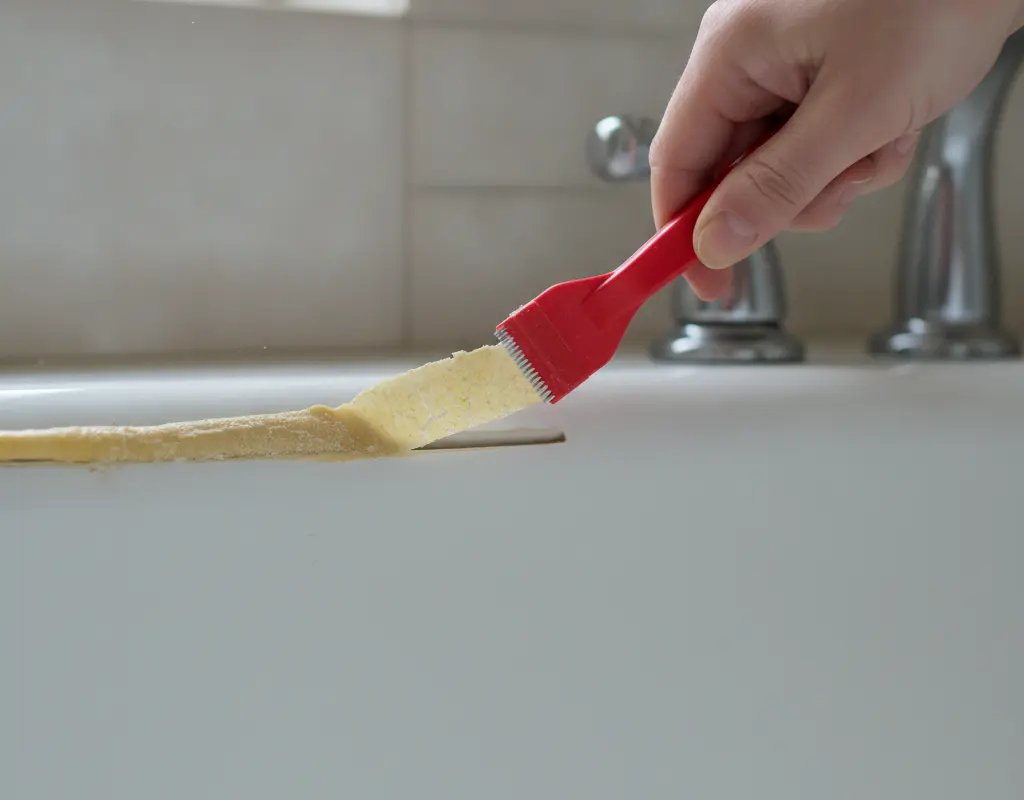
Before applying new caulk, thorough preparation is essential. Start by carefully removing all traces of the old, failing caulk. Use a specialized caulk removal tool or a utility knife at a shallow angle to gently cut and scrape away the old material. Be extremely cautious to avoid scratching the tub or tile surfaces.
For stubborn residue, a caulk remover solution can help soften the material, making it easier to lift. Once the old caulk is gone, clean the area thoroughly with rubbing alcohol or bleach to remove any mold, mildew, or soap scum. Let the surface dry completely before proceeding. For more detailed guidance on caulk removal and application techniques, you can consult expert resources like The Spruce’s comprehensive guide on how to caulk a shower.
Applying Painter’s Tape for Crisp, Razor-Sharp Bead Lines
Achieving a professional-looking caulk line is all about precision, and painter’s tape is your secret weapon. Apply two parallel strips of painter’s tape along the seam, one on the tub/shower surface and one on the wall/tile. Ensure the gap between the tape strips is consistent and slightly wider than your desired caulk bead.
This taping technique creates a clean channel for the caulk, preventing messy smears and ensuring a perfectly straight line. It’s a simple step that makes a huge difference in the final aesthetic, guaranteeing those razor-sharp, spa-like edges you’re aiming for.
Smoothing with Soapy Water Spatulas for a Seamless Seal
With your tape in place, it’s time to apply the removable silicone caulk. Cut the tip of the caulk tube at a 45-degree angle, making an opening just wide enough for your desired bead. Apply a steady, even bead along the taped channel, maintaining consistent pressure.
Immediately after application, dip a caulk smoothing tool or your finger (wearing a glove!) in a small bowl of soapy water. Glide the tool smoothly along the caulk bead, pressing gently to create a seamless, concave finish. Remove the painter’s tape immediately after smoothing, before the caulk begins to skin over, for the cleanest lines. This technique helps achieve that polished, waterproof seal, completing your bathroom’s refresh alongside other simple upgrades like renter-friendly shower head upgrades.
Conclusion
Mastering how to caulk rental bathroom gaps is a simple yet impactful DIY skill for any renter. With the right removable silicone caulk and a few basic tools, you can easily transform dull, moldy seams into crisp, clean lines that evoke a high-end spa. This project not only elevates your bathroom’s appearance but also safeguards it against moisture damage, ensuring a healthier and more enjoyable living space.
Embrace this renter-friendly upgrade and enjoy the satisfaction of a beautifully maintained bathroom. Your landlord will appreciate the care, and you’ll love the fresh, clean aesthetic.


