
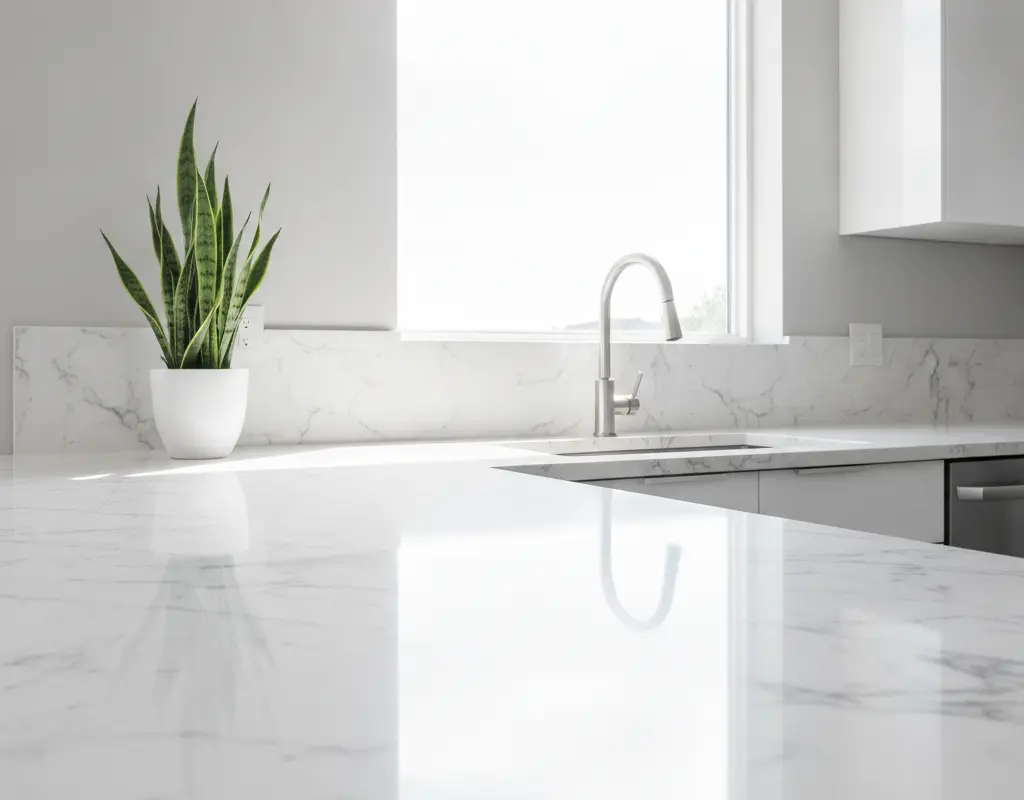
DIY Marble Contact Paper Countertops: High-End Kitchen Upgrade
Tired of your outdated kitchen countertops but not ready for a full renovation? You’re in luck! Achieving a luxurious look doesn’t always demand a hefty budget or a demolition crew. With marble contact paper countertops, you can dramatically transform your space, giving it that high-end feel without breaking the bank.
This DIY solution offers an incredible facelift for weary laminate, wood, or even tiled surfaces. Get ready to dive into the world of architectural vinyl film, where stunning aesthetics meet practical affordability. We’ll guide you through selecting the right materials, mastering tricky corners, and ensuring your new surfaces stand the test of time.
Architectural Vinyl Film vs. Thin Craft Contact Paper
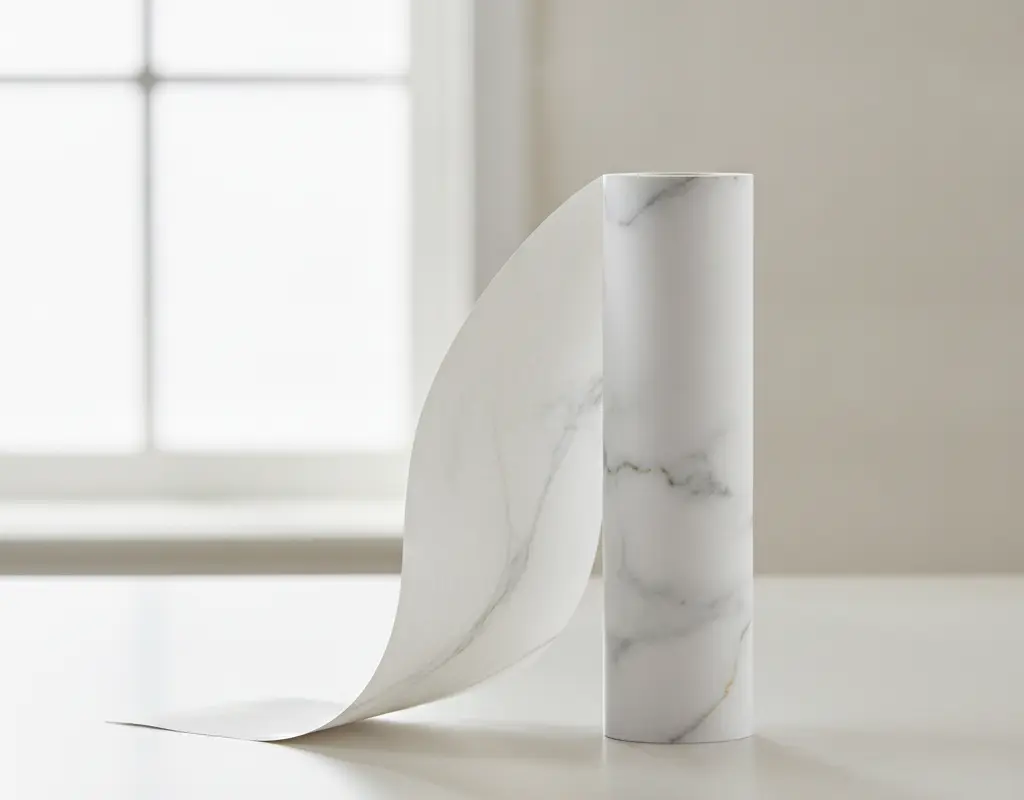
Not all contact papers are created equal, especially when it comes to durability and realism. When aiming for the sophisticated look of marble contact paper countertops, steer clear of the flimsy craft store varieties. Instead, invest in architectural vinyl film, often referred to as ‘self-adhesive vinyl’ or ‘decorative film.’
This professional-grade material is thicker, more resistant to tears, and features a stronger adhesive. Furthermore, its textured finish often mimics natural stone much more convincingly, providing a truly high-end aesthetic. Choosing the right material from the outset is paramount for a lasting, impressive finish.
Tools for a Seamless Finish (Squeegee, Heat Gun, Precision Knife)
Achieving a flawless, bubble-free finish requires more than just careful hands; it demands the right toolkit. Here’s what you’ll need to master your marble contact paper countertops project:
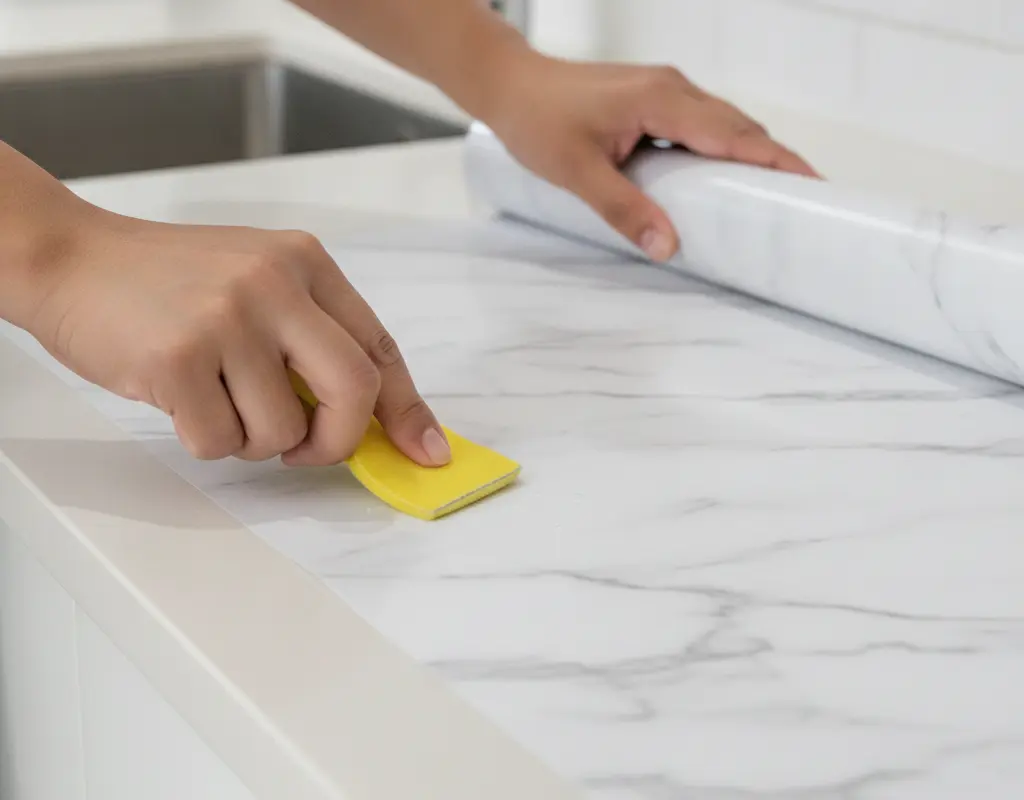
- Squeegee: Your best friend for smoothing out air bubbles and ensuring firm adhesion. Look for one with a felt edge to prevent scratches.
- Precision Knife (e.g., X-Acto): Essential for crisp cuts and trimming excess material, especially around edges and fixtures.
- Heat Gun (or Hair Dryer): A game-changer for molding the vinyl around curves and corners. Heat makes the film pliable and forgiving.
- Measuring Tape & Straight Edge: For accurate measurements and clean, straight cuts before application.
- Microfiber Cloth & Rubbing Alcohol: For thoroughly cleaning and degreasing your existing countertops, ensuring optimal adhesion.
How to Wrap Rounded Corners and Under-Sink Rims
The true test of a professional-looking DIY project often lies in how well you handle the tricky bits. Rounded corners and under-sink rims can be intimidating, but with a little technique, you’ll conquer them. For rounded corners, apply heat from your heat gun (or hair dryer) to gently stretch and mold the vinyl around the curve. Work slowly, smoothing with your squeegee as you go, ensuring there are no creases or air pockets.
For under-sink rims, precise cutting is key. Cut relief cuts into the vinyl where it meets the sink basin, allowing the material to lay flat without bunching. Again, a heat gun can assist in gently stretching and conforming the edges for a seamless seal. Take your time; patience truly pays off in these detailed areas.
Daily Maintenance: Preventing Heat Damage & Scratches
While architectural vinyl film is robust, it’s not indestructible. To ensure your beautiful new marble contact paper countertops remain pristine, adopt a few simple maintenance habits. Always use trivets or hot pads under hot pots and pans. Direct heat can melt or warp the vinyl, leaving unsightly marks. Similarly, use cutting boards for all food prep to prevent scratches and cuts.
Clean spills promptly with a soft cloth and mild soap. Abrasive cleaners or scrub brushes can damage the film’s surface. With these preventative measures, your DIY marble countertops will continue to impress for years to come.
Effortless Heat-Assisted Vinyl Removal
One of the biggest advantages of using architectural vinyl film is its temporary nature. Should you decide to change your decor or revert to your original countertops, removal is surprisingly straightforward. A heat gun is your best friend here, too. Gently warm sections of the vinyl, which softens the adhesive and makes the film much easier to peel away.
Start from a corner and slowly pull the vinyl back at a shallow angle, applying heat as you go. Any residual adhesive can typically be removed with a citrus-based cleaner or rubbing alcohol. This ease of removal makes marble contact paper countertops an ideal solution for renters or those who love to refresh their home’s look frequently.
Conclusion
Transforming your kitchen with marble contact paper countertops is a project that delivers significant visual impact for minimal investment. By choosing the right materials, utilizing proper tools, and paying attention to detail, you can achieve a finish that rivals real stone, impressing both yourself and your guests.
Embrace this accessible DIY upgrade to create a kitchen that feels refreshed, modern, and undeniably high-end. It’s a testament to how creative solutions can truly redefine your living space without the need for a costly overhaul.


