Baking Soda Paint Hack: Luxury Faux Terracotta Decor
Ready to transform your home decor without breaking the bank? The viral baking soda paint hack is your secret weapon! This clever DIY technique allows you to turn ordinary, inexpensive items into stunning, high-end looking matte ceramics or terracotta pieces.
Forget spending a fortune on designer decor. With just a few simple supplies, you can achieve that sought-after rustic, earthy aesthetic using items you might already have or can easily find at your local thrift store. Let’s dive into creating luxury for less!
The Science Behind the Texture: Exact Paint Ratios
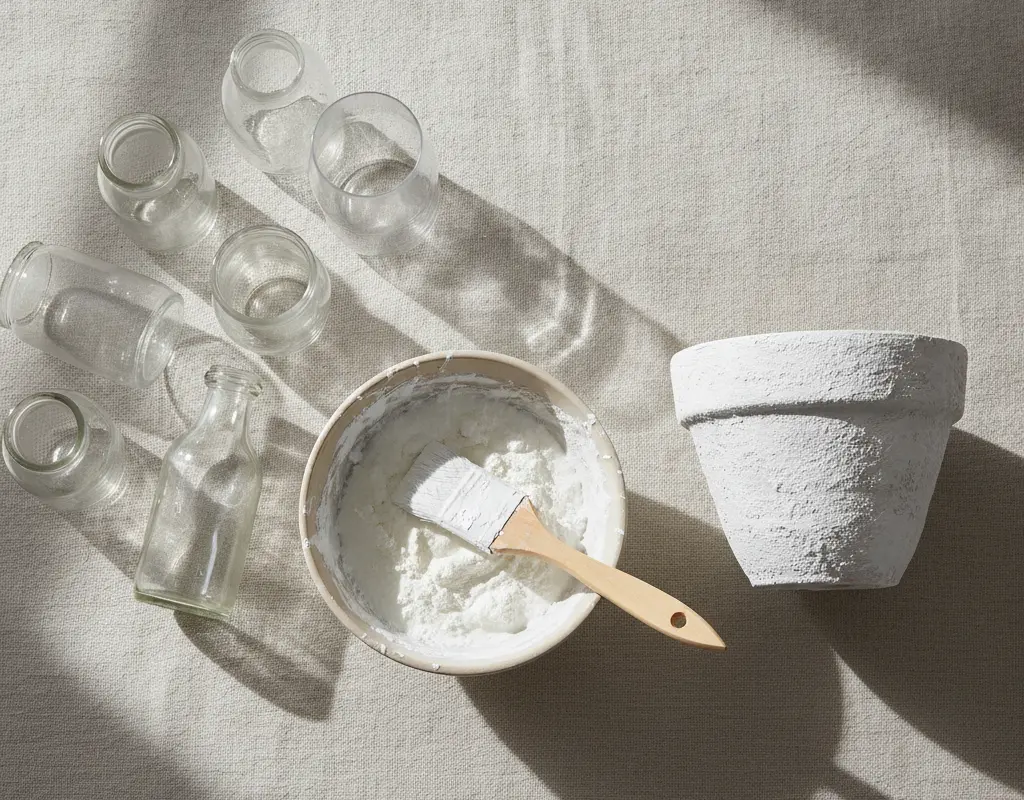
The magic of the baking soda paint hack lies in its ability to create a thick, gritty texture that mimics natural clay. When you mix baking soda with acrylic or chalk paint, the tiny granules of baking soda expand slightly and add body, resulting in that desirable matte, porous finish. For the best results, aim for a ratio of about 1 part baking soda to 2 parts paint. However, feel free to experiment to find your perfect level of texture – more baking soda equals a grittier finish.
Always mix thoroughly in a separate container until you achieve a smooth, lump-free consistency reminiscent of a thick milkshake or pancake batter. This ensures even application and a consistent texture across your pieces.
Selecting the Best Thrift Store Glass & Ceramic Shapes
The beauty of this DIY is its versatility! Look for ceramic items with interesting shapes at thrift stores – glass vases, ceramic bowls, old plastic containers, even terracotta pots you want to refresh. Smooth surfaces work best as they provide a clean canvas for the texture. Avoid items with intricate carvings or patterns, as these can be obscured by the paint.
Clean your chosen items thoroughly before painting. A quick wash with soap and water, followed by a wipe-down with rubbing alcohol, ensures optimal paint adhesion and a long-lasting finish. Consider items with simple, elegant lines to truly let the faux terracotta texture shine.
Step-by-Step Application: Cross-Hatch Brush Techniques
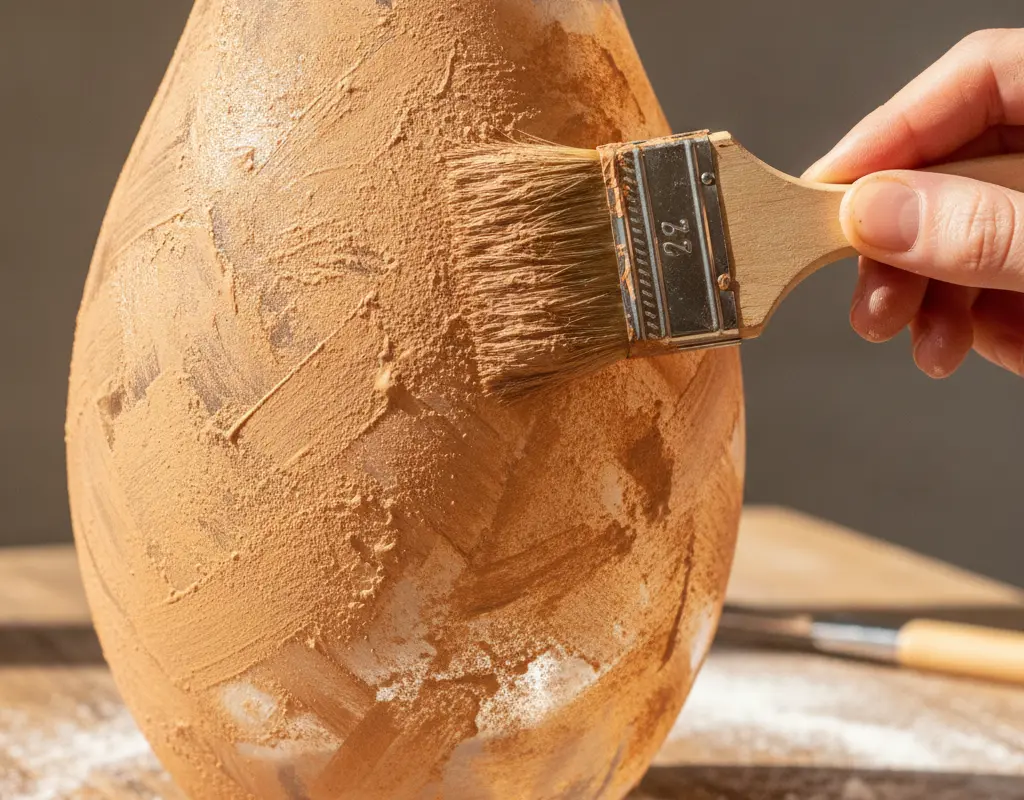
Applying the baking soda paint requires a specific technique to achieve that authentic, hand-crafted look. Use a sturdy paintbrush, preferably one with natural bristles, to apply the mixture in short, overlapping cross-hatch strokes. This builds up the texture beautifully and prevents visible brush lines.
Apply two to three thin coats, allowing each coat to dry completely before adding the next. This layering approach enhances the depth of the texture and ensures full, opaque coverage. Don’t be afraid to embrace imperfections – they add to the rustic charm!
Adding Earth Pigments, Cocoa Powder, or Chalk Paint
While a simple off-white or cream color looks fantastic, you can elevate your faux terracotta by adding natural pigments. For a truly authentic look, consider mixing in a small amount of earth pigment powders available at craft stores. A touch of raw umber or burnt sienna can create stunning variations.
Believe it or not, a little cocoa powder or cinnamon can also deepen your paint color, adding warmth and a subtle, natural hue. Always mix small amounts at a time, testing the color on a scrap piece until you achieve your desired shade. Chalk paint is also an excellent base due to its matte finish and excellent adhesion, making it a favorite for budget-friendly decor DIYs.
Sealing for Water Resistance and Matte Longevity
Once your final coat of paint is completely dry – typically after 24-48 hours – it’s crucial to seal your pieces. This protects the finish, adds water resistance (though they won’t be fully waterproof for holding water directly), and ensures the matte look lasts. A matte clear coat spray sealant is ideal for preserving the textured finish without adding shine.
Apply two to three light, even coats of sealant, allowing adequate drying time between each. This final step is essential for durability, especially if your pieces will be handled frequently or placed in areas with some moisture, like a bathroom.
Conclusion
The baking soda paint hack is more than just a trend; it’s a brilliant way to infuse your home with rustic elegance on a shoestring budget. From transforming drab glass into stunning terracotta-look vases to giving plastic planters a sophisticated matte finish, the possibilities are endless.
Embrace your creativity and start experimenting! With these simple steps, you’ll soon have a collection of bespoke decor pieces that look like they came straight from a high-end boutique, all thanks to a little baking soda and paint.