DIY Limewash Furniture: Chalky Patina Tutorial
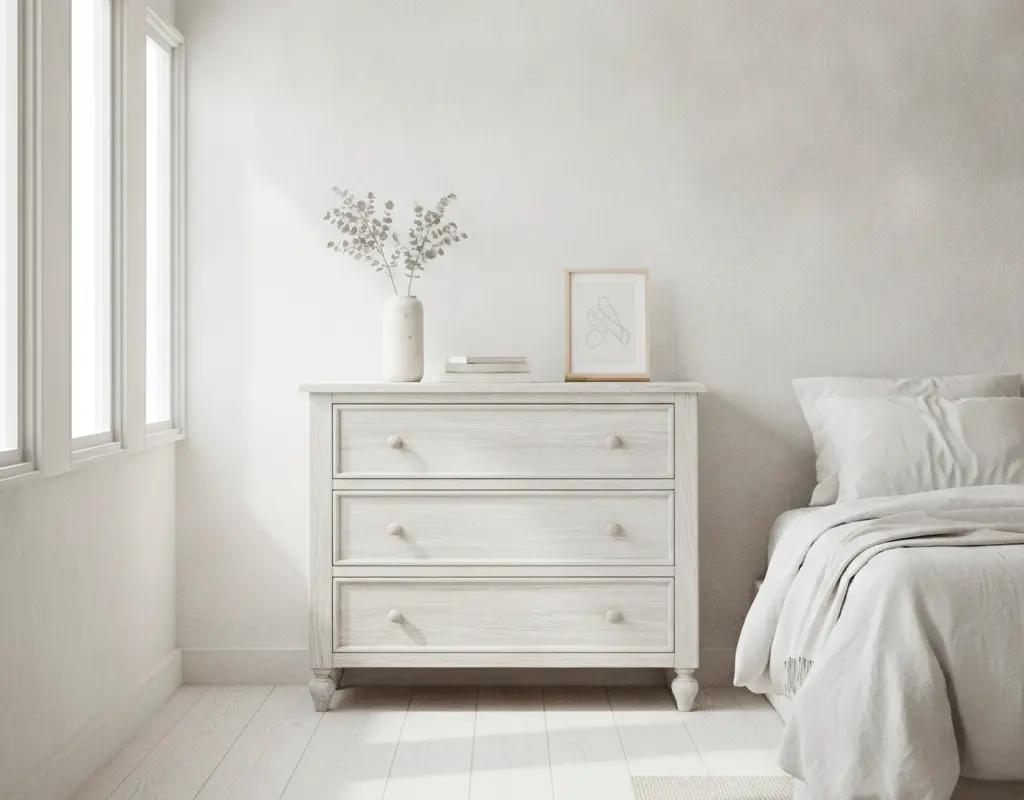
Tired of dark, dated wood furniture? Imagine transforming those pieces into something straight out of a Belgian countryside home. With our comprehensive guide to DIY limewash furniture, you can achieve that coveted chalky, European patina without a professional price tag.
This technique breathes new life into old items, giving them a raw, weathered look that’s both modern and timeless. We’ll walk you through every step, from prep to sealing, ensuring your project is a stunning success.
The Aesthetic of Raw, Weathered Belgian and French Timber
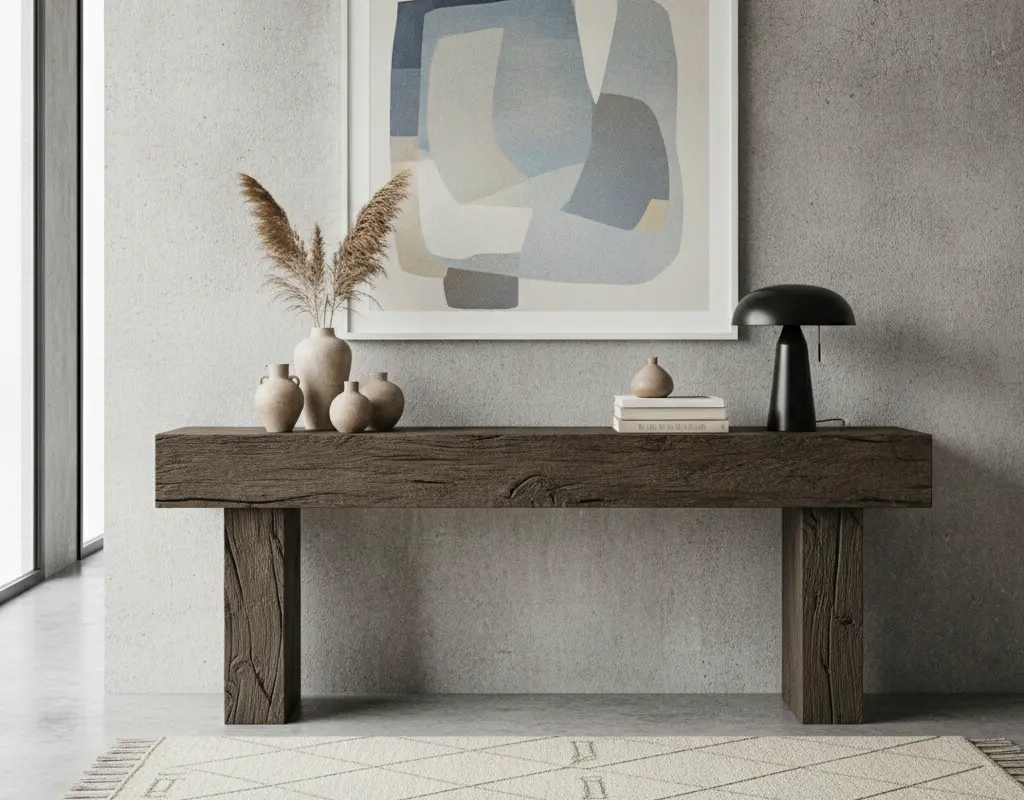
The allure of limewash lies in its ability to create a soft, matte finish that allows the wood grain to subtly show through. This technique evokes the charm of antique French and Belgian farmhouse furniture, known for its understated elegance and natural texture. It’s perfect for adding character to any space.
This finish is a staple in organic modern and Wabi-sabi aesthetics, celebrating imperfections and the beauty of natural materials. It’s a sophisticated way to lighten dark woods or tone down orange undertones.
Stripping Old Lacquer and Bleaching Wood Tannins Safely
Before you begin your DIY limewash furniture project, proper preparation is crucial. Start by stripping any old lacquer or varnish from your furniture. This ensures the limewash can penetrate the wood evenly and adhere properly.
For very dark or red-toned woods, you might encounter tannins that can bleed through, causing yellowing. Bleaching the wood safely can neutralize these tannins, ensuring a clean, bright canvas for your limewash. Always work in a well-ventilated area and follow product instructions carefully.
Wire-Brushing the Grain to Open Soft Pores for Lime Pigment
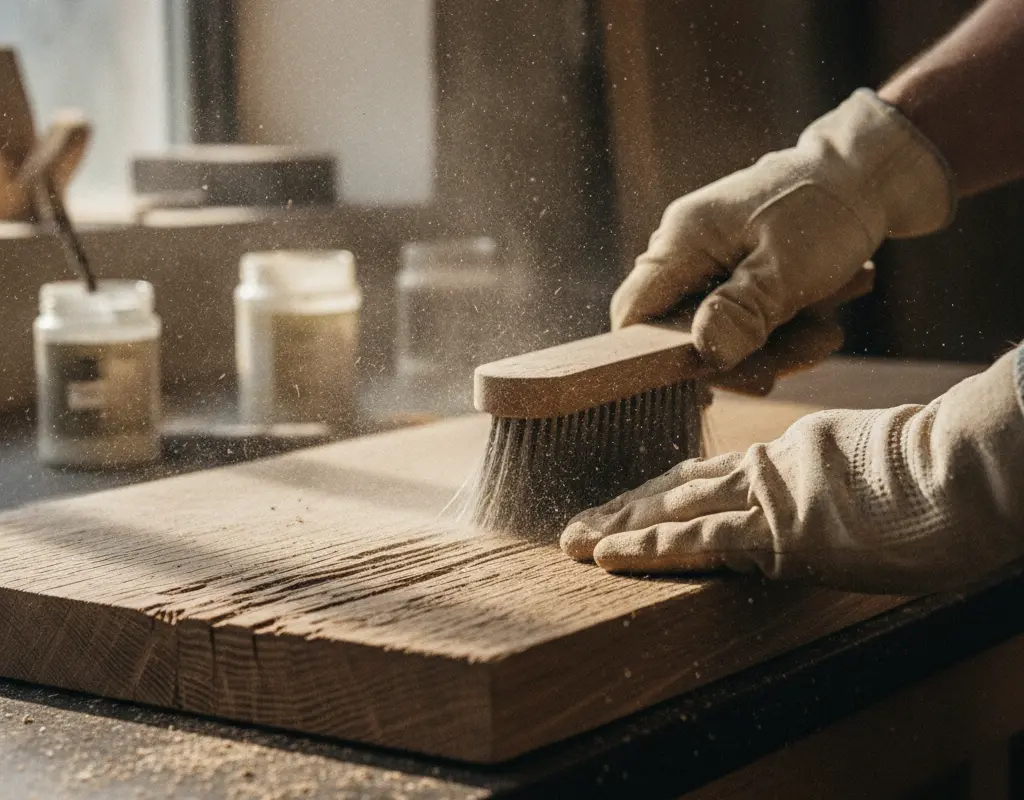
Once your furniture is stripped and clean, the next step is wire-brushing. This technique physically opens the soft pores of the wood grain, allowing the lime pigment to settle deeply and create that characteristic textured finish. Use a brass or nylon wire brush, working with the grain.
This step is key to achieving an authentic, aged look. It enhances the natural texture of the wood, making the limewash effect more pronounced and beautiful. For other sophisticated finishes, explore how to create a DIY Roman Clay table for a high-end travertine stone look.
Applying Lime Wax or Diluted Slaked Lime Paste
Now for the magic! You can choose between a pre-made lime wax or a diluted slaked lime paste. Lime wax is generally easier to work with for beginners, offering a more controlled application. Apply it generously with a brush or cloth, working it into the wire-brushed grain.
If using slaked lime, dilute it with water to a creamy consistency. Apply in thin coats, allowing each to dry before assessing the coverage. For more insights on limewash paint techniques and their historical context, The Spruce offers a great overview of limewash paint techniques, highlighting its enduring appeal.
- **Lime Wax Application:** Apply with a soft cloth or brush, working in sections.
- **Slaked Lime Paste:** Mix with water to desired consistency, apply with a brush.
- **Even Coverage:** Ensure the product settles into all the opened grain.
Similarly, our baking soda paint hack can achieve a luxury faux terracotta finish, proving that texture is key in achieving these unique looks. If you love transforming existing pieces, check out our guide on a DIY cane furniture hack to upcycle basic nightstands.
Buffing and Sealing with Dead-Flat Non-Yellowing Topcoats
After the limewash has dried completely, buff the surface with a clean, lint-free cloth. This removes any excess product and reveals the subtle chalky finish. The amount of buffing will determine the intensity of the limewash effect.
Finally, seal your masterpiece with a dead-flat, non-yellowing topcoat. This protects the finish from wear and tear while preserving its authentic, matte appearance. A water-based polycrylic is often a good choice, as it won’t yellow over time. This step is essential for durability, especially for high-traffic furniture pieces.
Conclusion
Transforming your furniture with a DIY limewash furniture technique is a rewarding project that elevates your home decor. You’ll achieve a high-end, European-inspired look that’s both stylish and full of character. This method is perfect for giving new life to old pieces and creating a cohesive, sophisticated aesthetic in your space.
Embrace the beauty of raw textures and subtle finishes. With a little effort, you can create stunning, custom furniture that reflects your unique style and brings a touch of timeless elegance to your home.