Cane Webbing Cabinet Makeover: Tropical Modern Styling
Are you dreaming of a home refresh that blends natural textures with sophisticated design? A cane webbing cabinet makeover is the perfect DIY project to achieve that coveted tropical modern aesthetic. This simple yet impactful upgrade transforms ordinary furniture into high-end pieces, bringing an airy, organic feel to any room.
Forget expensive designer finds; with a few tools and some patience, you can revitalize your existing cabinets. We’ll guide you through each step, ensuring your project results in a stunning, custom look that will impress everyone.
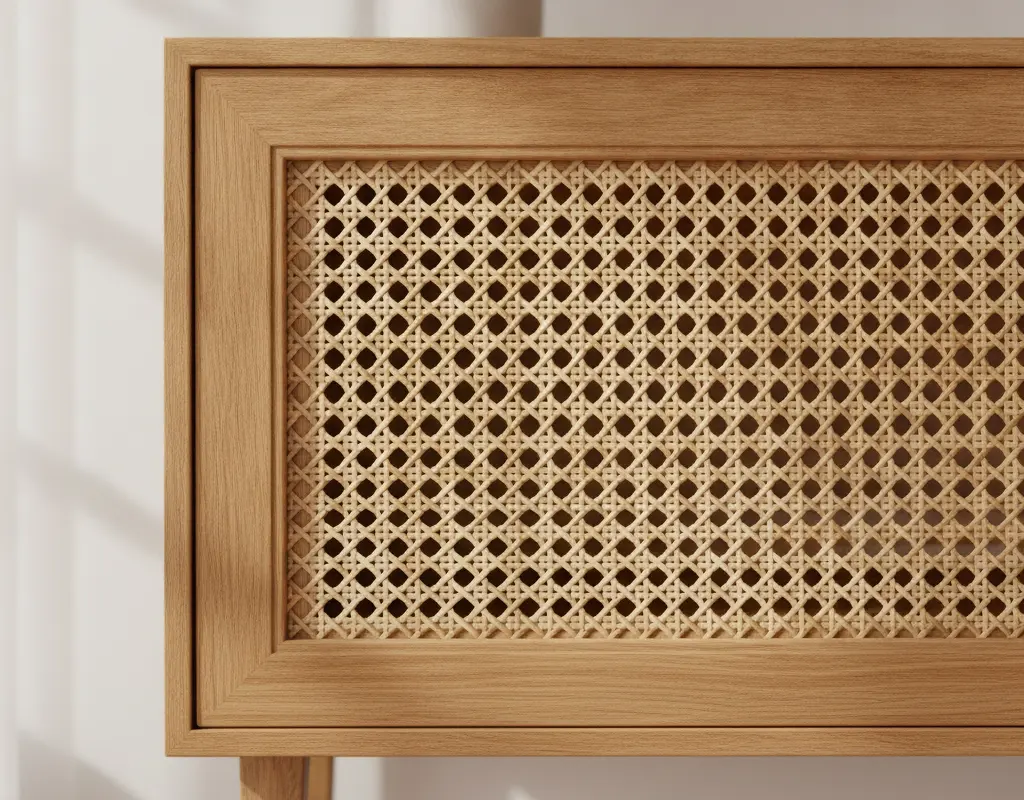
The Breathable, Textural Quality of Woven Rattan Cane
Cane webbing, derived from the outer skin of the rattan plant, offers a unique open-weave pattern that’s both visually appealing and highly functional. Its natural fibers introduce a wonderful texture, instantly elevating the perceived value of your furniture. Beyond aesthetics, cane’s breathable nature makes it ideal for cabinets housing electronics, allowing for air circulation.
This material is incredibly versatile, fitting seamlessly into various decor styles from bohemian to minimalist. The intricate weave adds a layer of artisanal craftsmanship, creating a focal point that feels both luxurious and approachable. Many DIY enthusiasts are embracing cane webbing for a variety of home projects, as highlighted by resources like The Spruce’s collection of cane webbing projects, showcasing its broad appeal.
Cutting Out Recessed Glass or Timber Panels from Cabinet Doors
Before you can apply your beautiful cane webbing, you’ll need to prepare your cabinet doors. This crucial step involves carefully removing any existing panels, whether they are glass or solid timber. Begin by measuring the exact dimensions of the panel you intend to replace. Use a jigsaw or router for precise cuts, ensuring clean edges that will accommodate the cane webbing frame.
Safety is paramount here. Always wear appropriate eye protection and gloves. If you’re working with a piece like an IKEA Besta hack, you might find the existing panels are easier to remove or adapt. The goal is to create a clean, open frame within the door where the cane will reside.
Soaking Cane Webbing in Warm Water for Supple Elasticity
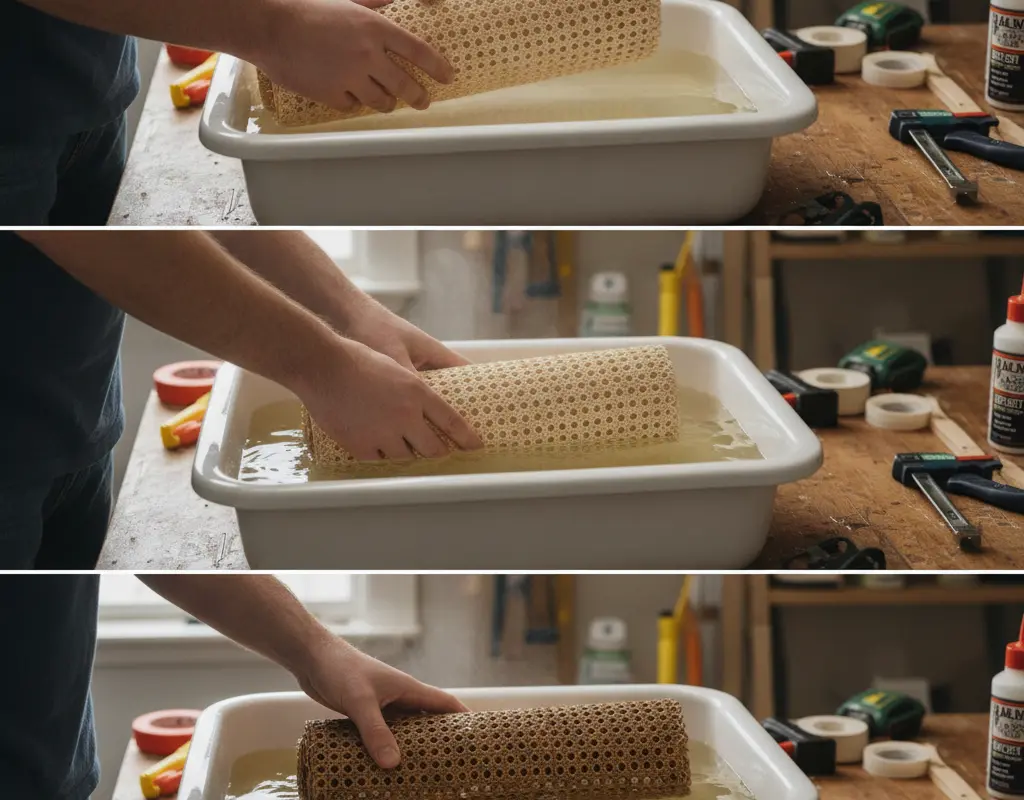
Working with dry cane webbing can be challenging as it’s stiff and prone to cracking. The secret to a smooth, professional finish lies in proper preparation: soaking the cane. Submerge your cut-to-size cane webbing in a tub of warm water for at least 30 minutes, or even a few hours for thicker weaves. This process makes the cane pliable and elastic.
As the cane absorbs water, it becomes much easier to manipulate and stretch, which is essential for achieving a taut, wrinkle-free installation. Once dry, the cane will shrink slightly, pulling itself even tighter into the frame, creating a perfectly tensioned panel. This method is similar to how you might approach other DIY cane furniture hacks for best results.
Pneumatic Stapling and Tension Pulling Across Mitered Corners
With your cane webbing supple and ready, it’s time for installation. Place the wet cane over the opening on the back of your cabinet door frame. Start by securing one side with a few staples using a pneumatic stapler, pulling the cane taut as you go. For a durable and stylish cabinet hardware upgrade, ensuring the cane is perfectly aligned with the frame is key.
Next, move to the opposite side, pulling the cane firmly to eliminate any slack before stapling. Repeat this process for the remaining two sides, working from the center outwards. Pay special attention to the corners, ensuring the cane is evenly stretched across the entire opening. The natural shrinkage upon drying will do the rest of the work, pulling it drum-tight.
Securing Edges with Decorative Half-Round Timber Splines
To give your cane webbing cabinet makeover a truly finished and professional look, you’ll need to secure and conceal the raw edges. This is where decorative half-round timber splines come in. These thin strips of wood are designed to fit snugly over the stapled edges of the cane webbing, holding it firmly in place while providing a clean, polished trim.
- Measure and cut the splines to fit each edge of your cabinet door frame.
- Apply a thin bead of wood glue to the back of the spline.
- Press the spline firmly over the stapled cane webbing, ensuring it covers all raw edges.
- Use small brad nails or painter’s tape to hold the splines in place while the glue dries.
- Once dry, you can sand and finish the splines to match your cabinet frame, completing your elegant new look.
Conclusion
Completing a cane webbing cabinet makeover is a rewarding project that significantly elevates the style of your home. This DIY transforms basic furniture into pieces with a high-end, tropical modern appeal, all while offering practical benefits like improved air circulation. The process, while requiring precision, is entirely achievable for the dedicated DIYer.
Embrace the beauty of natural textures and enjoy the satisfaction of creating a custom piece that reflects your personal aesthetic. This project not only enhances your living space but also provides an opportunity to explore the organic modern style that is so popular today. Get ready to enjoy your beautifully refreshed cabinets!