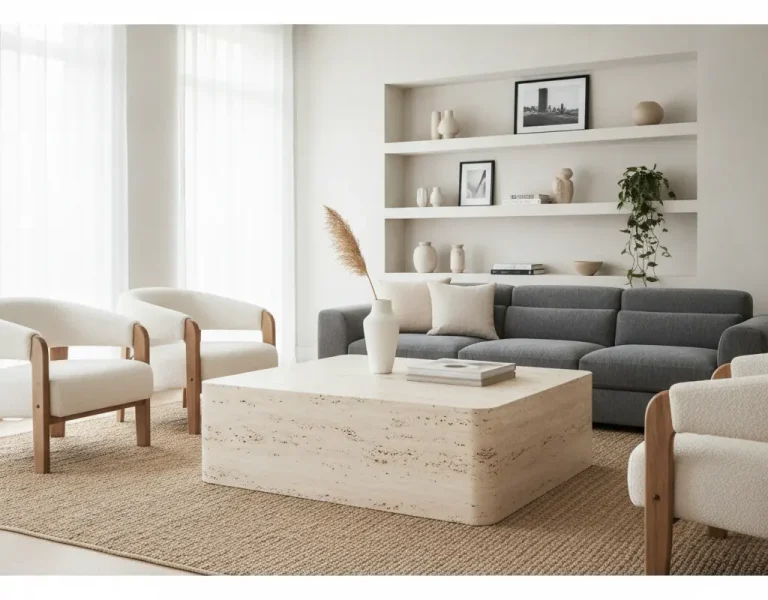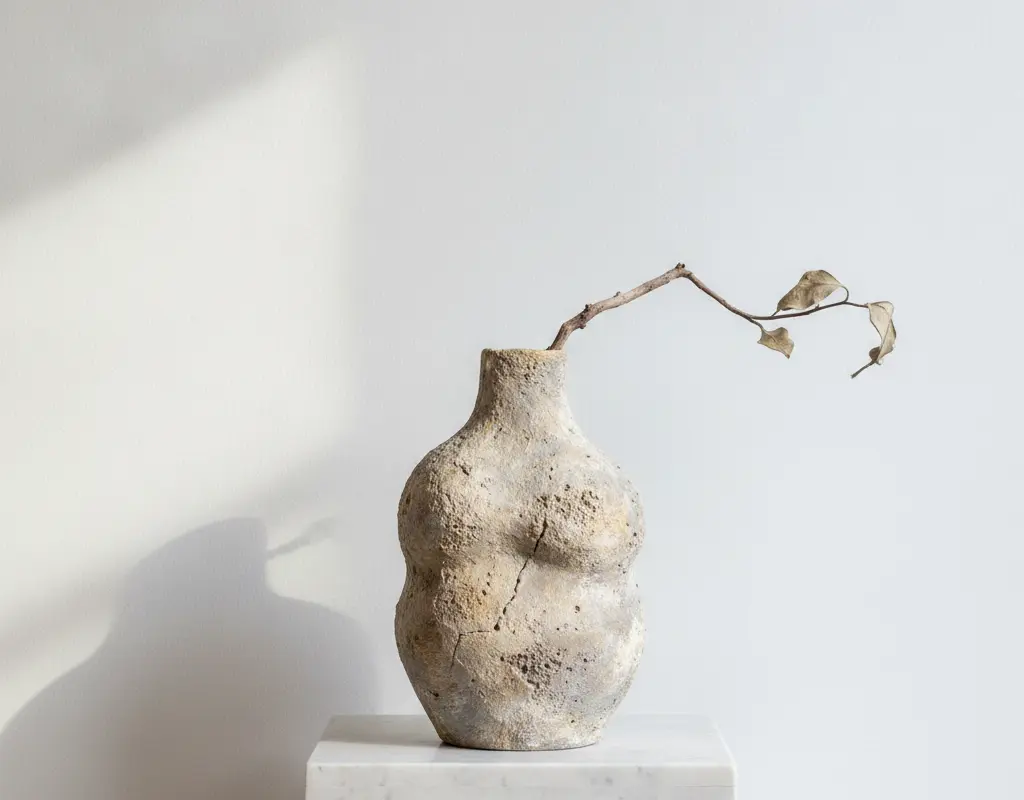
Joint Compound Vase Makeover: European Stone Vessel Hack
Tired of plain glass vases? Ready to elevate your home decor with a touch of ancient European charm? This easy trending textured vase DIY will show you how to achieve a high-end, stone-like finish using a simple material: joint compound. A joint compound vase makeover is the ultimate hack for transforming inexpensive glassware into a sophisticated, textural statement piece.
Imagine turning a thrift store find into a sculptural artifact that looks like it cost a fortune. This project is incredibly renter-friendly and adds a unique, artisanal touch to any space. Let’s dive into creating your own European stone vessel.
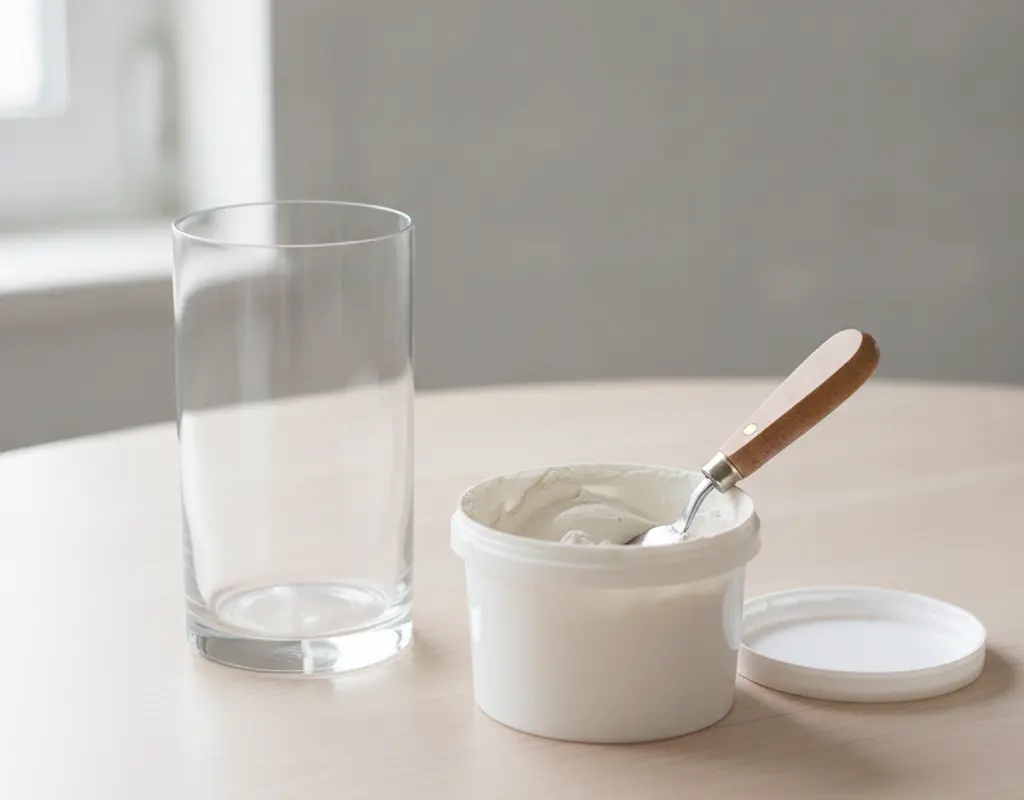
Lightweight Joint Compound vs. Plaster of Paris Formulations
When embarking on your joint compound vase makeover, material choice matters. While plaster of Paris is a classic for crafts, lightweight joint compound offers superior workability and a smoother, more refined finish once dry. It’s less prone to cracking and provides a longer working time, which is perfect for building up those organic textures.
For projects like this, where a durable, stone-like appearance is desired, joint compound is the clear winner. It’s also readily available at any hardware store.
Prepping Smooth Glass Surfaces with Coarse 80-Grit Sandpaper
The key to a lasting finish begins with proper preparation. Glass surfaces are notoriously smooth, making it difficult for joint compound to adhere. To ensure your joint compound vase makeover stands the test of time, lightly scuff the entire exterior of your vase with 80-grit sandpaper.
This creates a subtle “tooth” for the compound to grip onto, preventing peeling or flaking down the line. After sanding, wipe the vase clean with a damp cloth to remove any dust, then allow it to dry completely.
Palette Knife Texturing: Achieving Layered Organic Ridges
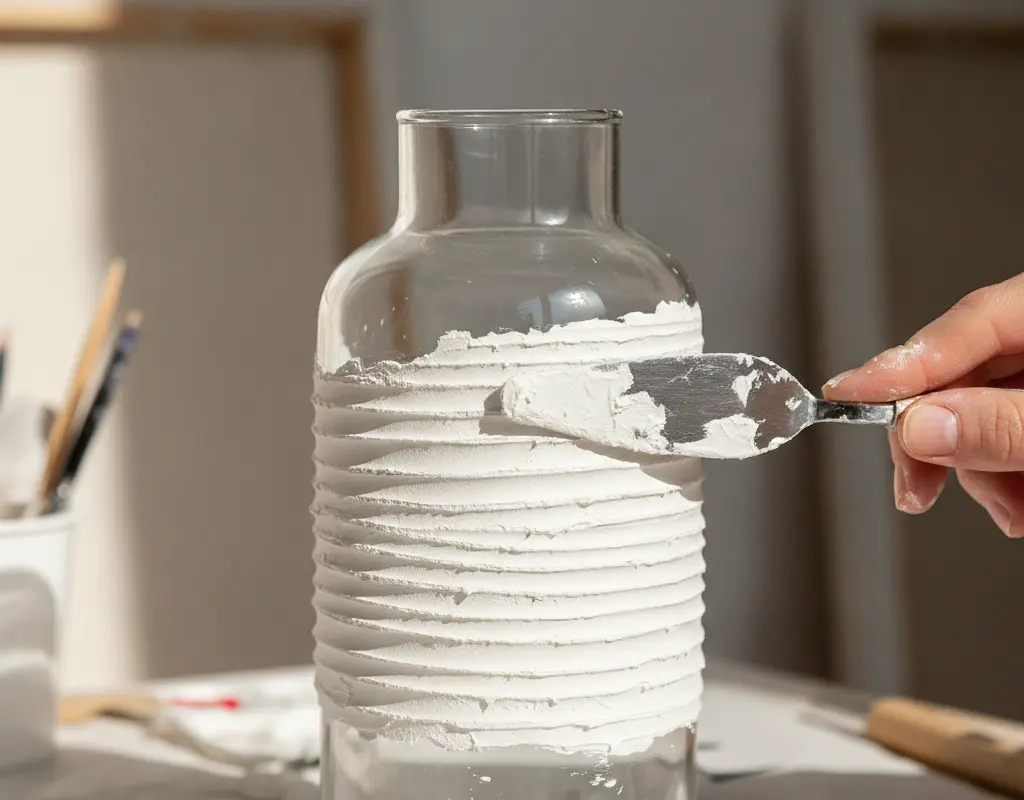
Now for the fun part: applying the joint compound! Using a flexible palette knife, scoop a small amount of compound and begin spreading it onto the vase. Don’t aim for perfection; instead, focus on creating organic, layered ridges and peaks. Vary the thickness and direction of your strokes to mimic natural stone.
Work in small sections, allowing each layer to partially dry before adding more. This technique is similar to creating unique textured canvas art, building depth and character with each application. You can even try a similar approach to achieve a DIY Roman Clay table finish.
Dry Sanding and Wet Distressing for an Ancient Artifact Patina
Once your joint compound is completely dry (this can take 24-48 hours depending on thickness), it’s time to achieve that coveted ancient artifact patina. Start with dry sanding using 120-grit sandpaper to gently knock down any sharp edges and create a smoother feel. Then, for a truly aged look, use a slightly damp sponge or cloth to lightly wet-distress areas, revealing glimpses of the glass underneath or creating subtle color variations.
This dual distressing method gives your vase an authentic, time-worn appearance, much like ancient pottery or stone. It’s an artistic step that truly elevates your faux terracotta decor projects.
Sealing with Clear Matte Acrylic to Prevent Chalk Dusting
The final, crucial step in your joint compound vase makeover is sealing. Joint compound, when dry, can be chalky and prone to dusting. To protect your beautiful new finish and make it more durable, apply several thin coats of a clear matte acrylic sealer.
Spray sealers are often easiest for even coverage. Ensure each coat dries thoroughly before applying the next. This step will lock in your texture and color, preventing any chalk residue and making your European stone vessel ready for display in any Organic Modern style setting.
Conclusion
With just a few simple materials and techniques, you’ve transformed ordinary glassware into a stunning European stone artifact. This joint compound vase makeover not only adds character to your home but also showcases your DIY prowess. The beauty of this project lies in its versatility and the unique, imperfect textures you can create.
So, gather your supplies and get ready to craft a piece that looks like it belongs in a high-end boutique. Your new textured vase will undoubtedly become a focal point, bringing a touch of timeless elegance to your decor.