DIY Textured Lamp Base: Turn Cheap Glass into Pottery
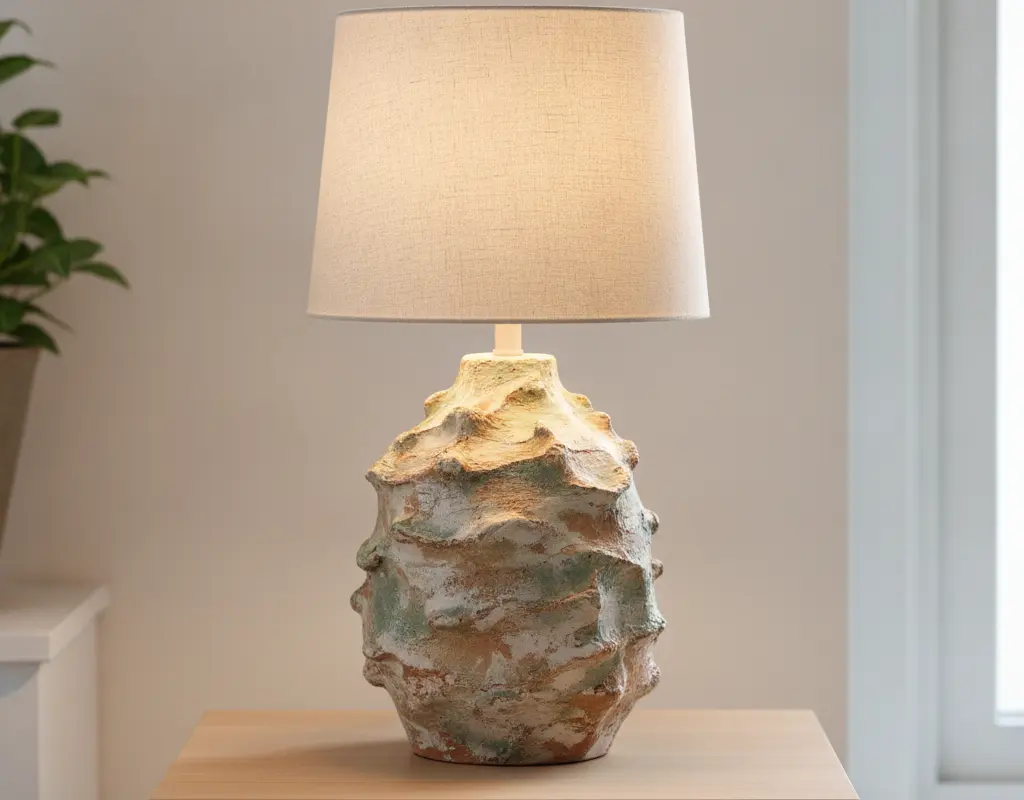
Ready to transform those overlooked, inexpensive lamps into statement pieces worthy of an interior design magazine? With a simple trick involving baking soda and paint, you can create a stunning DIY textured lamp base that mimics high-end ceramic pottery. This guide will show you how to take a dated glass or shiny brass lamp and give it a luxurious, matte, and tactile finish, elevating your home decor on a budget. Say goodbye to boring lighting and hello to bespoke style.
Spotting Great Lamp Base Silhouettes at Thrift Stores
The secret to a successful lamp makeover often starts with the right base. Don’t be swayed by shiny finishes or ugly colors; instead, look for interesting shapes and sturdy structures. Think classic urns, sleek cylinders, or unique sculptural forms. Glass, metal, or even ceramic lamps with good bones are perfect candidates for a DIY textured lamp base transformation. Thrift stores, garage sales, and even your own attic are treasure troves for these hidden gems.
Taping Off Sockets and Wiring for Mess-Free Painting
Preparation is key for a professional-looking finish. Before you start painting, carefully tape off all electrical components, including the socket, cord, and any switches. Use painter’s tape to create clean lines and protect these areas from paint. This simple step ensures functionality and keeps your project looking tidy and intentional.
Mixing 50/50 Latex Paint and Baking Soda for Heavy Stipple
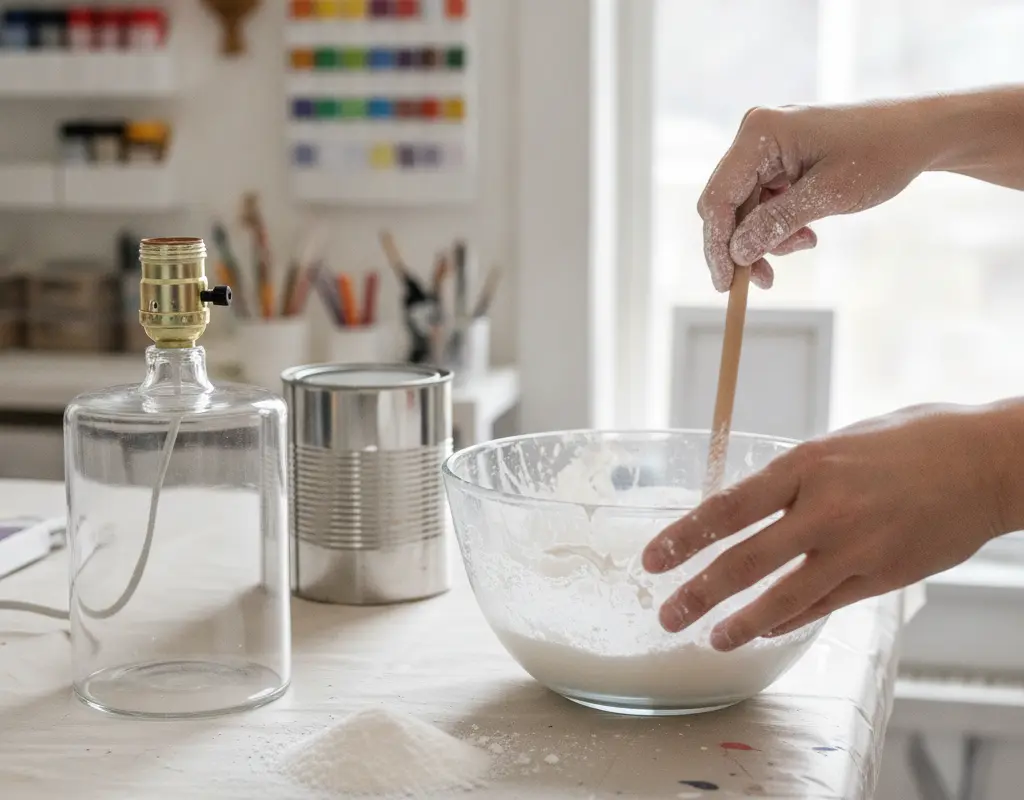
Now for the magic! The core of your ceramic-look finish is a special paint mixture. Combine equal parts matte latex paint (any color will do, but earthy tones work best for a pottery aesthetic) and baking soda in a disposable container. Stir thoroughly until you achieve a thick, pancake-batter-like consistency. This creates a rich, heavy stipple that instantly adds an organic, handmade feel to your lamp base. For more inspiration on using this versatile technique, check out our guide on the Baking Soda Paint Hack for Luxury Faux Terracotta Decor.
Apply the mixture with a brush, dabbing and stippling to build up the texture. Don’t aim for perfection; the imperfections are what give it character. You might need two or three coats, allowing each to dry completely before applying the next. This process is surprisingly therapeutic and yields incredibly satisfying results, much like creating DIY Textured Canvas Art.
Creating Multi-Layer Color Washes for Authentic Fired-Clay Looks
To deepen the “pottery” illusion, consider adding subtle color washes. Once your textured base is dry, mix a small amount of a darker or contrasting paint color with water to create a thin glaze. Lightly brush this over the textured surface, then immediately wipe away the excess with a damp cloth. This technique allows the darker color to settle into the crevices, adding depth and mimicking the variations found in natural fired clay. This layering approach can elevate your piece, similar to how we achieve a High-End Travertine Stone Finish with DIY Roman Clay.
Pairing with a Pleated Linen Drum Shade for Maximum Balance
The right lampshade is crucial for completing your high-end look. A pleated linen drum shade offers a sophisticated, tailored contrast to the organic texture of your new lamp base. The soft pleats and natural fabric complement the pottery aesthetic beautifully, creating a balanced and harmonious piece. Choose a shade proportionate to your base for the best visual impact. And remember, a beautifully styled lamp also needs its cords managed; explore solutions to Hide Cords on Wall for a truly polished setup.
For more creative lighting transformations and budget-friendly decor ideas, explore various lamp makeover DIYs from trusted sources like Better Homes & Gardens.
Conclusion
Transforming an ordinary lamp into a bespoke, high-end piece of decor is incredibly rewarding. This DIY textured lamp base project proves that luxury doesn’t have to come with a hefty price tag. By combining simple materials like baking soda and paint with a keen eye for form, you can achieve a sophisticated, ceramic-inspired look that instantly elevates any room.
So, next time you spot a forgotten lamp base, see it not for what it is, but for the pottery masterpiece it can become. Embrace the texture, play with color washes, and complete your creation with the perfect shade. Your home will thank you for this stylish, budget-friendly upgrade.